How to Crochet a Pumpkin
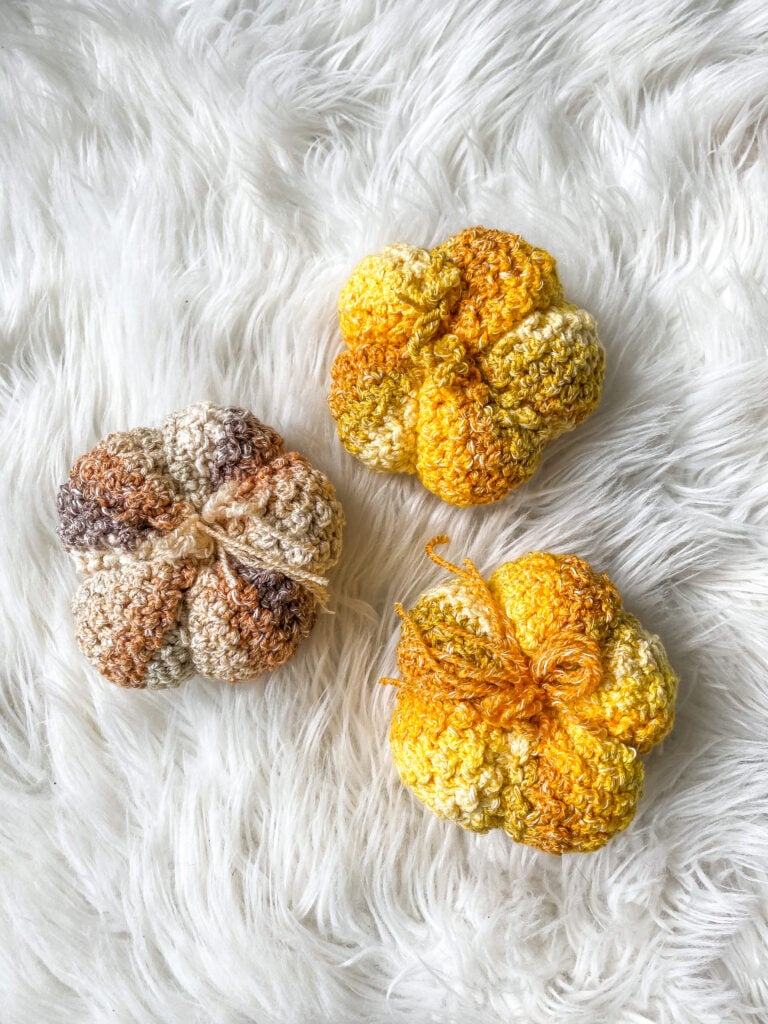
I am pretty sure Fall is my favorite season, it is such a cozy time of the year and I love all the colors! One thing that I love to do is go pumpkin picking early because they last for so long. However, now that I have littles I quickly discovered that a pumpkin can get damaged pretty easily and will start to rot quickly…so I have started to make crochet pumpkins! If you have been wanting to learn how to crochet a pumpkin than theses rustic fall pumpkins are the perfect ones to start with! I have created a full photo tutorial to make these easy crochet pumpkins! Keep scrolling to make this beginner friendly crochet project using the free crochet pumpkin pattern below!

Design Story and Inspiration
I have been making crochet projects for a long time and I know when I start to see crochet pumpkins pop up in my social media that fall is quickly approaching! However, before I designed this free crochet pumpkin pattern, I had only made them once before! I love when the weather gets chilly and I can go apple and pumpkin picking! I am the person that buys pumpkins as soon as I can! My first little guy loves them too, but after being rolled down the stairs one too many times, I discovered how quickly a cracked pumpkin will rot!
So the solution this year was to crochet these rustic fall pumpkins! Don’t worry, I still bought some, but just two! These easy crochet pumpkins are simple to make, you just have to be able to crochet a rectangle! Just keep scrolling to use the free crochet pattern with a full photo tutorial!

About the Yarn
Ok, ok, ok, so, when I first got my hands on this Lion Brand Ice Cream Cotton Blend my first reaction was I wanted to make something to wear with it. (You can read more about this cotton blend yarn and others on my “Top 9 Cotton Blend Yarns” post!) Now, at the time I couldn’t justify buying more of either color with my already over flowing yarn stash, so these beauties just sat for a bit…then the weather got chilly!
I had the cracked pumpkin dilemma and knew that I really wanted to make some rustic fall pumpkins and this beautiful cotton yarn caught my attention out of the corner of my eye! When I first saw these two colors I didn’t realize how much they screamed Fall! They created the most beautiful striping and using a textured stitch these easy rustic pumpkins have a modern feel to them! Keep scrolling to use this free crochet pumpkin pattern!

Before we begin…let’s Get Social!
I would love for you to come follow me on Instagram, Like my Facebook Page and Join my Facebook group! As Always you can grab a Printable PDF for just $3.50 on Etsy and Ravelry!Please make sure to head over to Ravelry and add this pattern to your favorites and make a project! That really helps to get my patterns in front of other makers like you! While you are there maybe favorite some of my other beginner crochet projects!
Remember, all likes, shares, follows and purchases are greatly appreciated by this Maker Mama and really do help to grow my craft business! So, if you are looking for more Free Crochet Patterns that are great beginner crochet projects then be sure to check out my Free Patterns Section!

Materials
1 Skein of Lion Brand Ice Cream Cotton Blend (makes 2 pumpkins)
#4 Worsted Wt. Yarn, 112 yards/ 1.75 oz (makes 1 pumpkin)
4.50 mm crochet hook
Darning Needle
0.75 oz Polyfill
Gauge
For this free crochet pumpkin pattern the gauge isn’t super important, but if you have just the right amount of yarn you want to match gauge so you don’t run out! If your gauge is a little tighter or looser you will still have a wonderful pumpkin! Sometimes, I find that the (sl st, dc) combo can be hard on my hands and I like to go up a hook size, so keep that in mind when you are starting. If you find that this gauge is too tight and makes using the Sl St space hard to use, don’t worry about going up a hook! To hit gauge for this easy crochet pumpkin I used a 4.50 mm hook and did 16 sts x 12 rows in the pattern repeat.
Stitch Descriptions and Abbreviations
- Chain Stitch – ch – yarn over, pull yarn through stitch on hook.
- Slip Stitch – Sl St – Insert hook into stitch or space, yarn over, pull yarn through both loops on hook.
- Double Crochet – dc – yarn over, pull through stitch or space, 3 loops on hook, yarn over, pull through 2 loops, yarn over, pull through remaining 2 loops.
- Foundation Single Crochet – Fsc – Chain 2, insert hook into 2nd chain from hook, yarn over and pull up a loop (2 loops on hook) yarn over, draw through 1 loop, (2 loops on hook with 1 ch created), yarn over, draw through all loops (1 loop on hook, 1 foundation single crochet with chain at the bottom) *Insert hook to the bottom of the stitch you just made, it will look like the top or “V” of a stitch, yarn over, pull up 1 loop (2 loops on hook), yarn over, draw through 1 loop (2 loops on hook with 1 ch created), yarn over, draw through all loops;* repeat from * to * for desired amount of stitches.
Pattern Notes
- One Size – 15 ” Diameter x 3-1/2″ tall.
- * Designates a repeat.
- Ch 1 does not count as a stitch.
- Skill Level : Easy
1. How to Crochet a Pumpkin
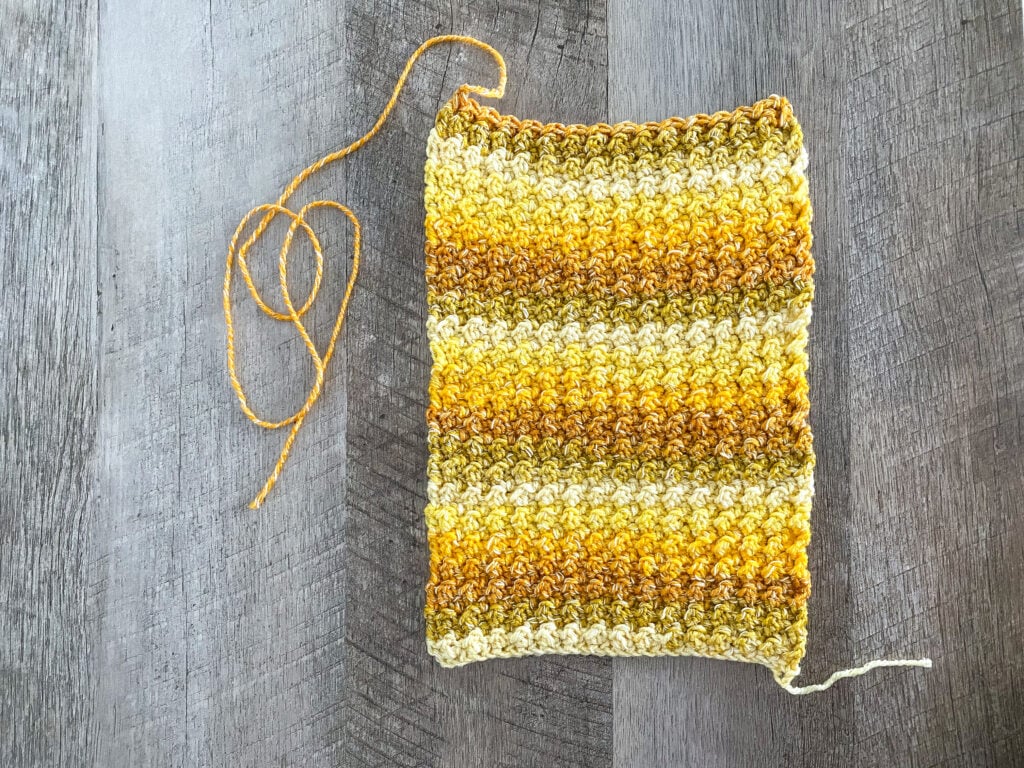
Row 1 – Fsc 30
Row 2 – Ch 1, turn, sl st in 1st sc, dc in next sc, *sl st in next sc, dc in next sc, repeat from * to end.
Row 3 – Ch 1, turn, sl st in 1st dc, dc in next sl st, *sl st in next dc, ds in next sl st, repeat from * to end.
Rows 4 to 46 – Repeat Row 3, leave a 28″ long tail and finish off.
Finished Panel Measurement is 7″ x 9-1/2″ 1.6 ounces
2. How to Assemble your Crochet Pumpkins
1. Thread your yarn needle and fold the panel in half to align Row 1 and Row 46.
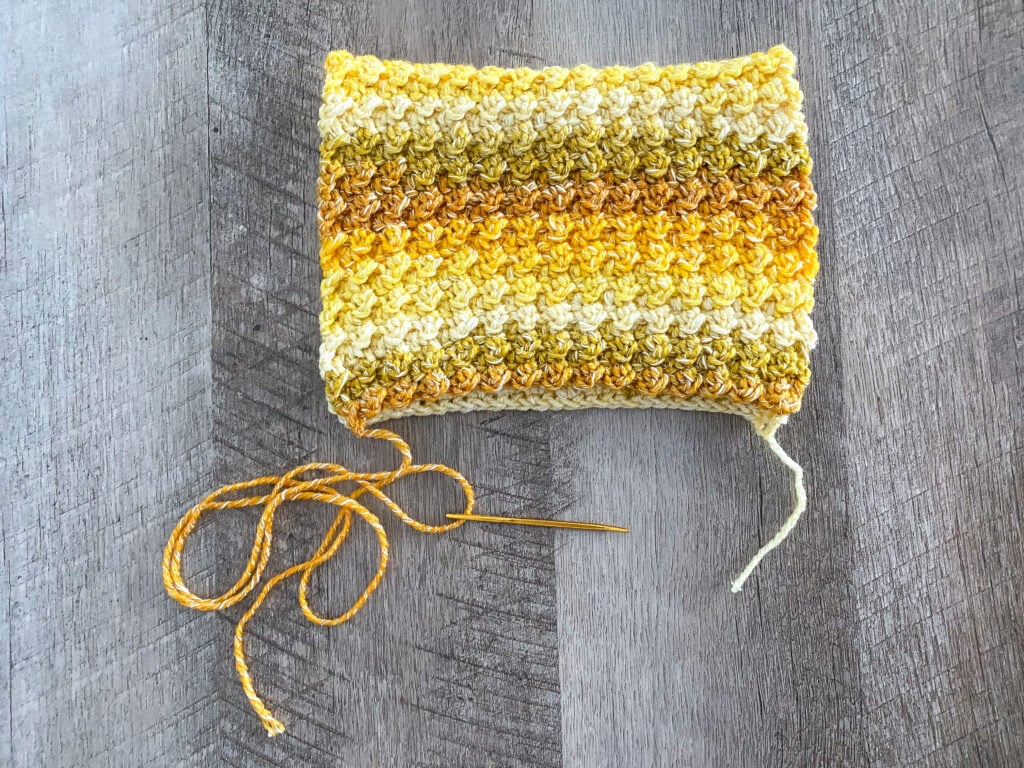
2. Seam Row 1 to Row 46 down the side.
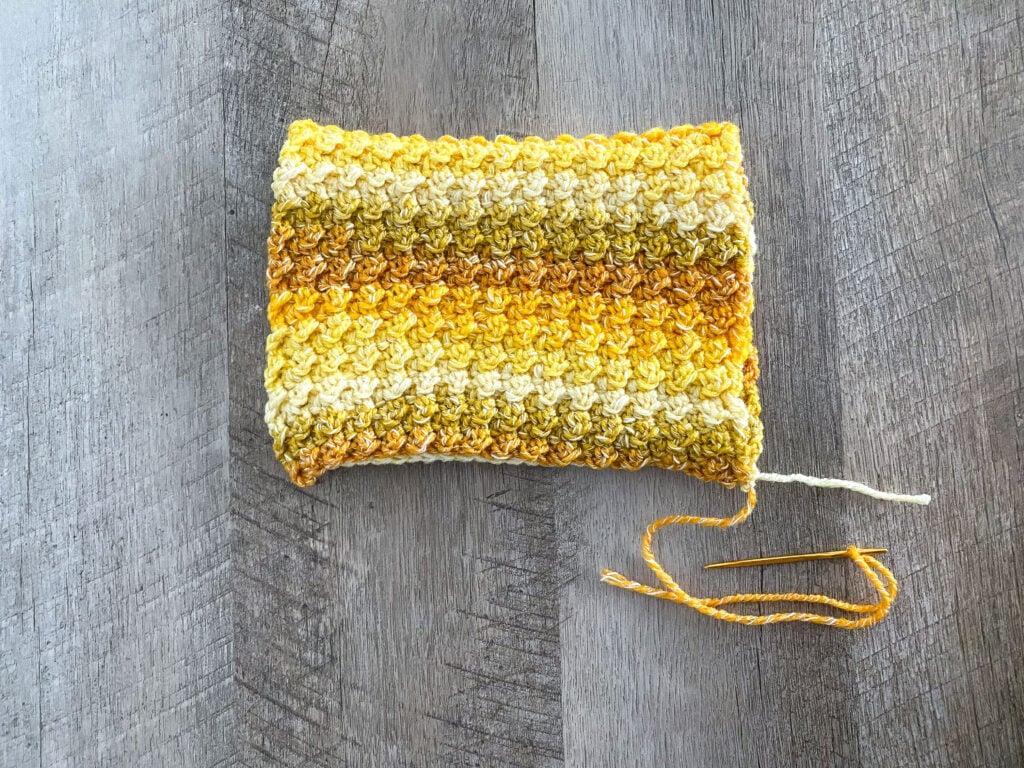
3. Cinch together by creating an “X” and then cinch in again by bringing the ends of the “X” in to the center, finish off.
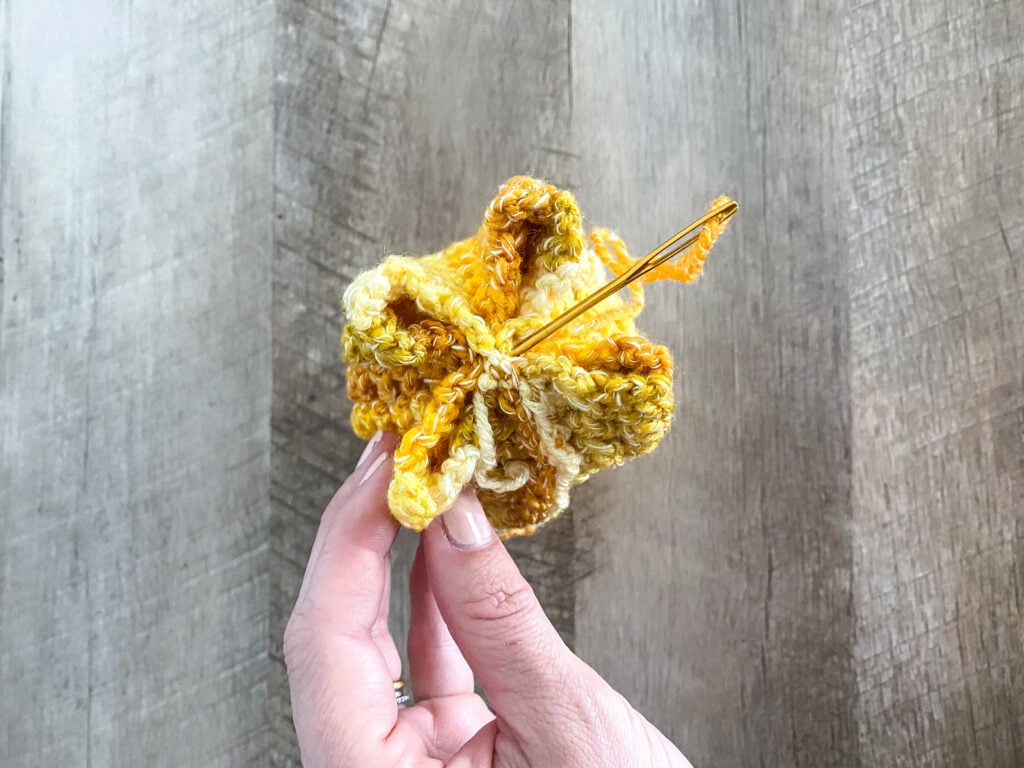

4. Fold your crochet pumpkin inside out.
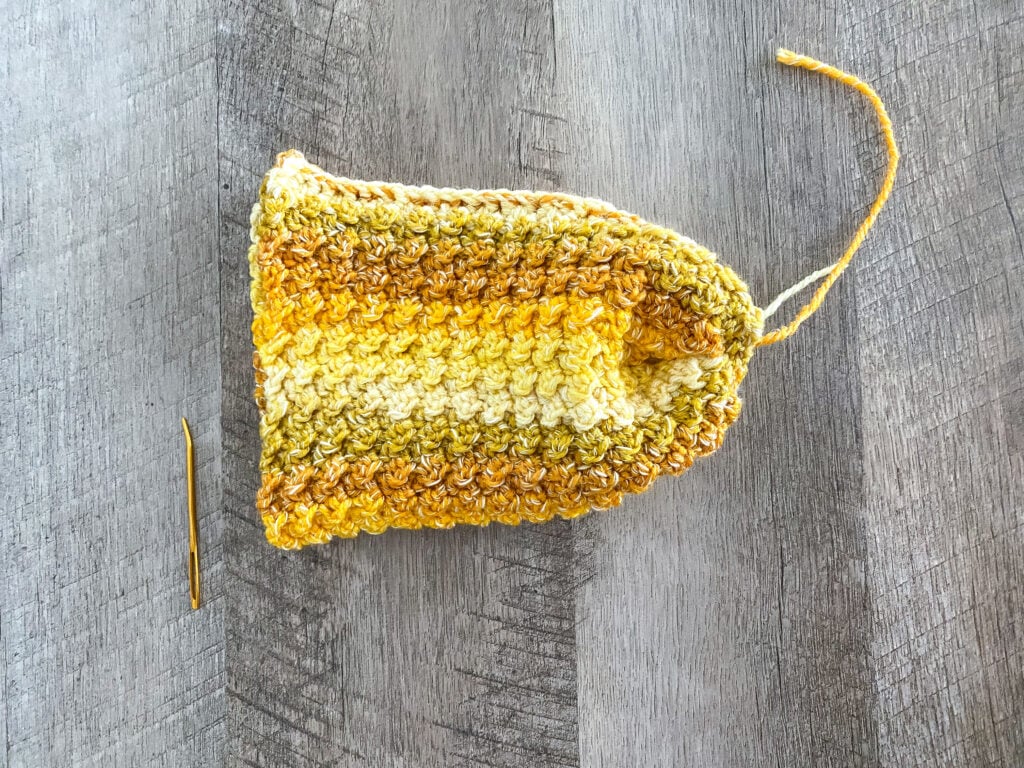
5. Then add stuffing.

6. Cut (5) 24″ long pieces to create the creases on your rustic pumpkin. Thread 1 on your needle and re-attach to your seam.
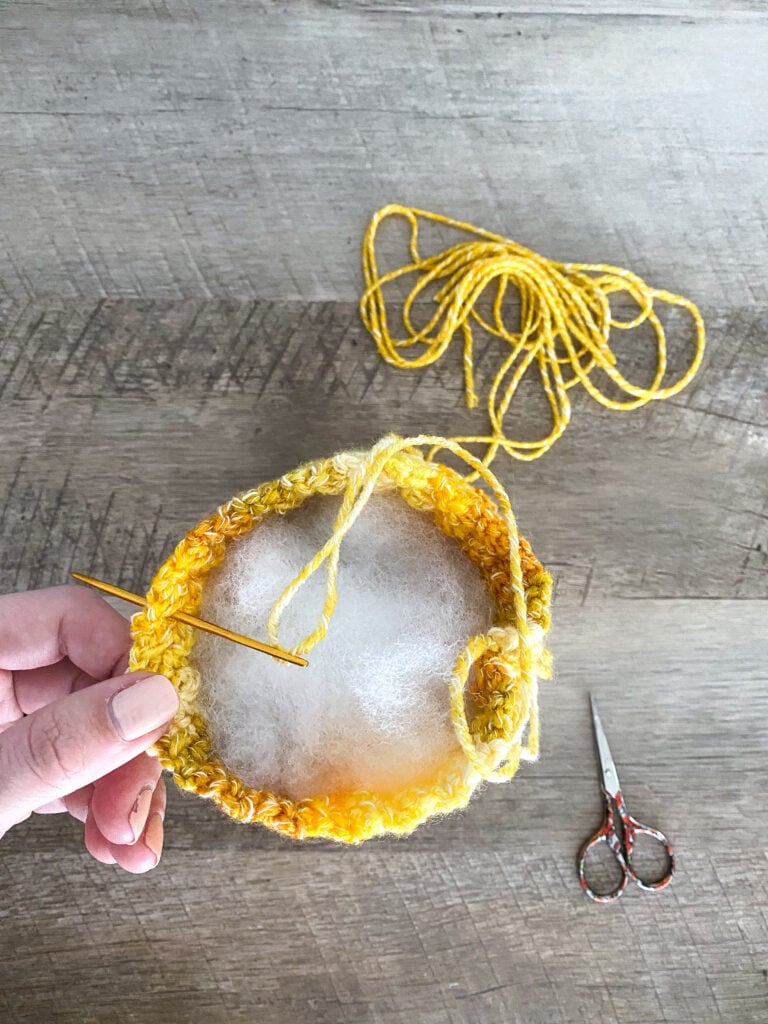
7. Cinch together as you did on the top.
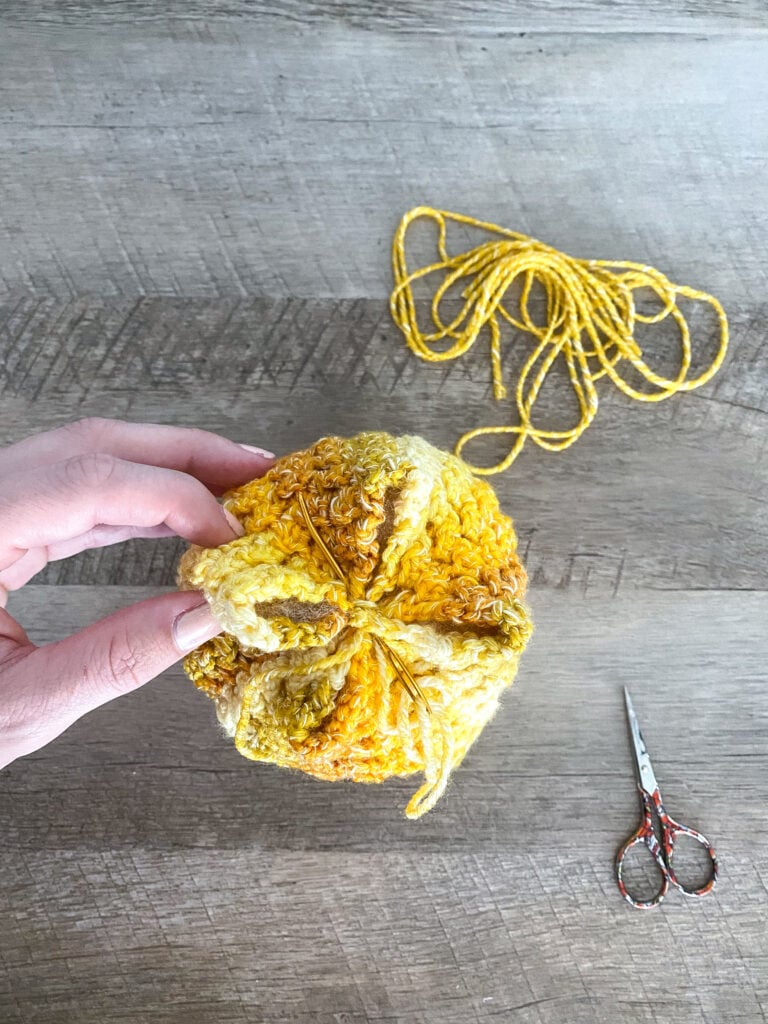
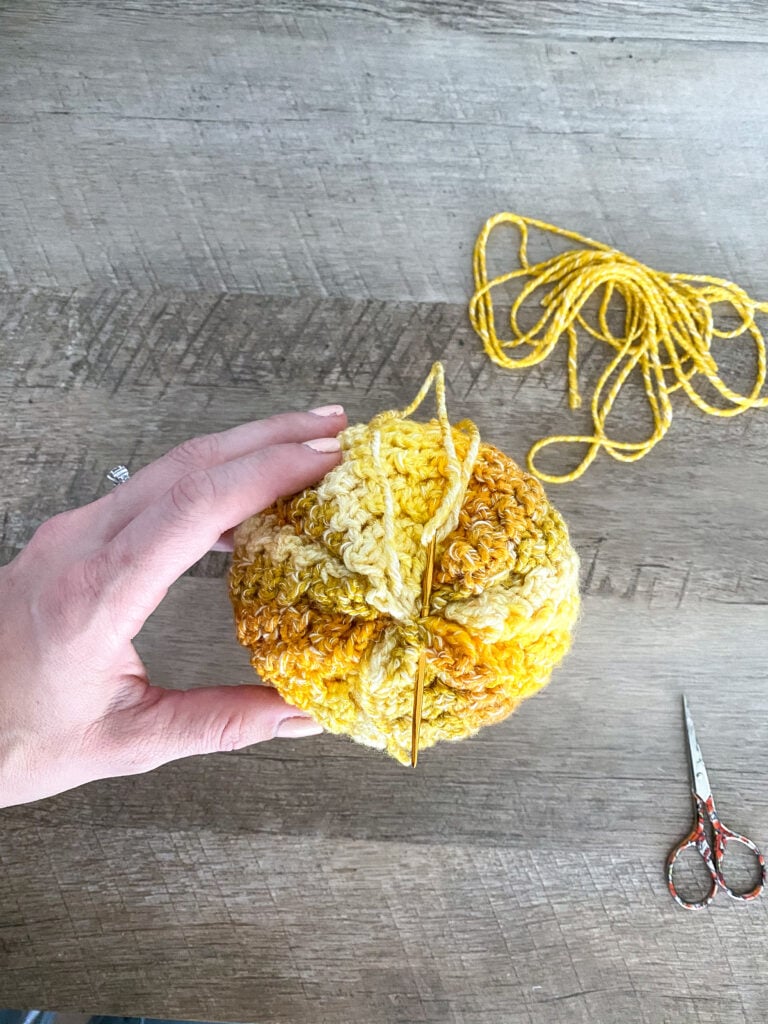
8. Squish your fall pumpkin to adjust the stuffing, then poke needle from one cinched side to the other through the center of the pumpkin.

9. Pull tight to create a nook on each end, then go around the outside to thread through the same way again to begin creating pumpkin creases, finish off.
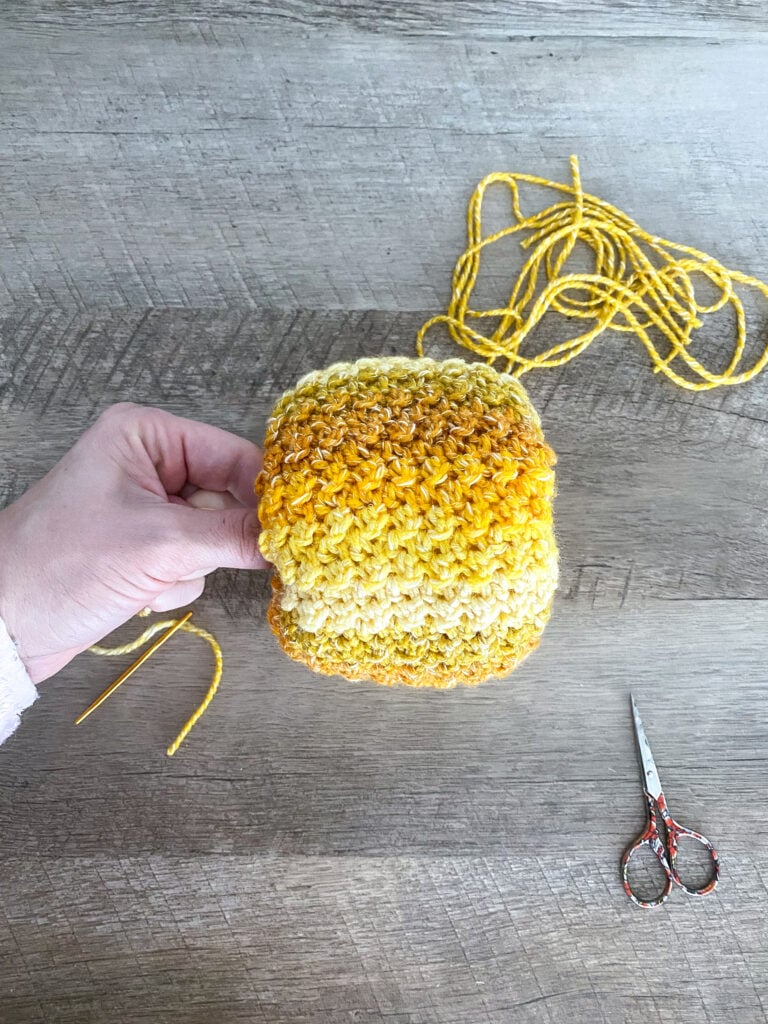
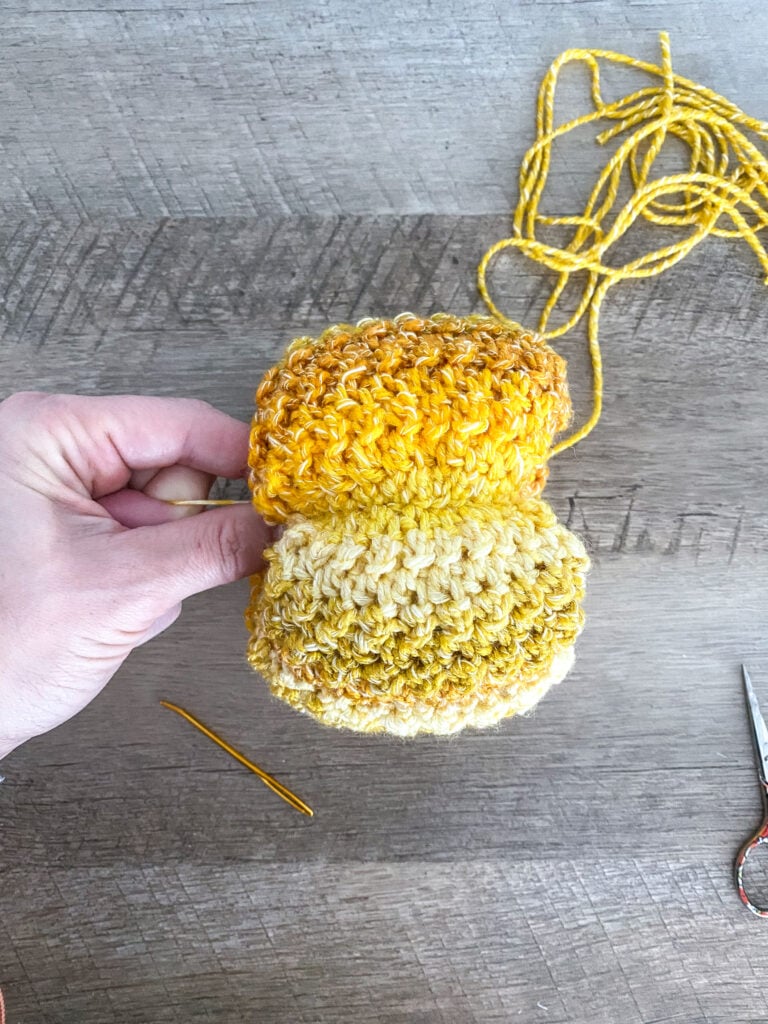
10. Thread your needle again and repeat process for creating pumpkin creases. Be sure to space evenly and have ends all on one side.

11. You should have 5 pumpkin creases, feel free to add more if you would like! You can leave your ends loose, tie them in a bow, or weave them in and add any style of stem you choose! Get creative with how you style you fall rustic pumpkins!
I hope you enjoyed making these cute little rustic crochet pumpkins! If you’re looking for more crochet projects, check out my entire Free Patterns Sectionand find something to make today! Make sure to sign up for the Life and Yarn Newsletter so you never miss a new great crochet pattern!
Looking for more home decor projects?
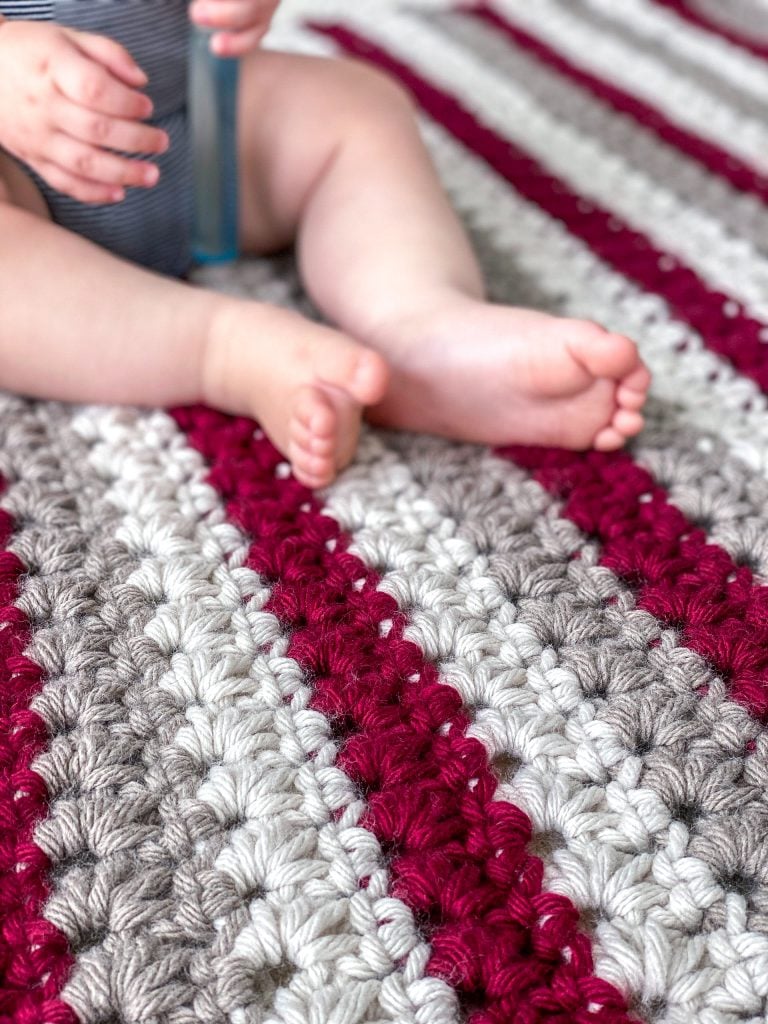
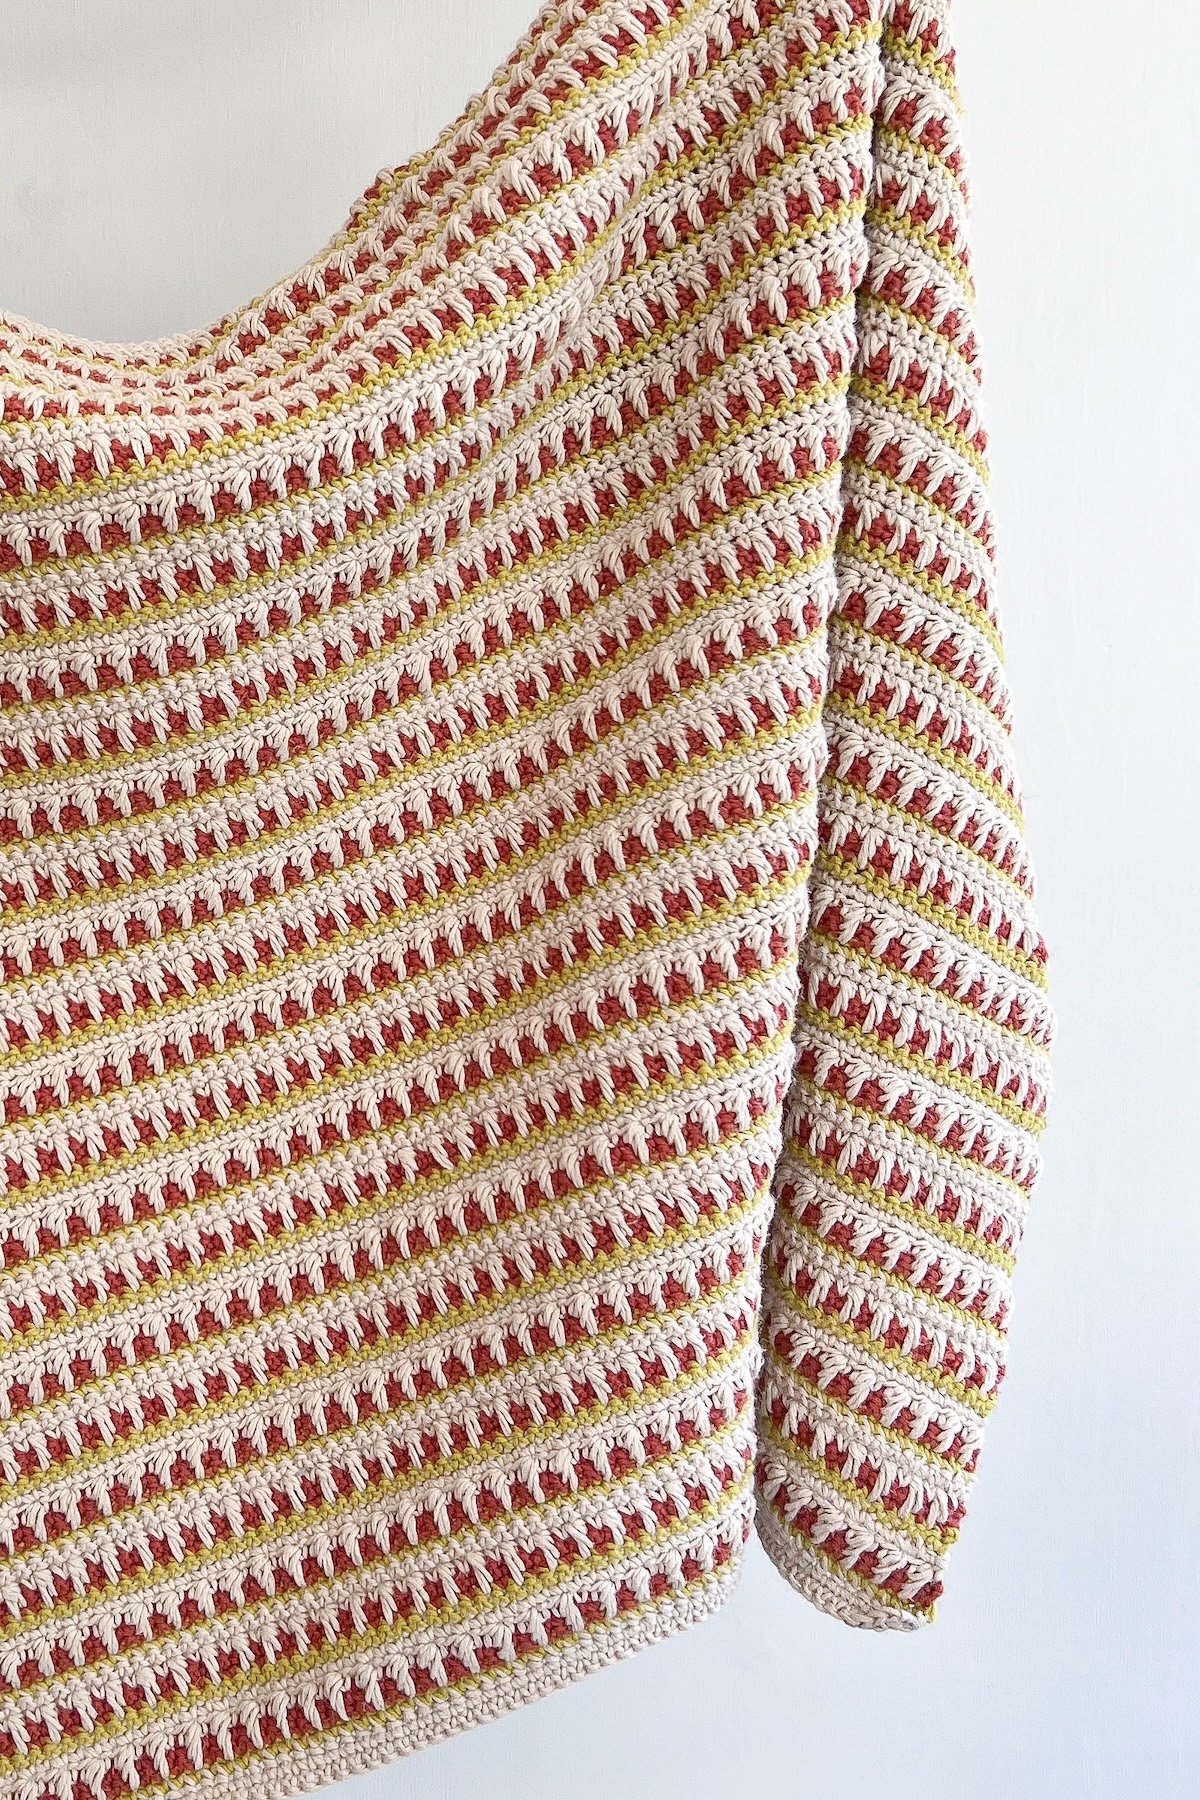
Make this Easy Star Stitch Baby Blanket!
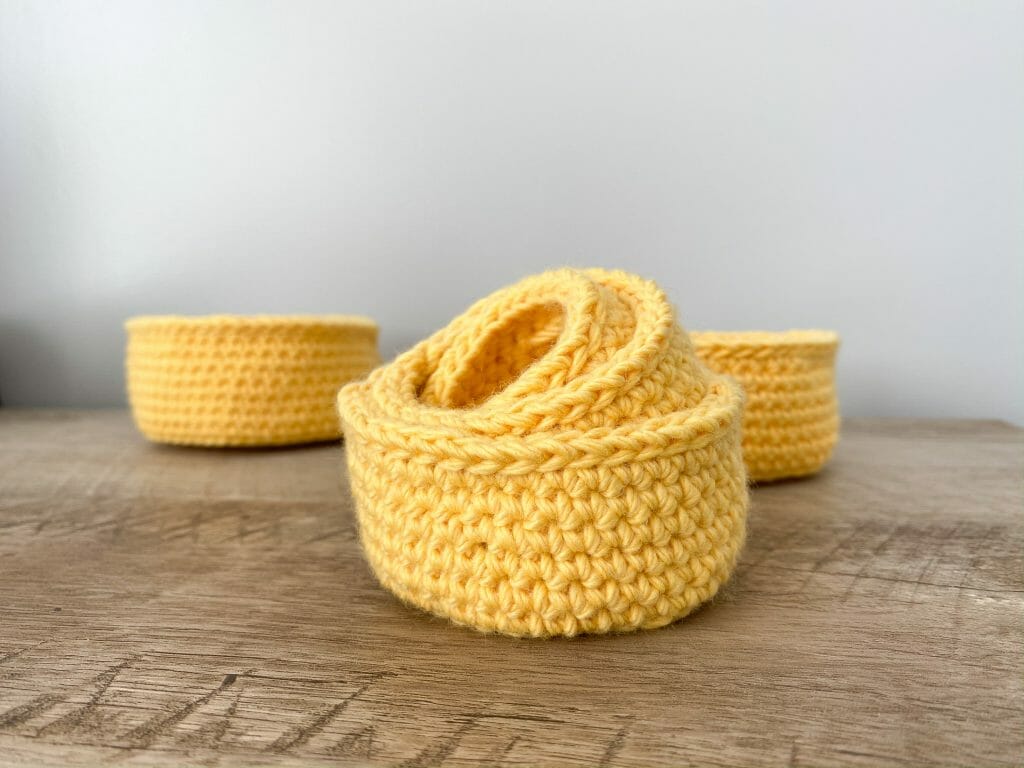
Create these Mini Nesting Baskets! They are great for small items like stitch markers, paper clips or hair ties!
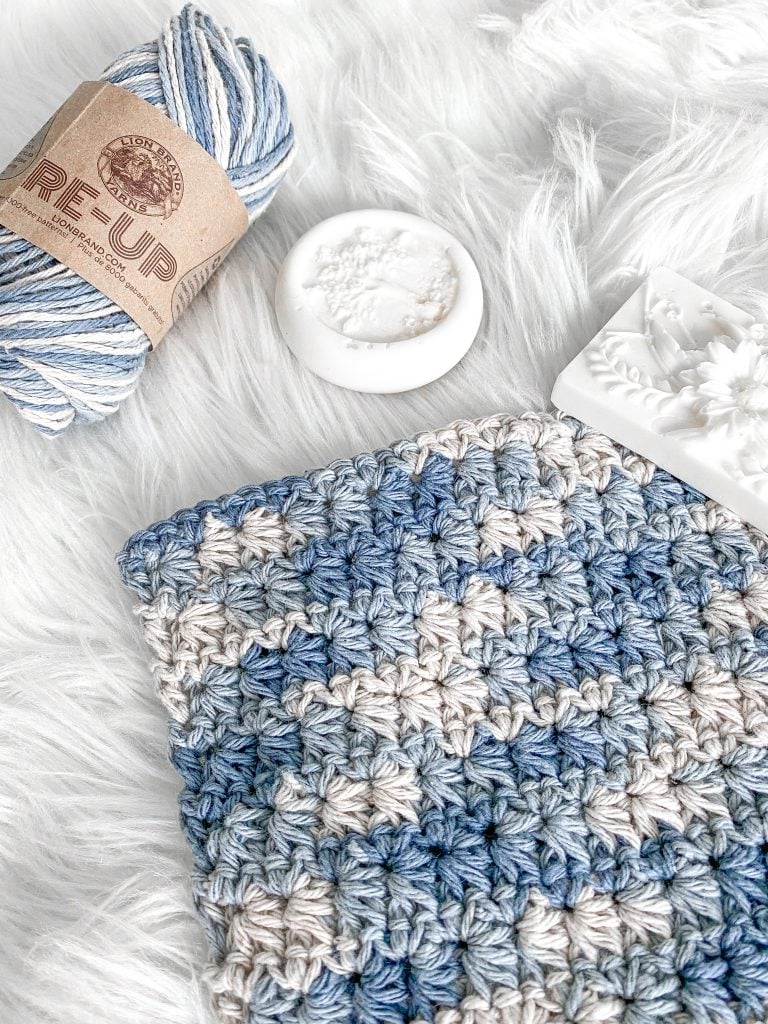
This washcloth has a full photo tutorial for the star stitch! Learn how to do the star stitch with this easy crochet washcloth!



3 Comments