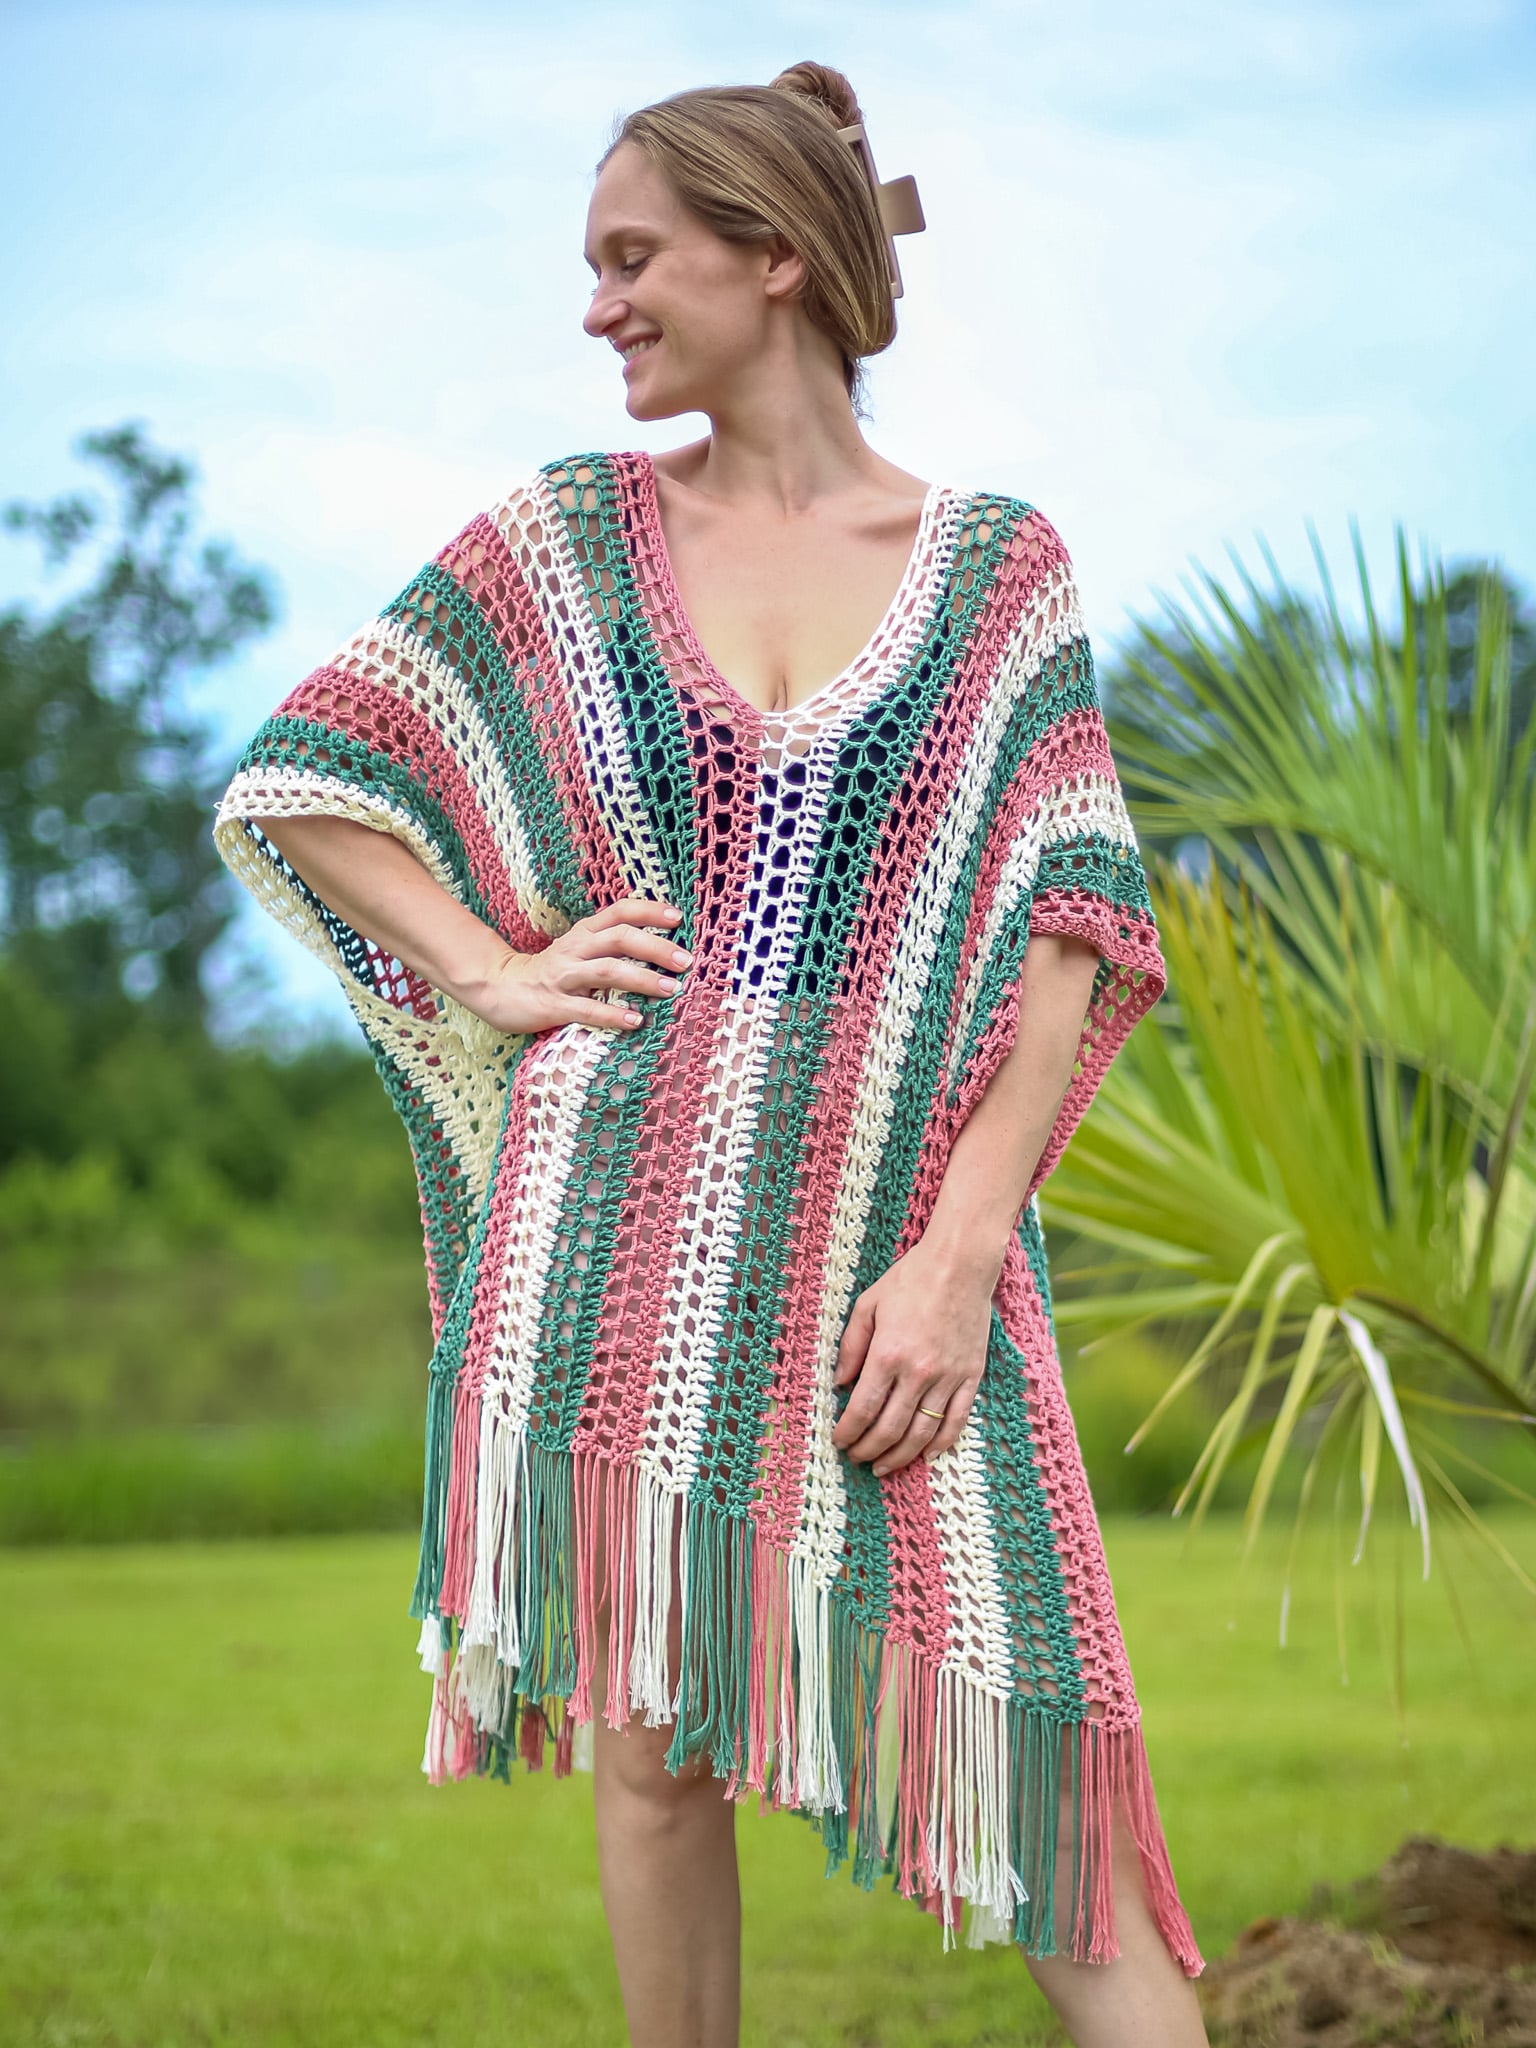
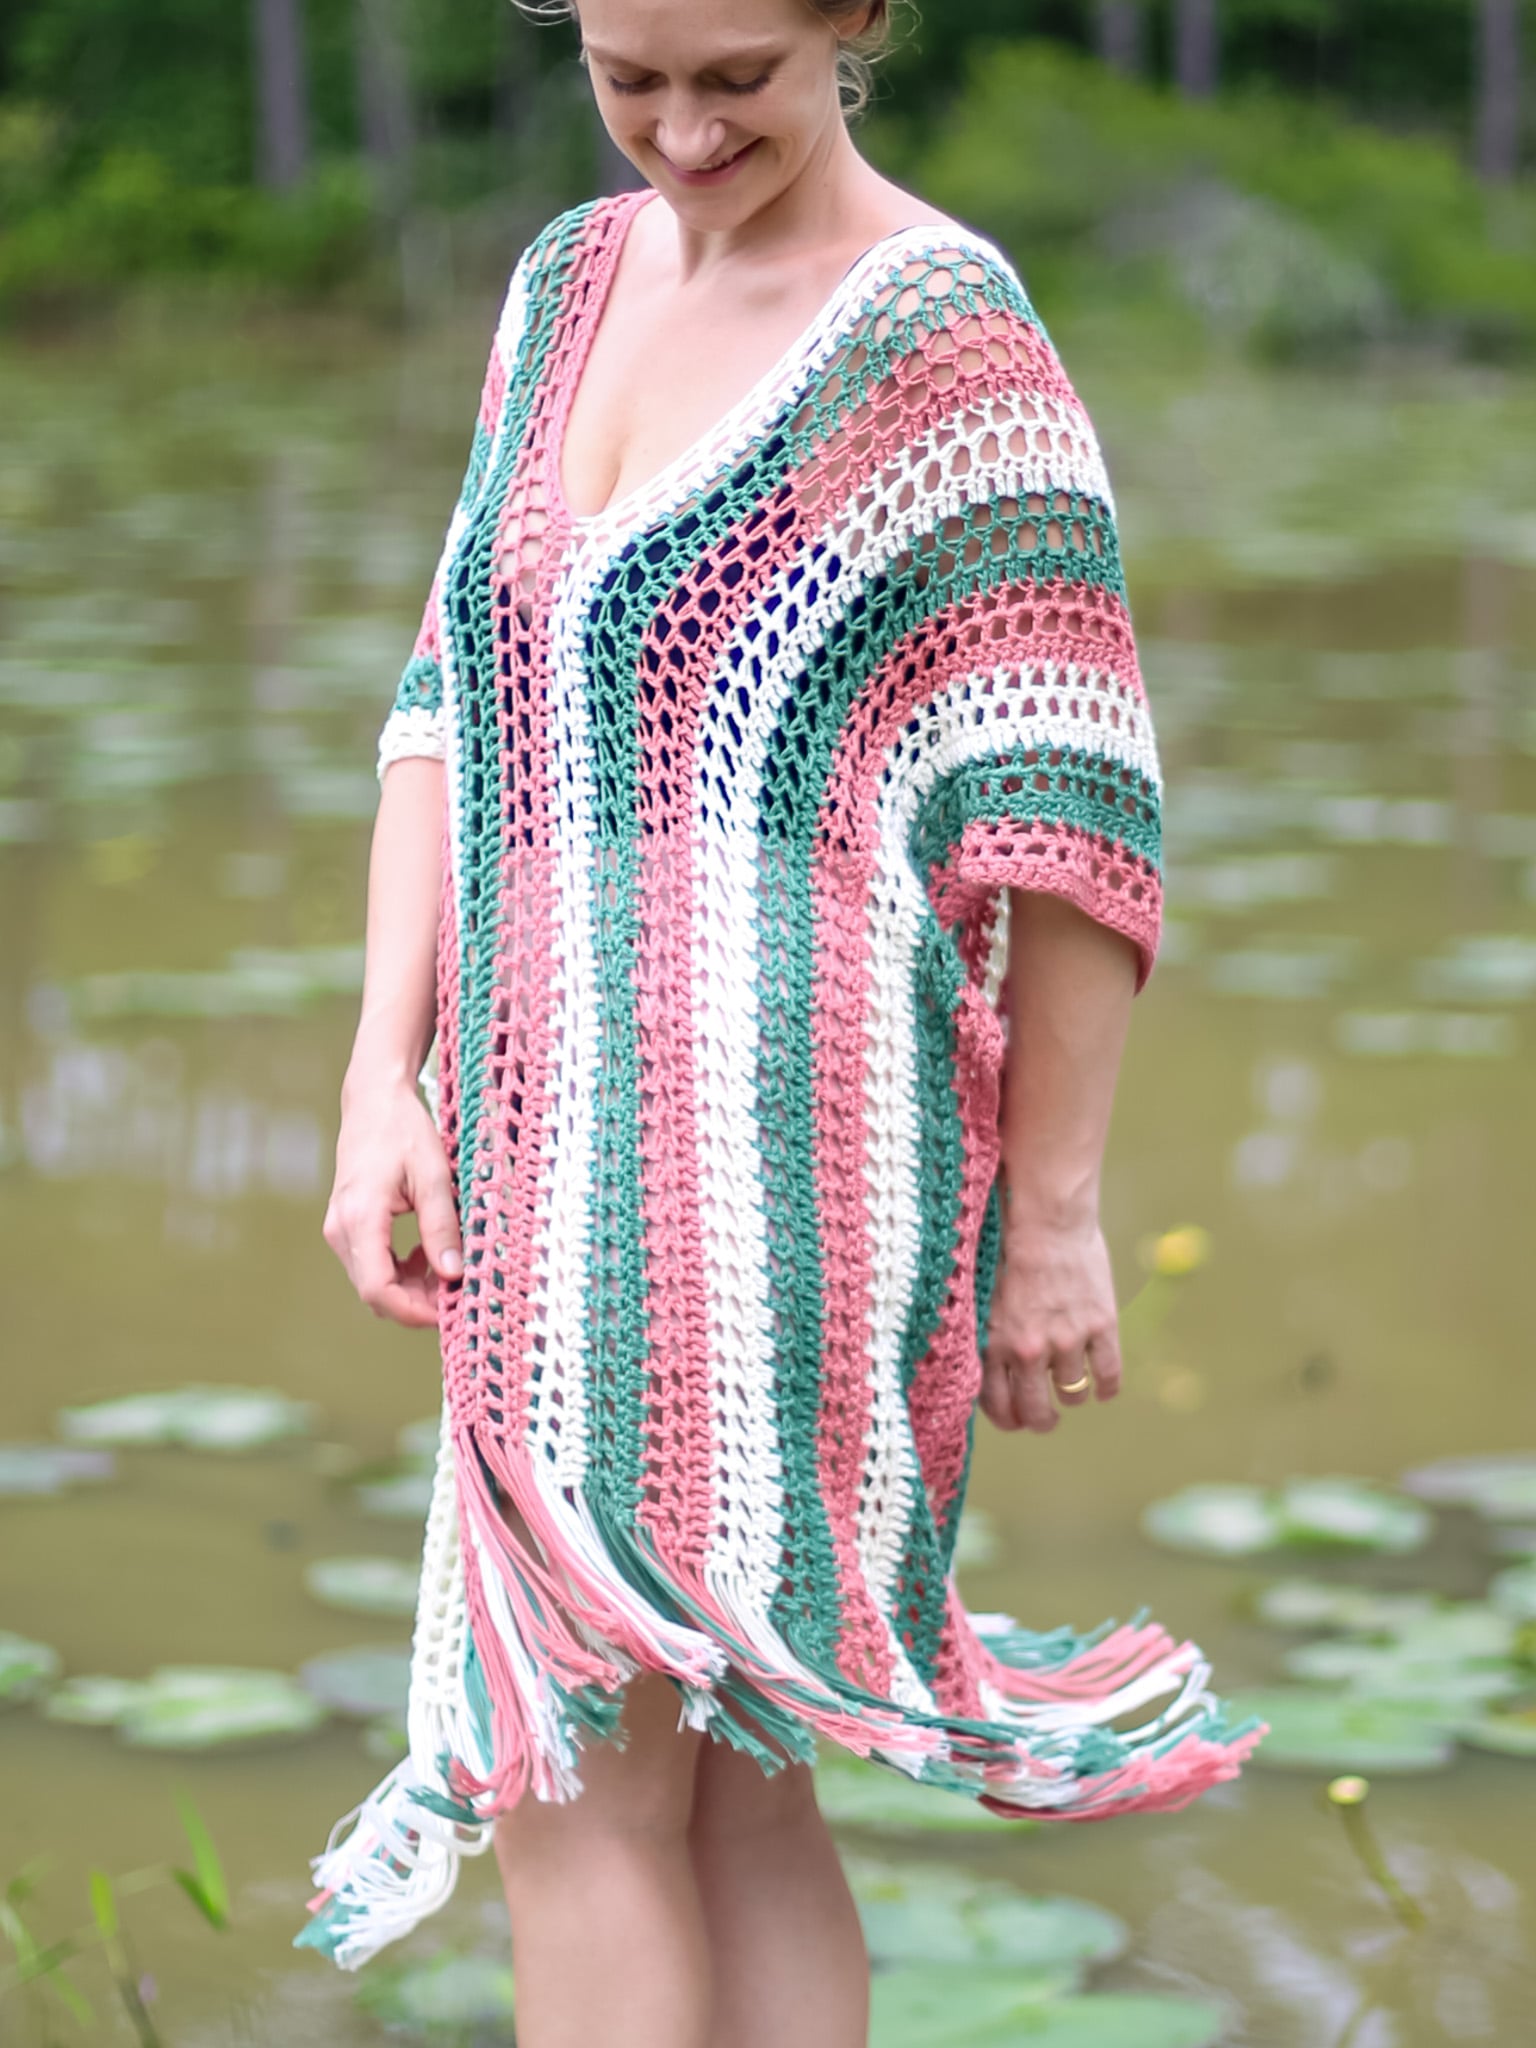
Free Crochet Summer Poncho Pattern – Light and Lacy
Crochet this lacy summer poncho in just one simple piece and is perfect for warm weather! Most styles of ponchos are created using two simple rectangles but this one uses as special crochet technique to minimize seaming! Easy poncho patterns like this one are great for beginner crocheters looking to start to make crochet clothes! Happy Crocheting!
Best Bang for your Buck, get a Kit From Lion Brand includes a printable PDF ad-free pdf version of this pattern and Yarn!
Get a PDF Pattern on in my Etsy Shop or Ravelry!
About this Easy Crochet Summer Poncho Pattern
This perfect summer poncho was originally made in a yarn that has been discontinued, I think the company is even gone!
So, last summer I started doing a bit of planning to carve out time to do a few remakes and this is one (of many) coming your way! The original yarn had wonderful drape, perfect for warm summer days so I knew I needed to find something similar…
While picking through my yarn stash I pulled out a partial skein of Coboo from Lion Brand Yarn and knew immediately that I had a perfect yarn sub, so Thea got moved to the top of my list!
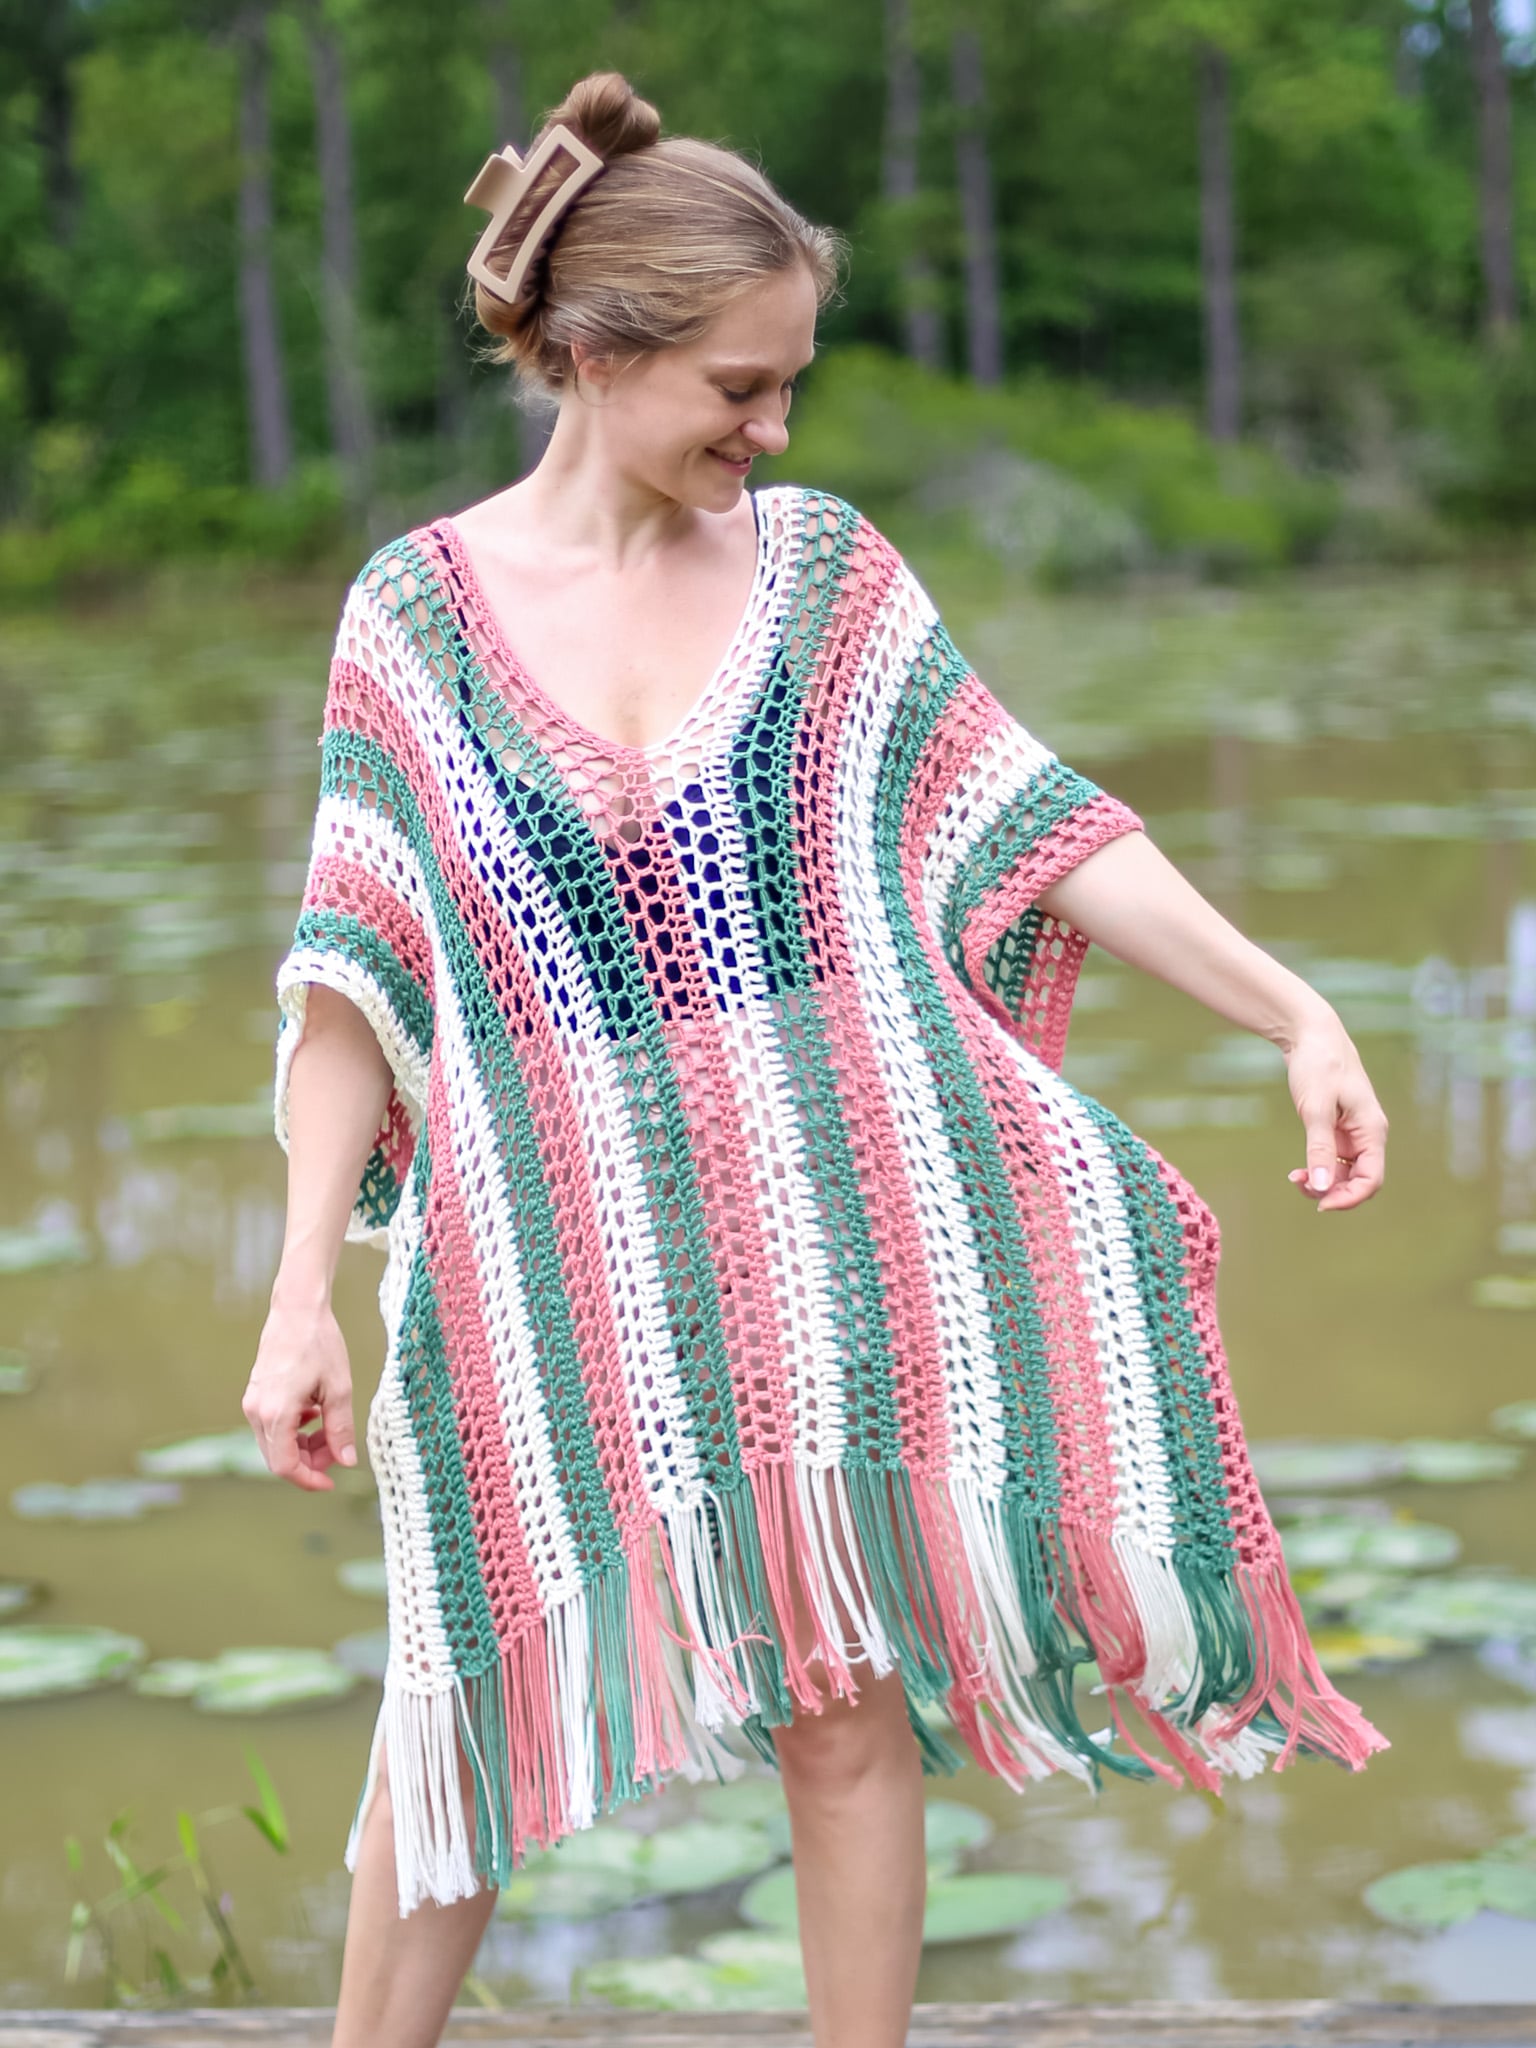
I had 3 colors that perfectly matched the original Thea but I really wanted to try the color Bayberry, which was a newer (to me) Coboo color.
I really loved how it looked with Vanilla Blossom and Terracotta judging by the online photos. So I ordered some Bayberry to add to my stash with Admiral as a backup if it didn’t give me the look I wanted when it showed up in the mail….obviously I loved the combo because that’s what my new sample is!
Crochet Summer Poncho
- Both sides are the right side.
- If you want you can modify this to a tank top, just significantly shorten the foundation chain, neck opening and maybe even the total number of rows. Read more in “Tips for Sizing” below.
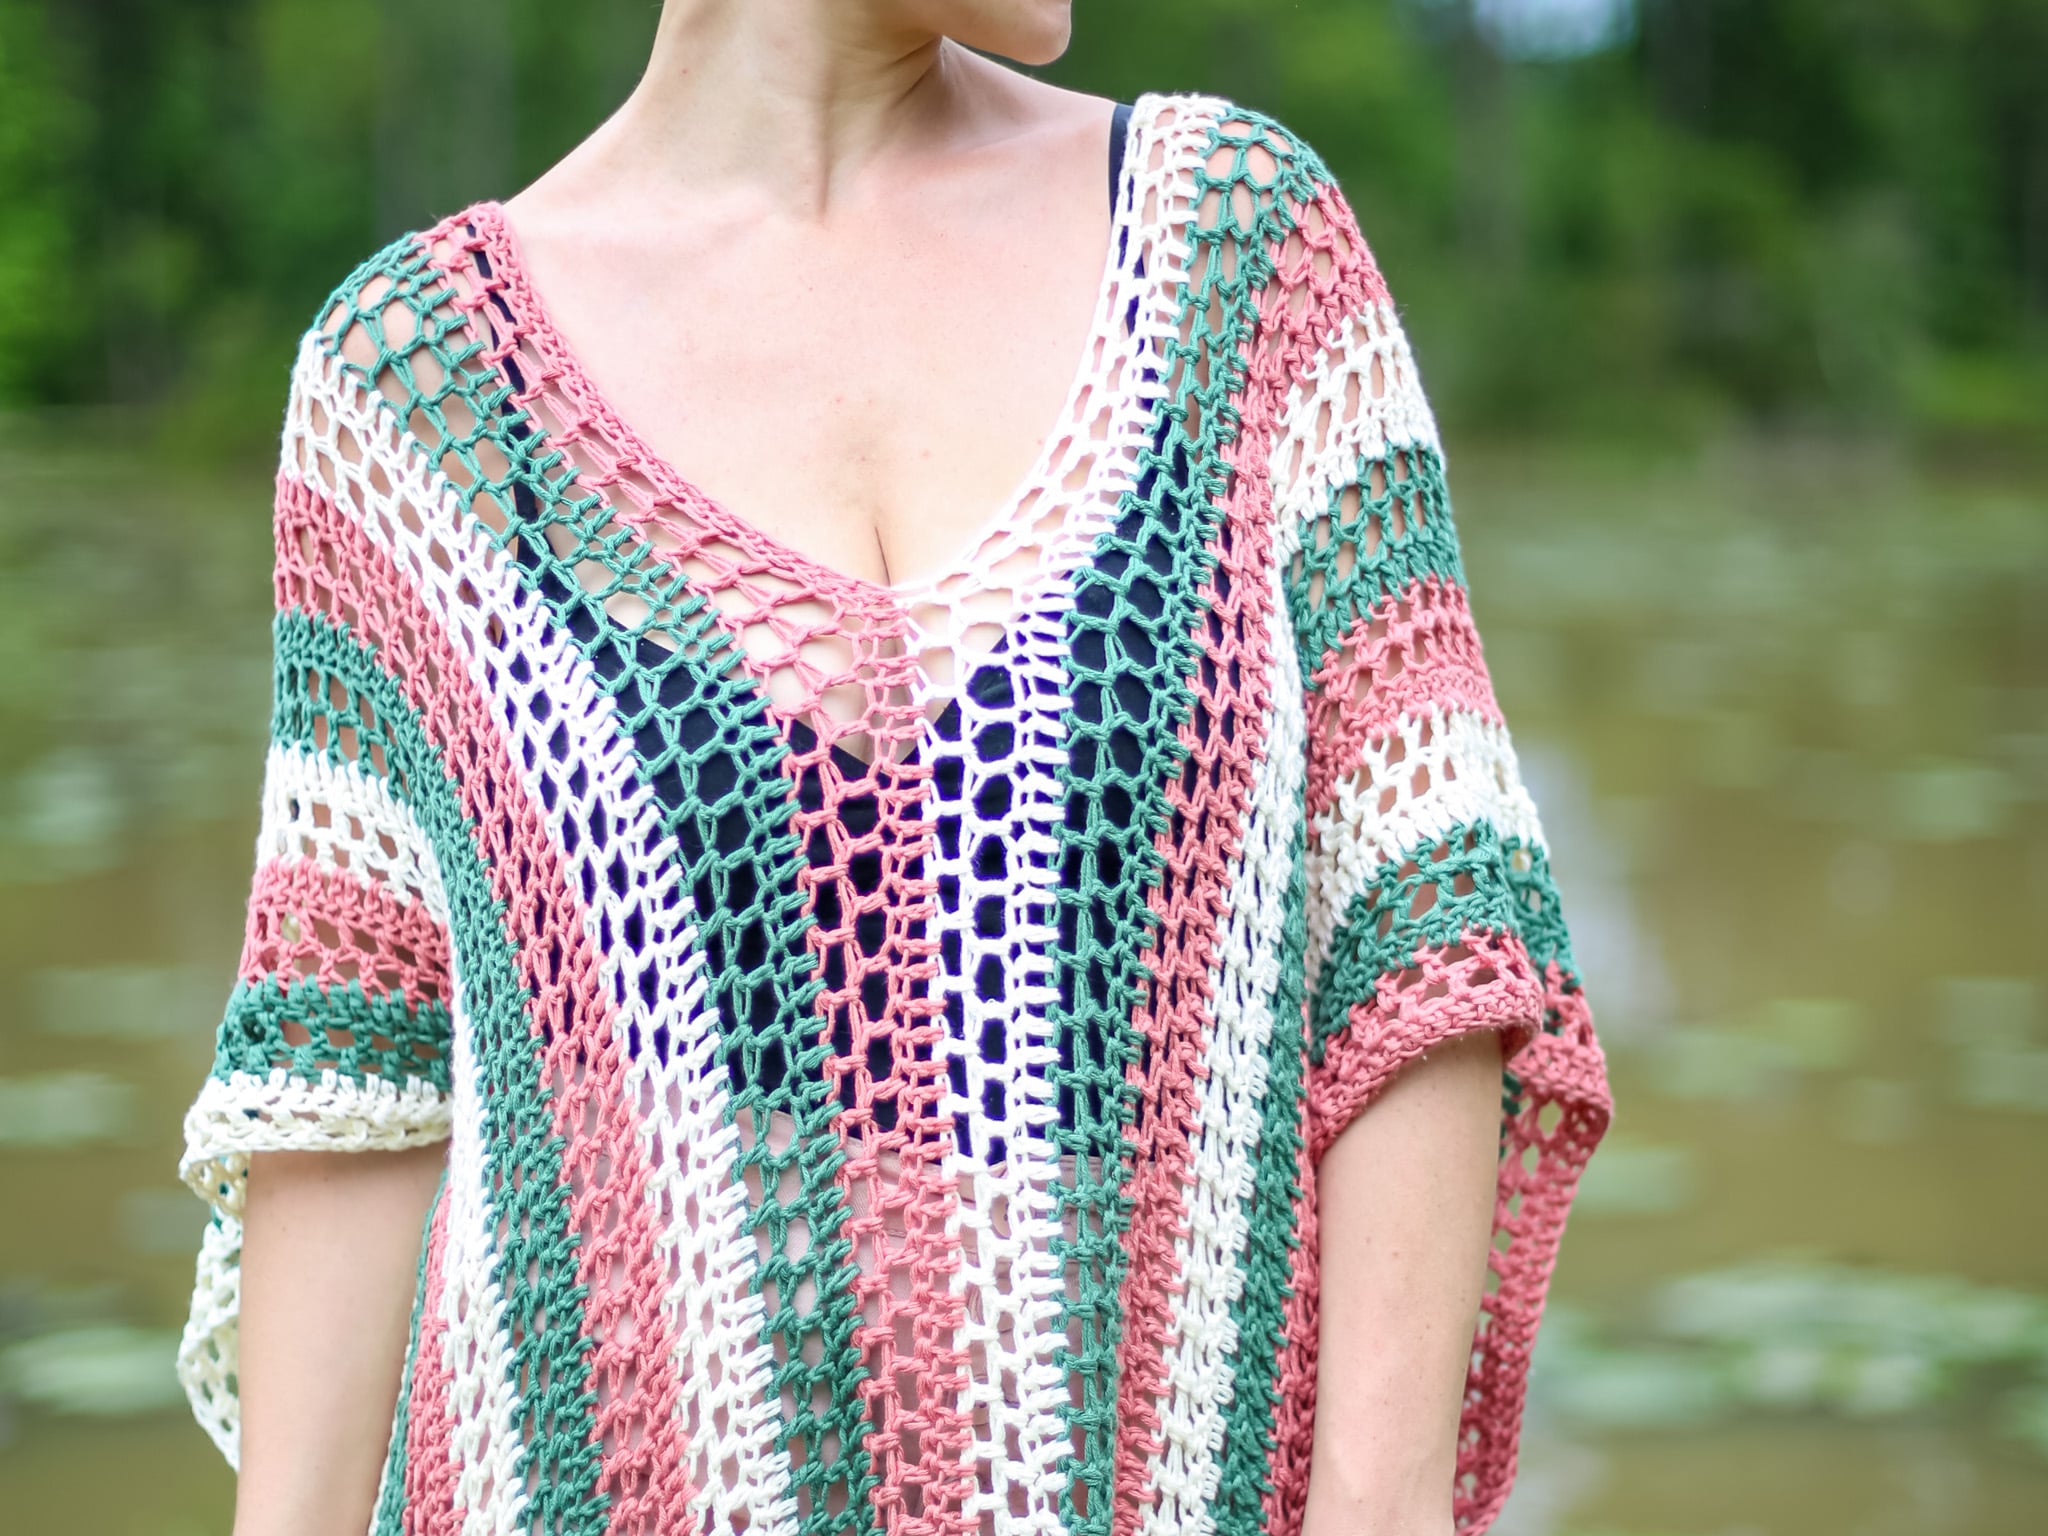
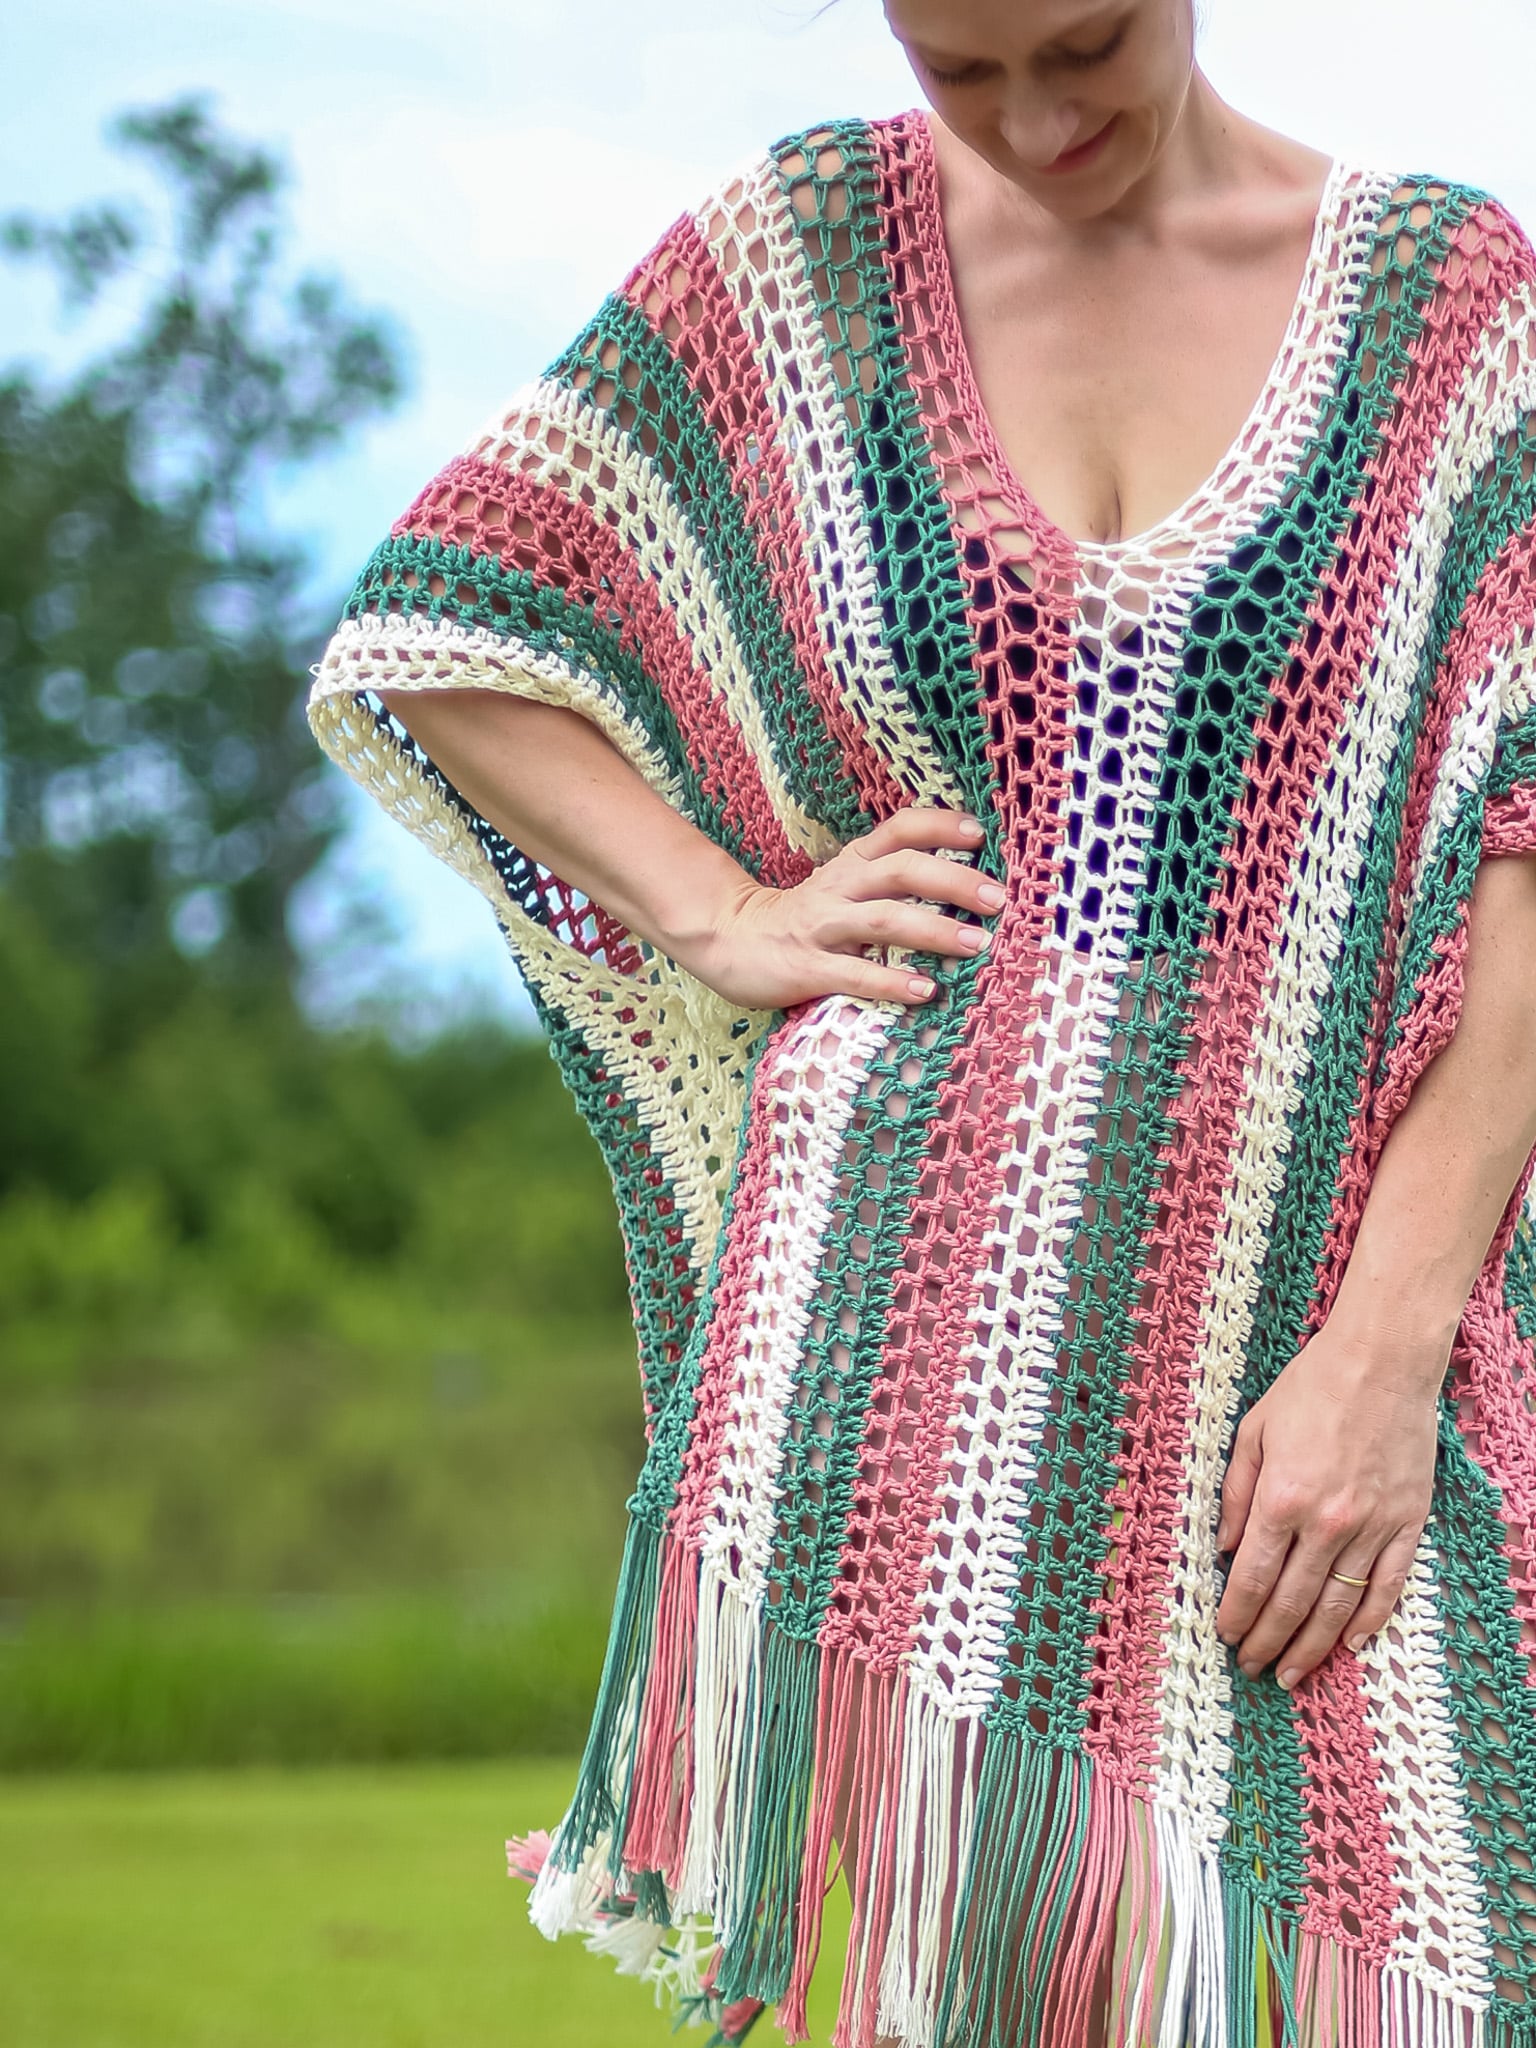
- This is a super simple stitch pattern. Once you get going it’s easy to remember, it is essentially a double crochet moss stitch with one solid row.
- You only need to know a few simple stitches for this pattern, it’s mostly chains and double crochet!
- The yarn weight for this pattern is a CYC 3 but you could try to gauge with a CYC 4 and still make a lacy crochet poncho!
- If you have never made crochet garments and this is your first time creating a wearable you picked a great pattern!
- A Video Tutorial is coming if you are a visual learner! I’m trying to stay ahead but summer with 4 littles and something amazing happening for our family is pulling my attention…you’ll know soon!
- This pattern is written in two sizes, Standard and Plus and is meant to be oversized and fit a range of sizes and body types. Read more about sizing and adjusting in depth below.
- Although made in one piece be sure to that each side is two identical rectangles, you should have the same amount of rows per side.
- This poncho is perfect for summer where light layers are a must. Dress it up with a belt or throw it on to hop down to the pool!
- Even though this summer crochet pattern is made with simple shapes, the oversized fit an draping stitches make this a flattering crochet wearable!
- I love ponchos, if you do too, check out all of my Ponchos and Ruanas!
Yarn Substitutes
- Cotton Hemp – This would be a great yarn but would make this poncho much more heavy feeling.
- Pima Cotton – Super soft and a beautiful color pallet!
- Any CYC Cotton Yarn!
Come find me on…
- Like my Facebook Page
- Join my Facebook group!
- Subscribe to my YouTube Channel for Free Crochet Tutorials
- Get PDFs on Etsy
- Get PDFs on Ravelry
- Sign Up for the Life and Yarn Newsletter for more free modern crocheted ponchos!
- Please Note: Some links may be affiliate links that help to support the Life + Yarn Blog with a small commission at no added cost to you, thank you!
- Copyright Orig. 2019, Copyright 2026, Life and Yarn, Brianna Iaropoli. Pattern contents are NOT to be re-shared, DIRECT LINKS ONLY to this post for the pattern.
Materials
- Size 6.00mm crochet hook
- 2 Skeins of Lion Brand Coboo Terracotta [835-135A]
- 2 Skeins of Lion Brand Coboo Vanilla Blossom [835-099W]
- 2 Skeins of Lion Brand Coboo Bayberry [835-172N]
- Dk Weight No. 3 – 365 (460) yards EACH color.
- Tapestry Needle
- Stitch Markers
Gauge
- BLOCKED: 7 Rows X 13 sts in pattern repeat is 4” x 4”
- Make a Row 1 of 17 Fdc and then follows the pattern repeat below.
- Wether you are working with the recommended yarn, a yarn of similar fiber content or something different, gauge for this pattern along side your preferred blocking method is EXTREMELY important to make sure your poncho is the right size, fits properly and you have enough yardage.
- Lion Brand’s Coboo does/can block out significantly in this stitch while other fibers might not.
- You will need to create a swatch larger than the given gauge to measure your gauge:
Make a starting Fdc of 17 and complete at least 9 rows to measure for your swatch. - My BLOCKED gauge is 7 Rows X 13 sts in pattern repeat is 4” x 4” my unblocked gauge was less and wonky so please beside to block to meet by gauge!
- For this pattern I only did a light steam blocking to relax the fabric, open the stitches and straighten my edges. Once worn it grew even more!
- If using a different fiber, like wool or a cotton blend for example, you may need to change your hook and/or blocking method to reach the same Blocked/Finished Gauge.
Sizing
- Standard (Plus) – Choose the size below that will fit best and follow the appropriate size.
- Standard is approximately 30 inches wide or a 60-inch circumference. Once folded in half and assembled this size will be approximately 26 inches from shoulder to bottom hem WITHOUT fringe.
- Plus is approximately 35 inches wide or a 70-inch circumference. Once folded in half and assembled this size will be approximately 29 inches from shoulder to bottom hem WITHOUT fringe.
- You can mix, match and adjust using the instructions in “Tips for Sizing Below”.
Tips for Sizing
- How to Adjust the Length of the Body: The length of the poncho body is dictated by the number of stitches in this pattern. To add length you will add/subtract stitches to the starting chain for the Body Panel by 2’s. You will need to adjust the location of the neck opening.
- How to Adjust the Width of the Body: The width of your body is dictated by the number of rows in this pattern. To add/subtract width you will add/subtract rows. Remember to add or subtract the same number of rows to both sides so that the neck opening is in the center.
- How to Adjust the Neck Opening: To adjust the Neck Opening you will need to start your Foundation Double Crochet Extension at a different point. Make sure to skip the correct number of stitches.
- IMPORTANT NOTE: Any changes to sizing will affect your yardage, buy extra skeins if you plan to adjust sizing to avoid running out of yarn or lot color variations.
Stitch Descriptions and Abbreviations
- Chain Stitch – ch
- Stitch(es) – st(s)
- Skip – sk
- Double Crochet – dc
- Foundation Double Crochet – Fdc – Ch 4, yarn over, insert hook into 4th chain from the hook, yarn over and pull up loop (3 loops on hook), yarn over and pull through 1 loop (3 loops on hook), yarn over, pull through 2 loops, yarn over, pull through all loops (1 foundation double crochet with chain at bottom created). *Yarn over, insert hook to bottom of the stitch you just made, it will look like the top or “V” of a stitch, yarn over and pull up a loop (3 loops on hook), yarn over and pull through 1 loop (3 loops on hook), yarn over and pull through 2 loops (2 loops on hook), yarn over pull through all loops.
- Foundation dc Extension – FdcExt – Follow Fdc above but you will skip the starting ch 4 and repeat from * as needed.
Pattern Notes
- Skill Level: Easy
- * Designates a repeat.
- “sc 1” means to single crochet in the next stitch.
- “sc 2” means to single crochet in each of the next 2 stitches.
- “2 sc” means to single crochet twice in the next stitch to create an increase.
- Ch 4 counts as a dc and ch 1.
- Ch 3 counts as a dc.
- Total Stitch Counts do not change in rows.
Easy Crochet Poncho Pattern
Body Panel
Color Changes: Each color is worked for 3 rows and then switched. So Rows 1-3 Color A, Rows 4-6 Color B, Rows 7-9 Color C and so on.
Row 1 – Fdc 171 (191).
Row 2 – Ch 4, turn, skip next dc and dc in next dc stitch, *ch 1, skip next dc, dc in next dc stitch, repeat from * to end. [171 (191) total stitches]
Row 3 – Ch 3, turn, dc in first ch-sp, ch 1, skip next dc, *dc in next ch-sp, ch 1, skip next dc, repeat from * to t-ch4, dc in 4th ch of t-ch4, dc in 3rd ch of turning ch-4. [171 (191) total stitches]
Row 4 – Ch 3, turn, dc in each dc stitch and each ch-1 space and in 3rd ch of t-ch 3.
Row 5 – Repeat Row 2.
Row 6 – Repeat Row 3.
Rows 7 to 27 (33) – Repeat Rows 4 to 6.
Row 28 (34) – Ch 3, turn, dc 57 (67) in each dc and ch-1 space, FdcExt 55, sk 55 sts, dc in each remaining dc and ch-1 sp to end. [171 (191) total stitches]
Row 29 (35) – Ch 4, turn, skip next dc and dc in next dc stitch, *ch 1, skip next dc, dc in next dc stitch, repeat from * to end. [171 (191) total stitches]
Row 30 (36) – Ch 3, turn, dc in first ch-sp, ch 1, skip next dc, *dc in next ch-sp, ch 1, skip next dc, repeat from * to t-ch4, dc in 4th ch of t-ch4, dc in 3rd ch of turning ch-4. [171 (191) total stitches]
Rows 31 (37) to 54 (66) – Repeat Rows 4 to 6, finish off.
Assembly
- Fold your Poncho panel in half to line up the row ends.
- Seam from the bottom up to create the side seams forming the arm openings. I seamed about 2/3 of my stitches together using a mattress stitch.
- Finish off, weave in your end and repeat on the other side.
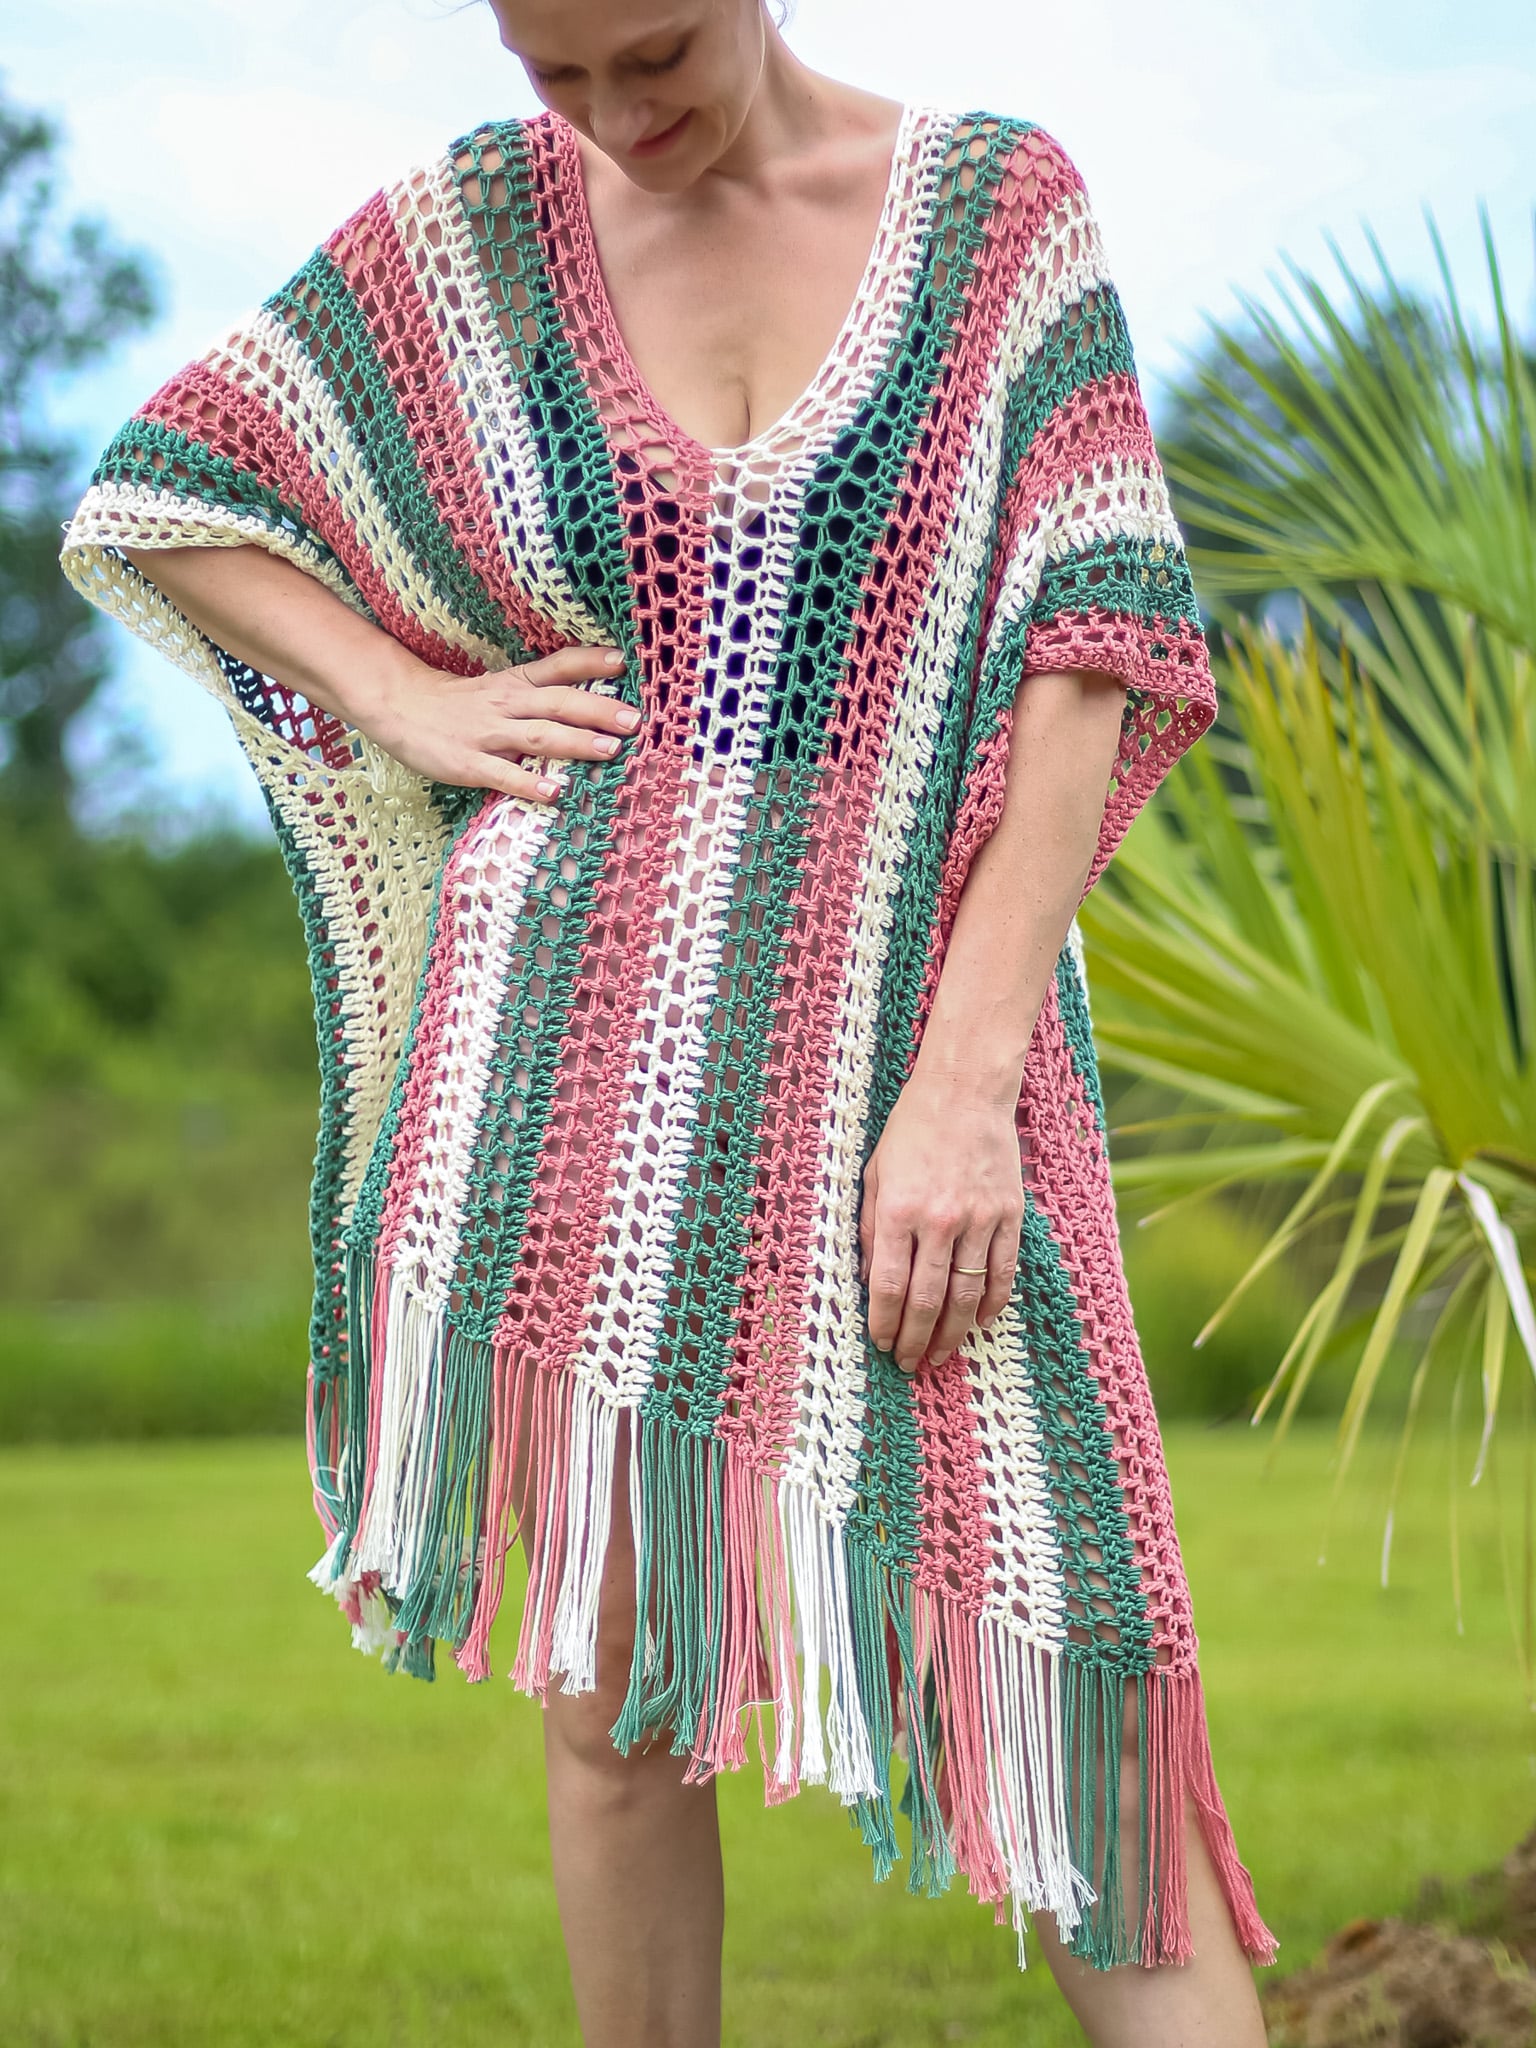
Fringe
- Cut yarn into 10- to 12-inch pieces.
- Fold a strand in half, insert your hook into a row end, put the folded yarn over your hook, partially pull through, put yarn ends in loop and pull tight.
- Repeat around entire bottom, I matched my colors, have fun and mix yours up if you’d like!
- Steam well and trim for a clean edge.
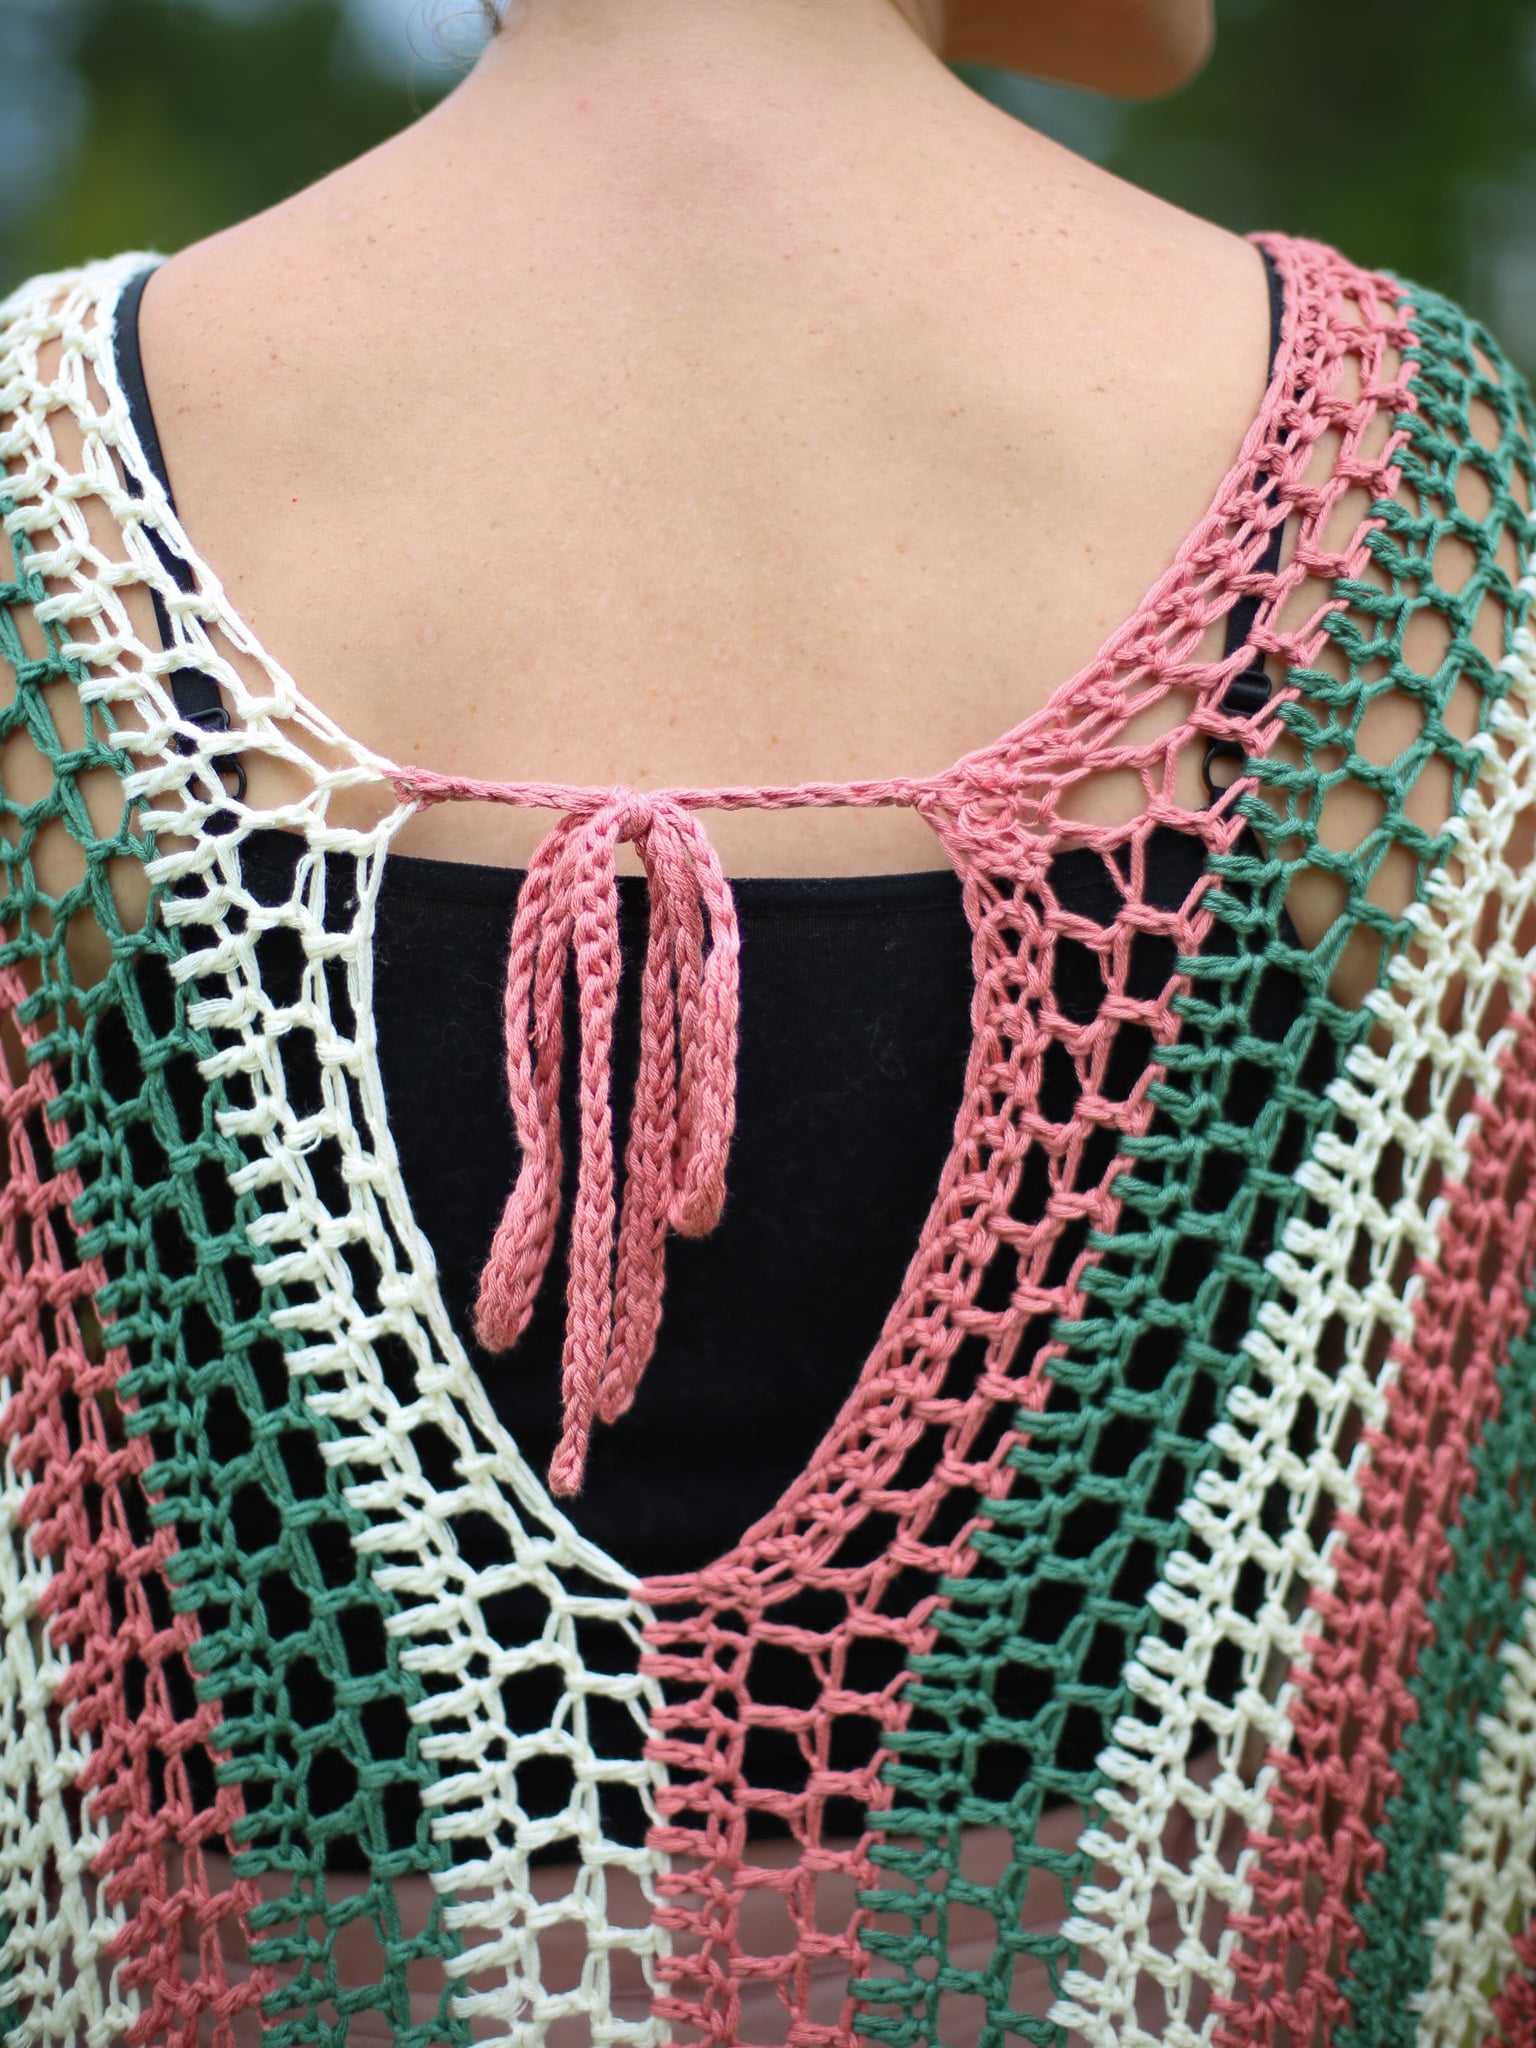
Tie Back Bow
Row 1 – Ch 61, sl st in the 2nd ch from hook, sl sl in every st across, finish off.
- Make 2 pieces.
- Choose best location and attach one tie on either side of the back of the neck opening. I went 17 sts up from the split.
- Finish off and weave in ends, enjoy!


2 Comments