Free Top Down Crochet Sweater Pattern
Have you ever wondered “Can a Beginner Crochet a Sweater?” Maybe you have come across a Top Down Yoke like I used in this Seamless Free Crochet Sweater Pattern and thought, “that pattern looks hard!” Well, if you can crochet in the round, count and follow each round instruction closely, I bet you can make this Intermediate Level Crochet Sweater even if you have only ever made Easy Beginner Crochet Patterns! My Testers even suggested labeling this as Advanced Beginner! Do not let all the stitches in the top down yoke detail scare you, just remember, one row at a time! Plus, it’s FREE, just keep scrolling to use the free crochet pattern in this blog post!
Get a PDF on Etsy or Ravelry!
Save for later on Pinterest!

Design Story and Inspiration
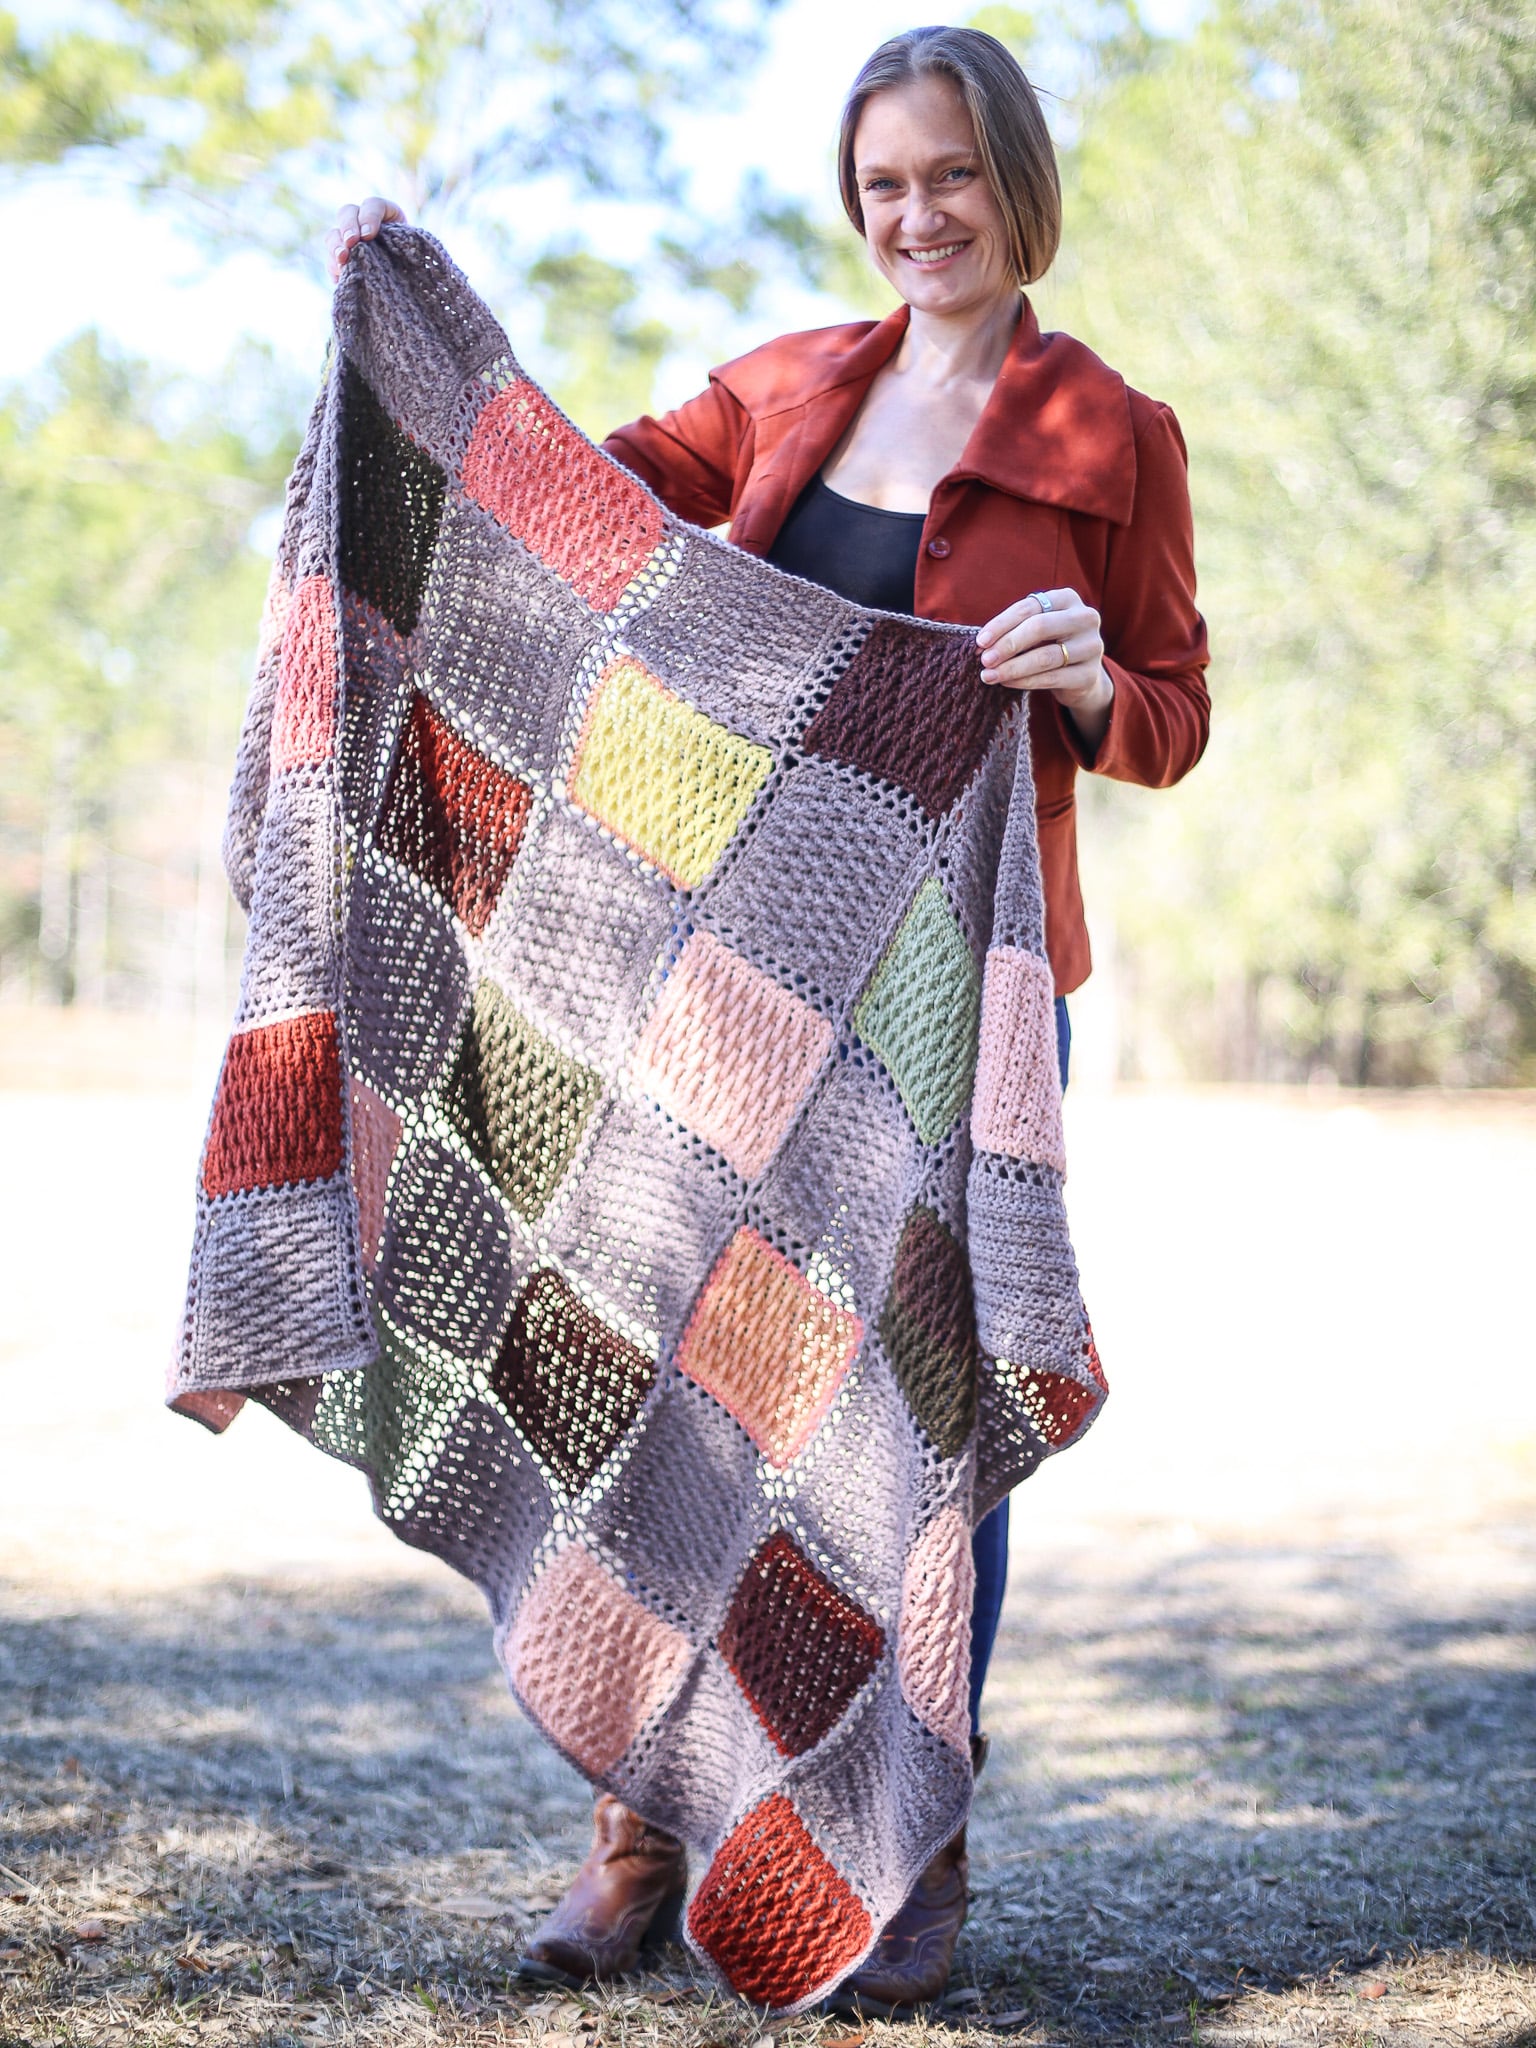
The design for this top down yoke sweater began a years ago! This seamless free crochet sweater pattern was my real first try at something I will actually wear. I designed the Mellowspun Sweater using Mary Maxim’s DK Weight Yarn Mellowspun in Taupe. Working with a light weight yarn creates a beautiful fabric with amazing drape, add to that the top down yoke with no seams and you get a seamless handmade sweater with a store bought look! That’s really what I was going for…something I would be proud to say “I made this” when someone asked where to get one!
Going forward you can expect to see more things like this from Life and Yarn, light weight, detailed, handmade but store bought quality designs! To be sure you never miss a new free crochet pattern or any other good information I want to pass along sign up for the Life and Yarn Newsletter!
About the Yarn
There are a few reasons why I love Mary Maxim’s Mellowspun Yarn. First, it comes in a ton of colors! Then once you get your hands on it and see how soft it is you begin to appreciate it even more because its 100% acrylic! While I love splurging on natural fibers there is nothing like the durability and washability of acrylic! Add to that not having to worry about allergies and you have a winner!
With this being a pattern I had high hopes of being something I would wear a lot, using this yarn was a great choice. I wanted this Free Crochet Yoke Sweater Pattern to be something I could easily pop in the washer and dryer (kids, right?) so that I could wear it frequently and not worry about having to clean it! Keep scrolling to use this free crochet sweater pattern in this blog post!

Come find me on…
- Like my Facebook Page
- Join my Facebook group!
- Get PDFs on Etsy
- Get PDFs on Ravelry
- Sign Up for the Life and Yarn Newsletter

Materials
- Size 4.50 mm crochet hook
- #3 DK Wt. Yarn, 100% Acrylic
- 1300 (1440, 1480, 1620, 1740, 1860, 1970, 2080, 2200) yards
- Mary Maxim Mellowspun DK – 5 (5, 6, 6, 7, 7, 7, 8, 8) Balls
- Minimum 6 Stitch Markers.
Sizes
XS (S, M, L, XL, 2X, 3X, 4X, 5X)
*see chart for detailed measurements.
Size Chart

Gauge
The gauge for this Free Crochet Sweater Pattern is 18 sts x 20 rows worked in sc in the round is 4” x 4″ and is the unblocked measurement. If you are familiar with knitting you may do your sc in the round by floating across the back.
Stitch Descriptions and Abbreviations
- Chain Stitch – ch
- Slip Stitch – sl st
- Stitch(es) – st(s)
- Skip – sk
- Stitch Marker – SM
- Single Crochet – sc
- Foundation Single Crochet – Fsc –Chain 2, insert hook into 2nd chain from hook, yarn over and pull up a loop (2 loops on hook), yarn over, draw through 1 loop, (2 loops on hook with 1 ch created), yarn over, draw through all loops (1 loop on hook, 1 foundation single crochet with chain at the bottom). *Insert hook to the bottom of the stitch you just made, it will look like the top or “V” of a stitch, yarn over, pull up 1 loop (2 loops on hook), yarn over, draw through 1 loop (2 loops on hook with 1 ch created), yarn over, draw through all loops;* repeat from * to * for desired amount of stitches.
- Back Loops Only – BLO – When working the stitch, use only the back loop of the top of the stitch.
- Third Loop – 3rd loop – Worked in the 3rd loop or back of a hdc st. When looking at the wrong side of a hdc there is a 3rd loop that is located under the top of the stitch.
- Puff Stitch – ps – (Yarn over, insert hook into stitch or space and pull up a loop) 4 times in same stitch or space, yarn over, pull through all loops on hook.
- Front Post Half Double Crochet– FPhdc – work a hdc as you normally would but insert your hook from front to back to front around post of indicated st.
- Back Post Half Double Crochet – BPhdc – work a hdc as you normally would but insert your hook from back to front to back around post of indicated st.
Pattern Notes
- * Designates a repeat.
- Ch 1 and ch 2 do not count as stitches.
- Do not turn at the end of rounds.
- Sl st to first st of each round, unless otherwise noted.
- “sc 1” means to single crochet in the next stitch.
- “sc 2” means to single crochet in each of the next 2 stitches.
- “2 sc” means to single crochet twice in the next st to create an increase.
- Each Round in the Yoke, unless noted, increases by 6 stitches.
- Skill Level – Intermediate

FREE CROCHET SWEATER PATTERN BEGINS
Top Down Yoke Instructions
Round 1 – Fsc 78 sts, sl st to first fsc.
Round 2 – Ch 1, *sc 12 sts, 2 sc, repeat from * to last stitch, sl st to first sc. [84 total sts]
Round 3 – Ch 1, *sc 13 sts, 2 sc, repeat from * to end, sl st to first sc. [90 total sts]
Round 4 – Ch 1, *sc 14 sts, 2 sc, repeat from * to end, sl st to first sc. [96 total sts]
Round 5 – Ch 1, *sc 15 sts, 2 sc, repeat from * to end, sl st to first sc. [102 total sts]
Round 6 – Ch 1, *hdc 16 sts, 2 hdc, repeat from * to end, sl st to first hdc. [108 total sts]
Round 7 – Ch 1, *sc third loop 17 sts, 2 sc third loop, repeat from * to end, sl st to first sc. [114 total sts]
Round 8 – Ch 1, *(sc 1, ch 1, sk 1) over next 18 sts, 2 sc, repeat from * to end, sl st to first sc. [120 total sts]
Round 9 – Ch 2, hdc 1, (PS 1 in ch-1, ch 1, sk 1) to last ch-1, PS 1, sl st to first hdc. [120 total sts]
- Note: When you reach the 2 sc increase from previous row, PS in the second sc and continue in pattern.

Round 10 – Ch 1, *(sc 1, ch 1, sk 1 st) over next 18 sts, sc 1, 2 sc in next st, repeat from * to end, sl st to first sc. [126 total sts]
Round 11 – Ch 1, *hdc 20 sts, 2 hdc, working into each sc and ch-1 sp, repeat from * to end, sl st to first hdc. [132 total sts]
Round 12 – Ch 1, *sc third loop 21 sts, 2 sc third loop, repeat from * to end, sl st to first sc. [138 total sts]
Round 13 – Ch 1, *sc 22 sts, 2 sc, repeat from * to end, sl st to first sc. [144 total sts]
Round 14 – Ch 1, *hdc 23 sts, 2 hdc, repeat from * to last stitch, sl st to first hdc. [150 total sts]
Round 15 – Ch 1, *sc third loop 24 sts, 2 sc third loop, repeat from * to end, sl st to first sc. [156 total sts]
Round 16 – Ch 1, *sc 25 sts, 2 sc, repeat from * to last stitch, sl st to first sc. [162 total sts]
Round 17 – Ch 1, *hdc 26 sts, 2 hdc, repeat from * to last stitch, sl st to first hdc. [168 total sts]
Round 18 – Ch 1, *sc third loop 27 sts, 2 sc third loop, repeat from * to end, sl st to first sc. [174 total sts]
Round 19 – Ch 1, *(sc 1, ch 1, sk 1) over next 28 sts, 2 sc, repeat from * to end, sl st to first sc. [180 total sts]
Round 20 – Ch 2, hdc 1, (PS 1 in ch-1, ch 1, sk 1) to last ch-1, ch 1, sk 1, PS 1, sl st to first hdc. [180 total sts]
- Note: When you reach the 2 sc increase from previous row, PS in the second sc and continue in pattern.
Round 21 – Ch 2, hdc 1, (ch 1, sk 1, 1 PS in ch-1) to end, ch 1, sl st to first hdc. [180 total sts]
Round 22 – Ch 2, hdc 1, (PS 1 in ch-1, ch 1, sk 1) to last ch-1, sl st to first hdc. [180 total sts]
Round 23 – Ch 1, (sc 1, ch 1, sk 1) to last st, sl st to first sc. [180 total sts]
Round 24 – Ch 1, *hdc 29 sts, 2 hdc, repeat from * to last stitch, sl st to first hdc. [186 total sts]
Round 25 – Ch 1, *sc third loop 30 sts, 2 sc third loop, sl st to first sc. [192 total sts]
Round 26 – Ch 1, *sc 31 sts, 2 sc, place stitch marker in second stitch of increase, repeat from * to end, place a different stitch marker in last st to indicate the end of the round. Begin working in continuous rounds to minimize the seam. [198 total sts]
Round 27 – 35 (39, 44, 49, 54, 59, 60, 64, 69) *Sc in each stitch to marked stitch, 2 sc in marked stitch, move marker to second stitch of increase, repeat from * to stitch marker for end of round, move stitch marker up to next round.
- Note: Continue to move stitch markers up to second stitch of increase.
- Note: Each Round will increase by 6 sts.
- Final Round should be [252 (276, 306, 336, 366, 396, 402, 426, 456) total sts]
Next Round to 42 (45, 47, 50, 55, 60, 64, 68, 74) – Ch 1, sc in each stitch around. [252 (276, 306, 336, 366, 396, 402, 426, 456) total sts]
- Note: Work in continuous rounds and be sure to keep a SM in your first stitch, moving it up as you go.
- Sizing Note: This a a good area to add or subtract rounds to customize your collar to under arm fit.
Split for Arms and Body
Split Round – Fold your Yoke in half to form the shoulders, making sure that each side is symmetrical. Counting from the outermost points, come in 27 (30, 32, 34, 36, 39, 41, 43, 45) sts front AND back for a total of 54 (60, 64, 68, 72, 78, 82, 86, 90) sts to be skipped to create arm openings. Place a SM to note armpit location. Continuing from previous round, sc to last stitch making sure to skip 54 (60, 64, 68, 72, 78, 82, 86, 90) sts for arm openings, place stitch marker in final sc st, continue to Body Section with [144 (156, 178, 200, 222, 240, 238, 254, 276) total sts]
- Sizing Note: If more ease is needed for your midsection add based off of gauge for additional stitches. Example 18 sts = 4” so 4”/18 sts = 4.5 sts per inch, so to add an extra inch of ease you would need to add 4 to 5 sts evenly spaced in a body round.
Body
All Body Rounds – Ch 1, sc in each stitch around. [144 (156, 178, 200, 222, 240, 238, 254, 276) total sts]
- Note: Work in continuous rounds until sweater measures 23.5 (23.5, 24, 24, 24.5 24.5, 24.5, 25, 25)” or desired length before adding waist trim measuring from collar to final round.
Trim Round 1 – Ch 2, hdc around to first hdc, sl st to first hdc.
Trim Rounds 2 to 7 – Ch 1, turn, *FPhdc, BPhdc, repeat from * to end, sl st to first FPhdc, finish off on Round 7.
Arms
- Note: Pull up a loop in first and last worked stitch used to create body at arm opening, work first sc of this round in the first skipped stitch to create your sleeves with right side facing you. First finished stitch will look like a sc3tog.
Round 1- Sc 1 in each skipped stitch.54 (60, 64, 68, 72, 78, 82, 86, 90)
Next Rounds to length from under arm- work in continuous sc rounds to 17.5 (18, 18, 18.5, 18.5, 18.5, 19, 19, 19)” or desired sleeve length before adding cuff trim.
Cuff Trim
All Sizes
Round 1 – *Sc 4, sc2tog, repeat from * to end. 45 (50, 54, 57, 60, 65, 69, 72, 75)
Size XS
Round 2 – Ch 2, hdc2tog 3 times, hdc around to first hdc, sl st to first hdc. (42 sts)
Round 3 to 9 – Ch 1, turn, *FPhdc, BPhdc, repeat from * to end, sl st to first FPhdc, finish off.
Size S
Round 2 -*Sc 4, sc2tog, repeat from * to end. (42 sts)
Round 3 – Ch 2, hdc around to first hdc, sl st to first hdc. (42 sts)
Rounds 4 to 10 – Ch 1, turn, *FPhdc, BPhdc, repeat from * to end, sl st to first FPhdc, finish off.
Size M
Round 2 – *Sc 4, sc2tog, repeat from * to end. (45 sts)
Round 3 – Ch 2, hdc2tog 3 times, hdc around to first hdc, sl st to first hdc. (42 sts)
Rounds 4 to 10 – Ch 1, turn, *FPhdc, BPhdc, repeat from * to end, sl st to first FPhdc, finish off.
Size L
Round 2 – *Sc 4, sc2tog, repeat from * to end. (48 sts)
Round 3 – Ch 2, hdc2tog 4 times, hdc around to first hdc, sl st to first hdc. (44 sts)
Rounds 4 to 10 – Ch 1, turn, *FPhdc, BPhdc, repeat from * to end, sl st to first FPhdc, finish off.
Size XL
Round 2 – *Sc 4, sc2tog, repeat from * to end. (50 sts)
Trim Round 3 – Ch 2, hdc2tog 6 times, hdc around to first hdc, sl st to first hdc. (44 sts)
Trim Rounds 4 to 10 – Ch 1, turn, *FPhdc, BPhdc, repeat from * to end, sl st to first FPhdc, finish off.
Size 2XL
Round 2 – *Sc 4, sc2tog, repeat from * to end. (55 sts)
Round 3 – *Sc 5, sc2tog, repeat from * to end. (48 sts)
Round 4 – Ch 2, hdc2tog 4 times, hdc around to first hdc, sl st to first hdc. (44 sts)
Rounds 5 to 11 – Ch 1, turn, *FPhdc, BPhdc, repeat from * to end, sl st to first FPhdc, finish off.
Size 3XL
Round 2 – *Sc 4, sc2tog, repeat from * to end. (58 sts)
Round 3 – *Sc 5, sc2tog, repeat from * to end. (50 sts)
Round 4 – Ch 2, hdc2tog 4 times, hdc around to first hdc, sl st to first hdc. (46 sts)
Rounds 5 to 11 – Ch 1, turn, *FPhdc, BPhdc, repeat from * to end, sl st to first FPhdc, finish off.
Size 4XL
Round 2 – *Sc 4, sc2tog, repeat from * to end. (60 sts)
Round 3 – *Sc 5, sc2tog, repeat from * to end. (52 sts)
Round 4 – Ch 2, hdc2tog 6 times, hdc around to first hdc, sl st to first hdc. (46 sts)
Rounds 5 to 11 – Ch 1, turn, *FPhdc, BPhdc, repeat from * to end, sl st to first FPhdc, finish off.
Size 5XL
Round 2 – *Sc 4, sc2tog, repeat from * to end. (63 sts)
Round 3 – *Sc 5, sc2tog, repeat from * to end. (54 sts)
Round 4 – Ch 2, hdc2tog 8 times, hdc around to first hdc, sl st to first hdc. (46 sts)
Rounds 5 to 11 – Ch 1, turn, *FPhdc, BPhdc, repeat from * to end, sl st to first FPhdc, finish off.
Related Patterns photos/links
Did you love making this Free Crochet Sweater Pattern as much as I did? I sure hope so and if you made yours using Mary Maxim’s Mellowspun I am sure the end result was wonderful! I have a ton of other Free Crochet Sweater Patterns on my blog as well! Click the Photos below to be take to each pattern! Plus, don’t forget to Sign Up for the Life and Yarn Newsletter so you never miss a new free pattern!


The sizing chart doesn’t make sense to me, please explain. This is a beautiful sweater and I love in the round
I think I fixed it! the format settings were set incorrectly, can you check now that it reads for you correctly? You will probably have to refresh your page.
I love this sweater, however I’m not sure I’m getting the yolk right. I keep ending up with a “v” in the front and back.
Can you explain way you mean by “v”? There should be 6 sides in the yoke neck
@briannaiaropoli, there are 6 sides, but it comes to a “v” point right down the center front and back.
Yes, but once you place your arm openings in the split instructions it should offset the point so a flat edge is at your neck.
Hi! Beginner here, for row 8 on the yolk I keep getting only 117 stitches. I tried skipping a stitch before/after 2 sc and not skipping a stitch. I’m not sure what I’m doing wrong? Also for “sc 1, ch 1, sk 1” do I count the skipped stitch as one of the 18 or just the ones I’m sc in? I have 114 stitches before I begin this row. I’m just confused on how carry out this row. Thank you!
Hi Elise!
All stitches would be counted, and the first few rounds are tricky with all the different stitches… stitch placement is extremely important. I would try dividing each row by 6 and counting to see which side or stitch placement may be causing the issue….keep going! Your 114 is correct (multiple of 6) but 117 is not…look at each side to see which stitch might be causing the issue. Once you get into the continuous rounds it’s a breeze!!
Hello. Thank you for the pattern I am working size L and am getting stuck on Round 9 with the puffs. I keep ending up with 120 stitches so losing 6 which I think is to do with my corners.
I have checked my stitch count in rnd 8 and I have 126 stitches.
Rnd 9 at the corner I have a PS, ch1, sk1, then I have the 2 sc from rnd 8, so if I PS in the 2nd sc I have actually skipped 2 stitches from rnd 8. Then ch1, sk1 to follow pattern.
Hope you can help, I’ve frogged twice and double checked my stitch count!
Hi Saba!
The first few rounds can be very tricky with all the different stitches, so stitch placement is extremely important. I would try dividing each row by 6 and counting to see which side or stitch placement may be causing the issue….keep going! Once you get into the continuous rounds it’s a breeze!!
Yay I got it! Thanks! I’m loving this pattern it’s so fun and cute ?
Yay!!! That detailed yoke can be a doozy…but it’s smooth sailing soon!!!!
I’m still ending up With 120 and not 126 on Round 9.
You said to divide by 6, I have 126 on Round 8 = 21. St 19 is a sc then I have the 2sc increase so 3 sc in a row. In Round 9 I end up with a ch1 sk1 over the 19th st then you say to PS in the 2nd st of the Inc which is my 21st stitch. So what happens to the 20th? I am still losing a stitch which = the 6 lost stitches. If I were to
If I were to work over 18 stitches or 20 stitches in rnd 8 the pattern works out. Is it because 19 is an odd number?
You treat ever stitch as a stitch…so if you’re supposed to skip then you skip…there are a few rounds where that can get confusing because you have the chain 2 in the corner…let me take a closer look at the round on the size you are making and see what my testers did ??
Thank you for checking
SC, ch1, skip 1=this makes and ‘uses’ 2 stitches. 19 is an odd number, so this doesn’t work. So there is one error, the 19 has to be 18 or 20. 126 divides by 18 evenly, so I think the pattern error is thst the repeat is over 19 and not 18 sts. I have frogged and gone down a size and it works.