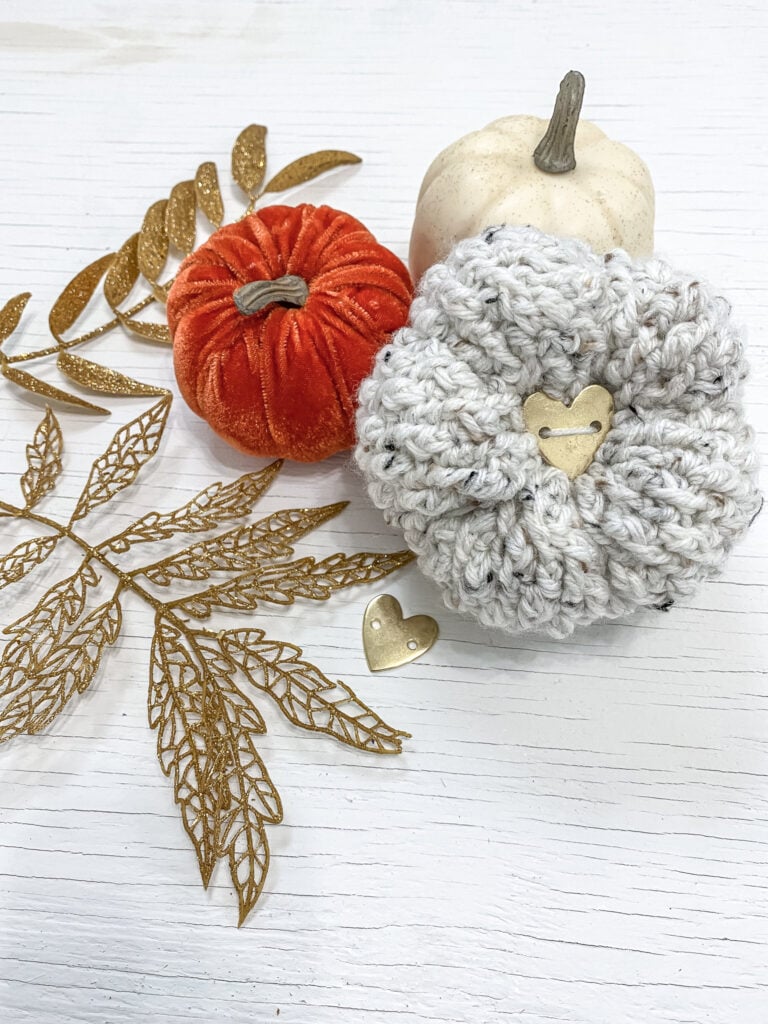
Crochet Pumpkin Pattern
Fall is upon us which means it is time to break out the handmade crochet home decor! What screams fall more than a Crochet Pumpkin!? That is why I am so excited to share my New Free Crochet Pumpkin Pattern with you using Alpine Stitch Crochet! This quick crochet project is perfect to learn this beautiful textured crochet stitch on a small project! Once you make one off these cute farmhouse style pumpkins you won’t want to stop! Keep scrolling to use the free crochet pattern in this blog post or click the button below for an affordable pdf!

Design Story and Inspiration
So, I am working on a BIG project and I am totally in love with the stitch I am using…alpine stitch crochet! I just couldn’t wait to use it in another pattern so I decide to whip up a quick project to share! With my love of all things Fall this free crochet pumpkin pattern was an easy decision! I absolutely love how cute these farmhouse style pumpkins work up and I think the are a perfect addition to handmade home decor! Don’t you? Keep scrolling to use the free crochet pattern in this post!

About the Yarn
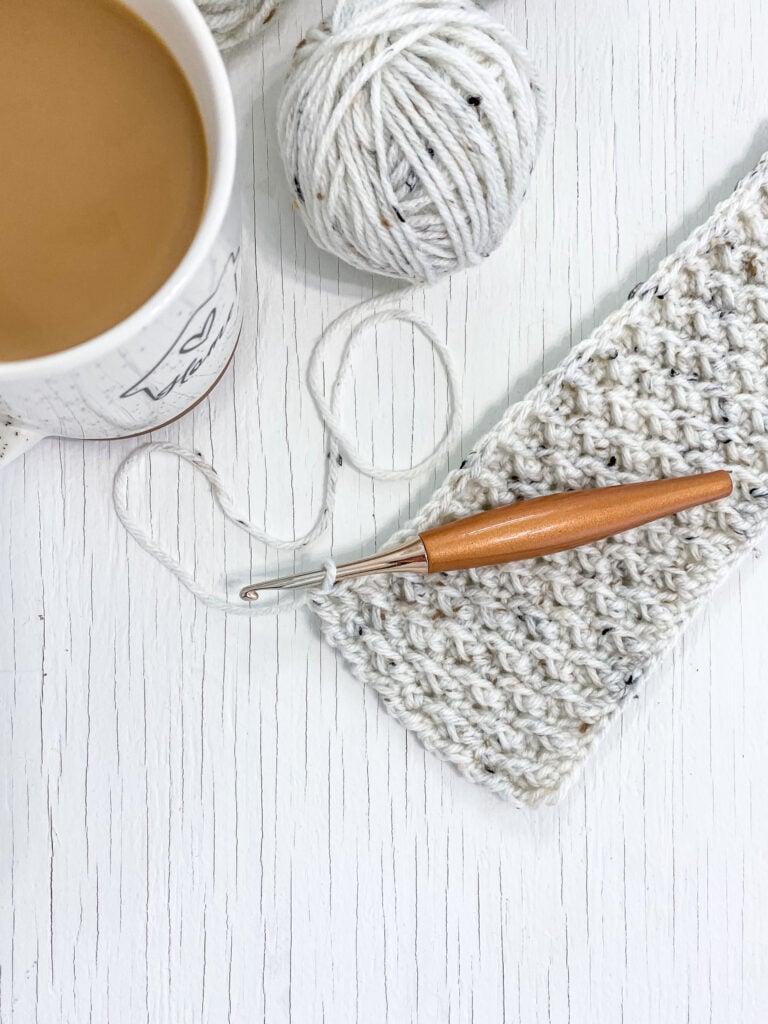
Mary Maxim Irish Tweed is hands down one of my favorite worsted weight yarns. I love that it is simple but being a tweed it is still visually interesting. Irish Tweed from Mary Maxim is soft, durable and affordable! This is a perfect yarn to keep in your stash for anything from home decor to garments to accessories! Keep scrolling to see how I made my crochet pumpkins in Irish Tweed with the free crochet pattern in this blog post!
Before we begin…let’s Get Social!
I would love for you to come follow me on Instagram, Like my Facebook Page and Join my Facebook group! As Always you can grab a Printable PDF on Etsy! Remember, all likes, shares, follows and purchases are greatly appreciated by this Maker Mama and really do help to grow my craft business! So, if you are looking for more Free Crochet Patterns that are great beginner crochet projects then be sure to check out my Free Patterns Section!

Materials
- 4.50 mm hook
- #4 Worsted Weight 1.3 oz
- 1.4 oz poly fill
- Darning Needle
- Scissors
Gauge to make this farmhouse pumpkin!
14 sts x 16 rows = 4” x 4” in pattern repeat.
Counting the Alpine Stitch is easiest by using the wrong side to count your rows and stitches.
Stitch Descriptions and Abbreviations
- Chain Stitch – ch
- Slip Stitch – sl st
- Stitch(es) – st(s)
- Single Crochet – sc
- Double Crochet – dc
- Front Post Double Crochet – FPdc – Work a dc as you normally would however, insert hook from front to back to front around the dc of the previous row to complete your stitch.
- Alpine Stitch Explanation – This pattern is worked in alternating rows of sc and FPdc/dc. The Alpine stitch is worked with an alternating dc and FPdc row, with the FPdc worked in the dc stitch two rows down and skipping its corresponding sc. The dc is worked in its corresponding sc stitch. You will also skip one dc between each FPdc on the previous dc row.
Pattern Notes
- Ch 1 and ch 2 do not count as stitches.
- ”sc 1″ means to single crochet in the next stitch.
- ”sc 2″ means to single crochet in each of the next 2 stitches.
- ”2 sc” means to single crochet twice in the next st to create an increase.
- FPdc sts count as stitches and you must skip the corresponding stitch of previous row.
- One Size: 14″did x 3.5″ tall
- Skill Level: Easy
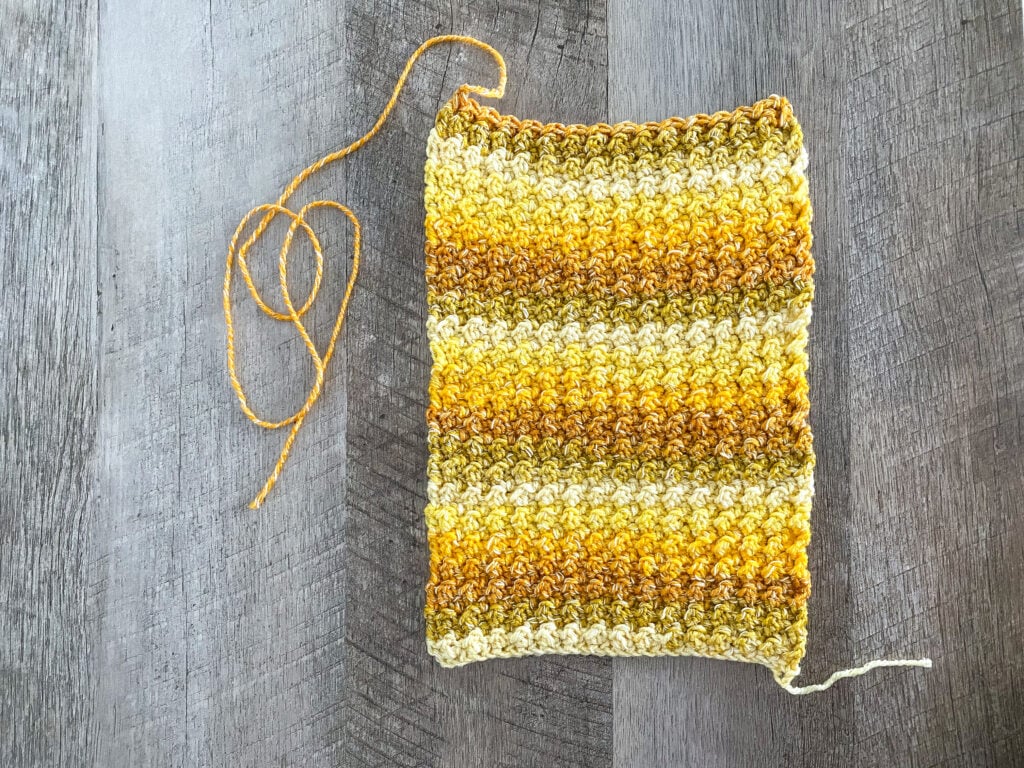
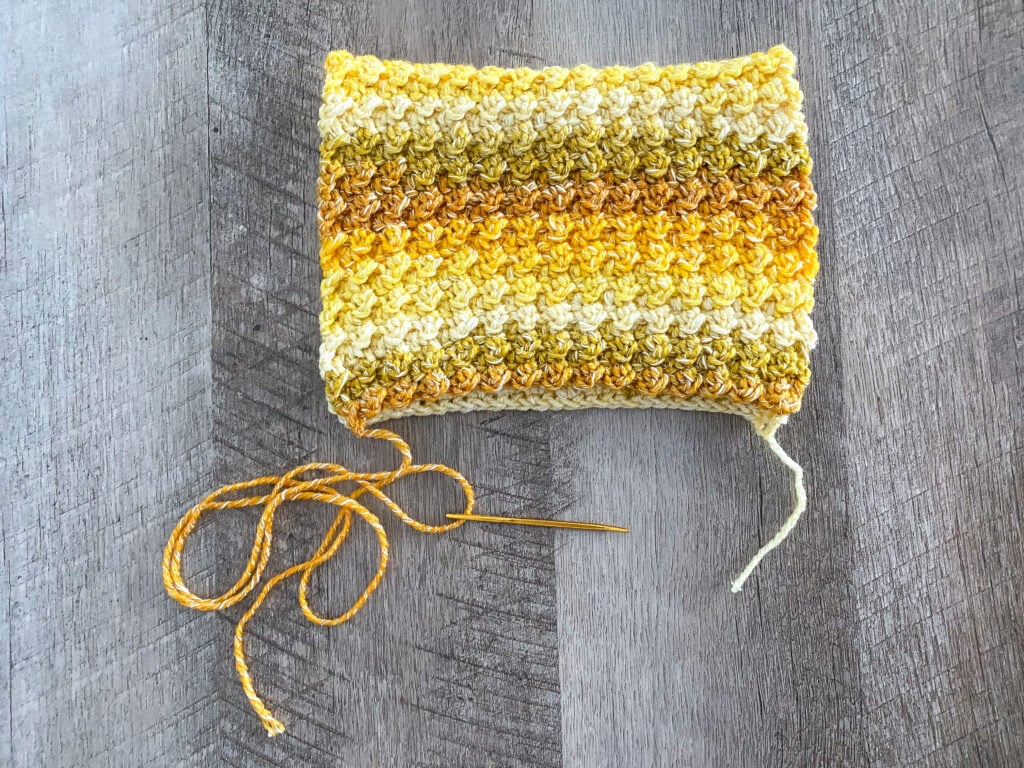
Crochet Pumpkin Pattern Begins
Row 1 – Fdc 35
Row 2 -Ch 1, turn, sc across.
Row 3 – Ch 2, turn, dc in first st, FPdc in second dc of the previous dc row, *dc, FPdc in dc row, repeat from * until 1 st remains, dc in last st.
Row 4 -Ch 1, turn, sc across.
Row 5 – Ch 2, turn, dc 2, FPdc in third dc of the previous dc row, *dc, FPdc in dc row, repeat from * until 2 sts remain, dc 2.
Rows 6 to 24 – Repeat Rows 2 – 5, leave a long tail to seam your pumpkin.

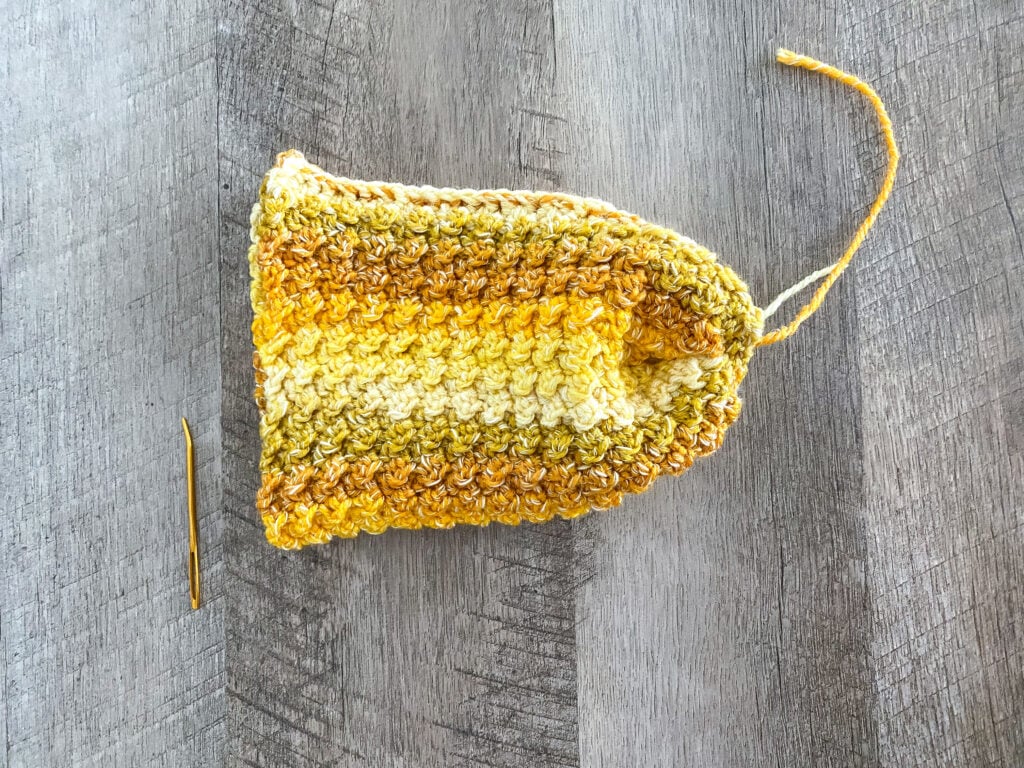
Pumpkin Assembly
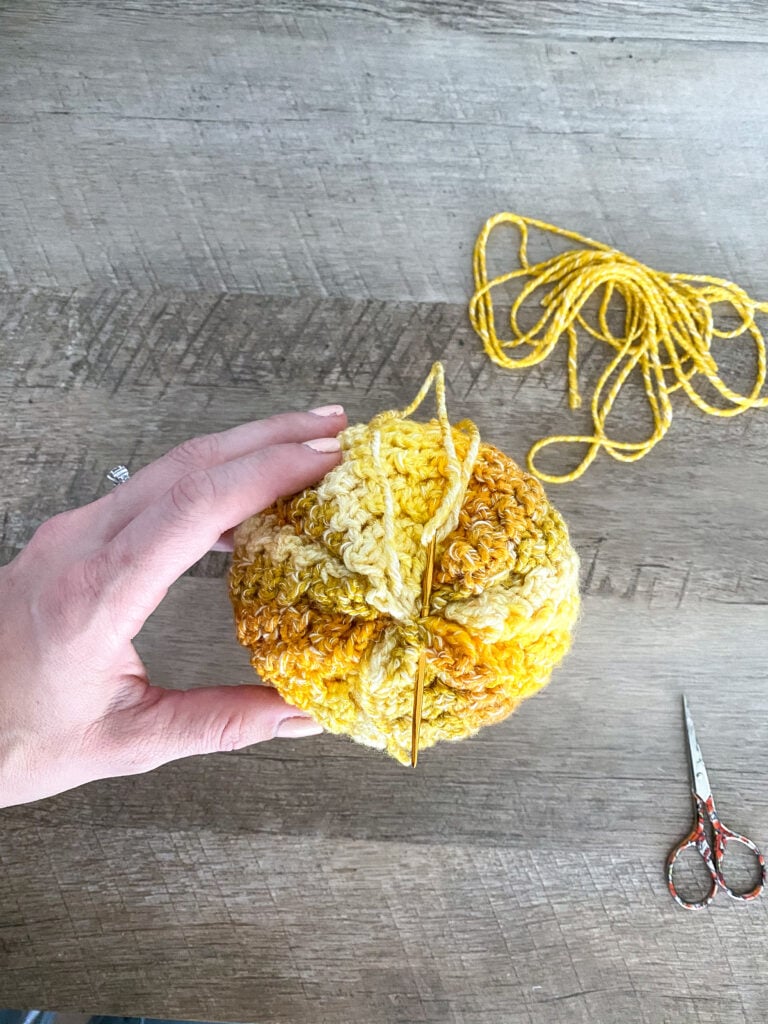
Step 1 – Fold your Pumpkin Panel in half with Right Sides facing and Row Ends aligned.
Step 2 -Sl st or seam along row ends using the long tail left after completing last row.
Step 3 – Sew your seam to the opposite side, then pinch the far ends into the middle.
Step 4 – Seam the far ends into the middle creating an “X”.
Step 5 – Seam each end of the “X” into the middle again.
Step 6 – Tie off your yarn and weave in your end.
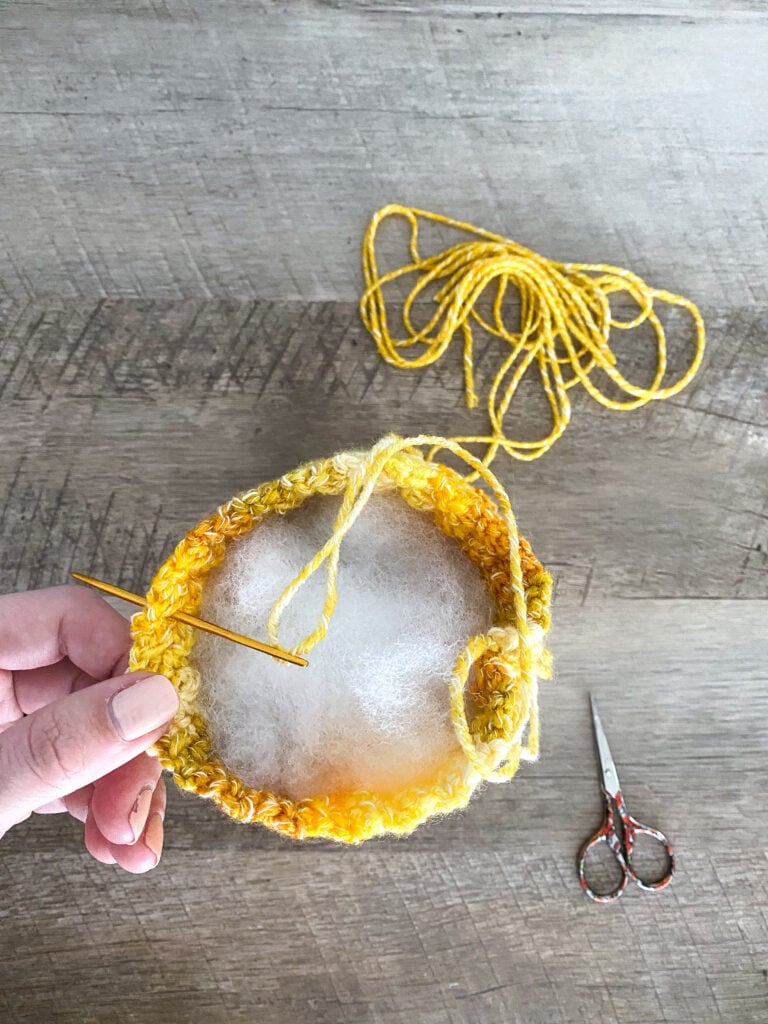
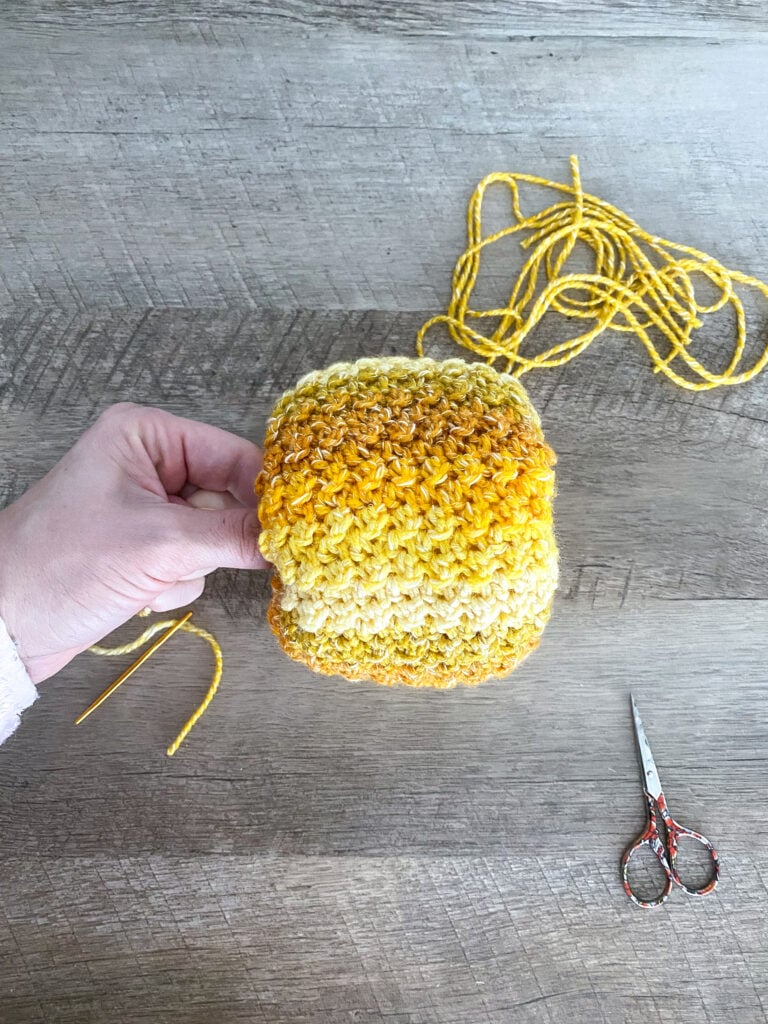
Step 7 – Turn your Pumpkin right side out and start stuffing.
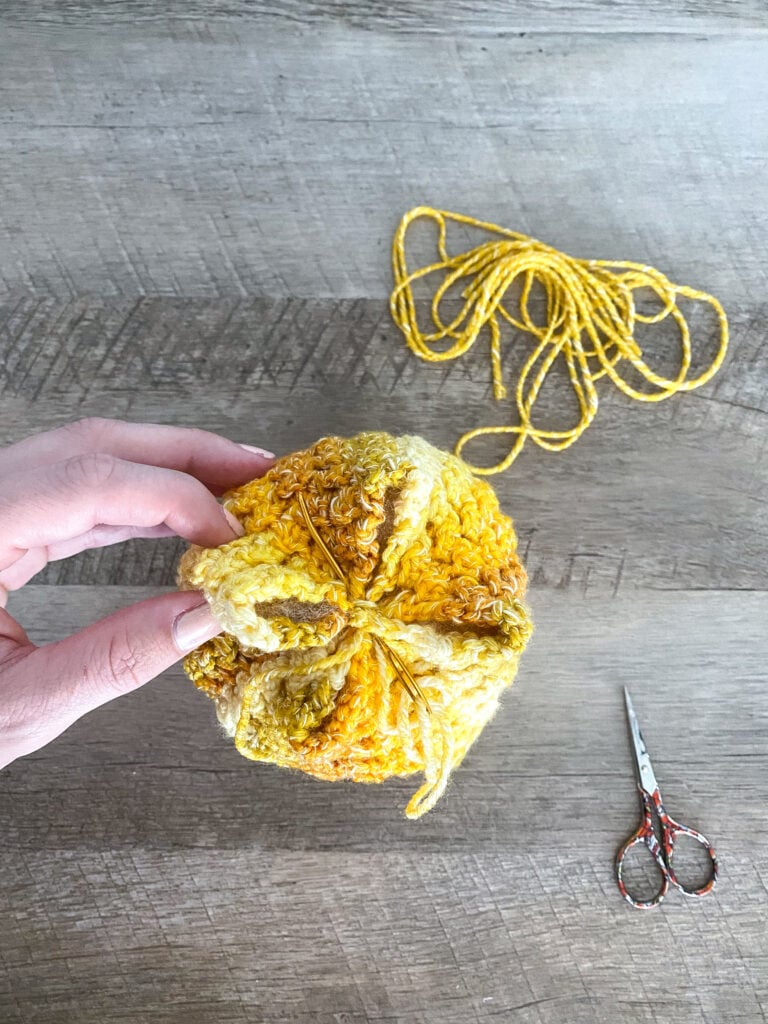
Step 8 – Seam the other end of your pumpkin closed using the same technique of creating an “X” and bringing in the ends.
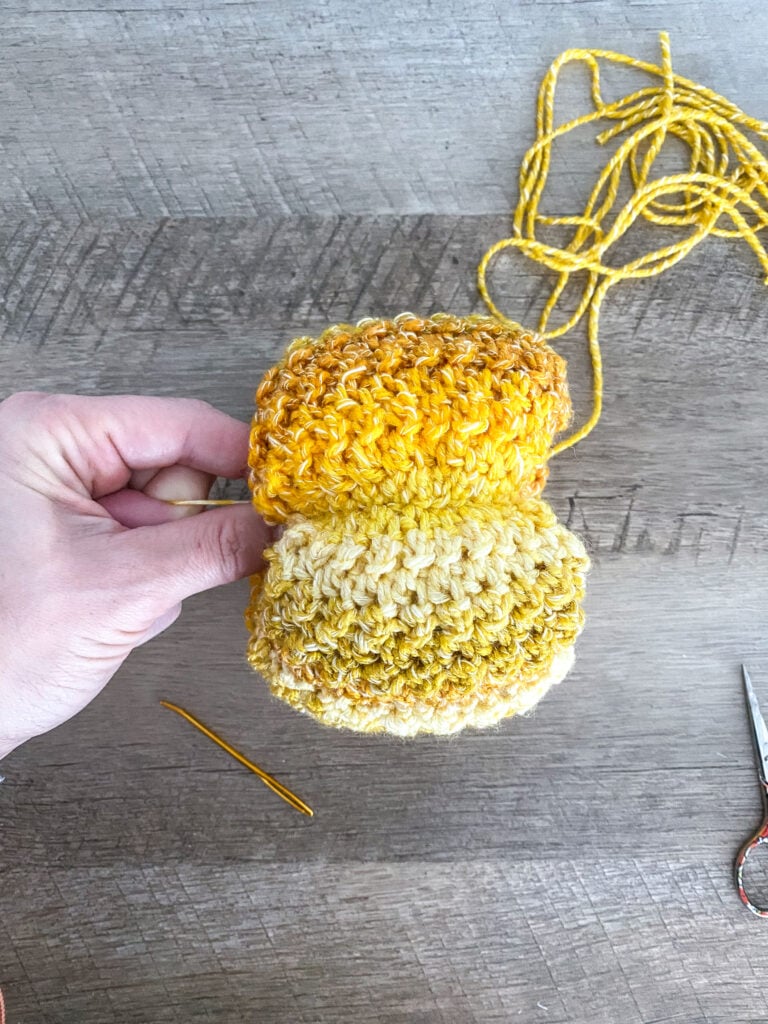
Step 9 – Cut a few long pieces of yarn (18” or more) and thread it through your pumpkin, wrapping around the outside to create your creases.
Step 10 – Optional – I used a cute gold heart button to act as my stem, you can use any button or none…get creative!

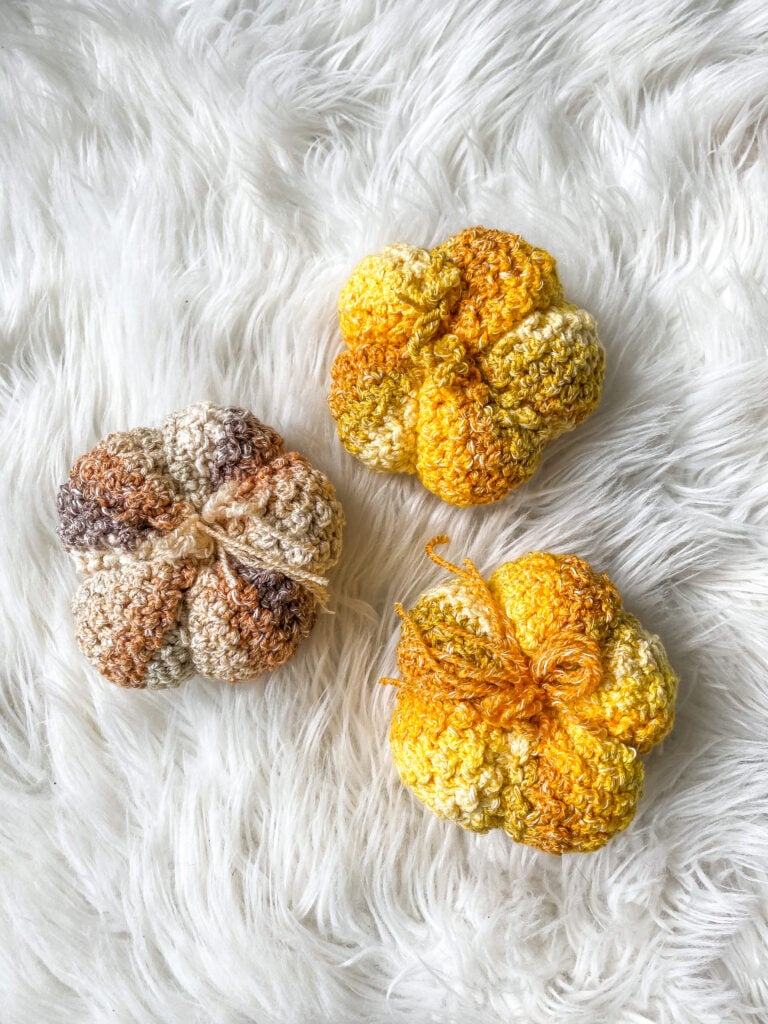
If you would like to make the pumpkins used in the photo tutorial for the crochet pumpkin assembly your can click here to make them!