FREE Crochet Granny Square Tote Bag Pattern & YouTube Tutorial
You can crochet this Granny Square Tote Bag using this Free Pattern, Video Tutorial and Written Pattern with only a few materials like a crochet hook and cotton yarn! This easy crochet pattern is unique because it has a tie strap! That means you can wear this beautiful bag long or short to fit your style needs!
Best Bang for your Buck, get a Kit From Lion Brand includes a printable ad-free PDF and Yarn!
Get a PDF Pattern on in my Etsy Shop or Ravelry!

How Many Granny Squares Does it Take to Make a Tote Bag?
Granny Square Bag Patterns are an easy project and come in a ton of different shapes. The shape you want to make will dictate the layout of your square pattern.
- Granny square tote bags can use anywhere from 15,13, 8 or 4 squares. (This bag uses 15)
- Shopper Bags use 22 squares.
- Cross body bags can be made with 2 squares.
- Duffle Bags will be made with 9 or 12 squares plus 2 flat circles.
- Fat Bottom Bags can use 20 squares.
- Market Bags use 13, 15 or 18 squares.
- Simple Purses use 2 squares.
These number are just a general number, there are ways for you to add or subtract squares from layouts to customize the style of bag you use. The size of the squares will also affect the size of the overall body of the bag.

Which Yarn is Best For a Crochet Tote Bag?
The best yarn for a crochet tote bag or any crochet bag is always cotton. Cotton is hypoallergenic, sturdy with its amazing tensile strength and is widely available.
You may use acrylic yarn however, the quality of the acrylic will make difference in your final bag. Some acrylics will stretch, so make sure to take that into account when choosing your yarn to make a granny bag.
Pattern Description
This Free Crochet Pattern for a Modern Granny Square Bag is designed using 24/7 Cotton, a worsted weight yarn from Lion Brand Yarn. 24/7 Cotton is a 100% Mercerized Cotton that is extremely durable and strong. This yarn comes in a huge range of colors giving you tons of options!
With the help of the video tutorial alongside the full written pattern this is a great way for a beginner skill level crocheter to learn some new skills and practice basic stitches.
This Modern Granny Square uses a few basic crochet stitches. If you know how to create a chain space, slip knot, single crochet, half double crochet and double crochet you can make this fun tote bag.
Classic granny squares are fun, but this modern square motif is different with its beautiful flower like dc clusters creating shells in the center. The different stitches is what really make adding a new color pop!
The blog post includes a square bag layout below to help you see visually how to put together a granny square bag.
When checking your gauge be sure to start with the correct hook size and yarn weight. You can adjust from there if you cannot meet gauge.
Since there are 3 colors in this pattern and they are pretty evenly distributed there is no main color. When you pick out different color combos you may easily change the order of the colors.
Making a diy crochet bag like this one is a great option to help[p reduce your usage of plastic bags! I have SO MANY plastic bags, although I re-use them when possible and for my pets unmentionables!
This Granny Boho Bag does not take a long time once you get a few crochet square made.
This yarn project is also a great stash buster and you could make your squares in a different way by having multiple color combos. Mixing up the colors would be so much fun!
Yarn Substitutes
- The Cottony One
- Pima Cotton
- Local Grown Cotton
- Re-Up
Come find me on…
- Like my Facebook Page
- Join my Facebook group!
- Subscribe to my YouTube Channel for Free Crochet Tutorials
- Get PDFs on Etsy
- Get PDFs on Ravelry
- Sign Up for the Life and Yarn Newsletter for more free crochet patterns!
Materials
- Size 4.00 mm crochet hook
- Tapestry Needle
- #4 Worsted Wt. Yarn
Color A – 186 yards
Color B – 186 yards
Color C – 186 yards - Sample Made Using:
Lion Brand Heartland® Yarn
1 Skein – Jade [761-178C] – Color A
1 Skein – Ecru [761-098C] – Color B
1 Skein – Coffee Beans [761-125AB] – Color C
Gauge
- 20 sts x 18 rows using sc moss stitch is 4 by 4 inches/one square is 4.5 by 4.5 inches.
Sizing
- One Size: 13” wide by 10.5” deep at shallowest point with (2) approximately 30” adjustable tie straps.
Stitch Descriptions and Abbreviations
- Chain Stitch – ch
- Stitch(es) – st(s)
- Slip Stitch – sl st
- Single Crochet – sc
- Half Double Crochet – hdc
- Double Crochet – dc
Pattern Notes
- * Designates a repeat.
- “sc 1” means to single crochet in the next stitch.
- “sc 2” means to single crochet in each of the next 2 stitches.
- “2 sc” means to single crochet twice in the next stitch to create an increase.
- No turns at the end of each Round.

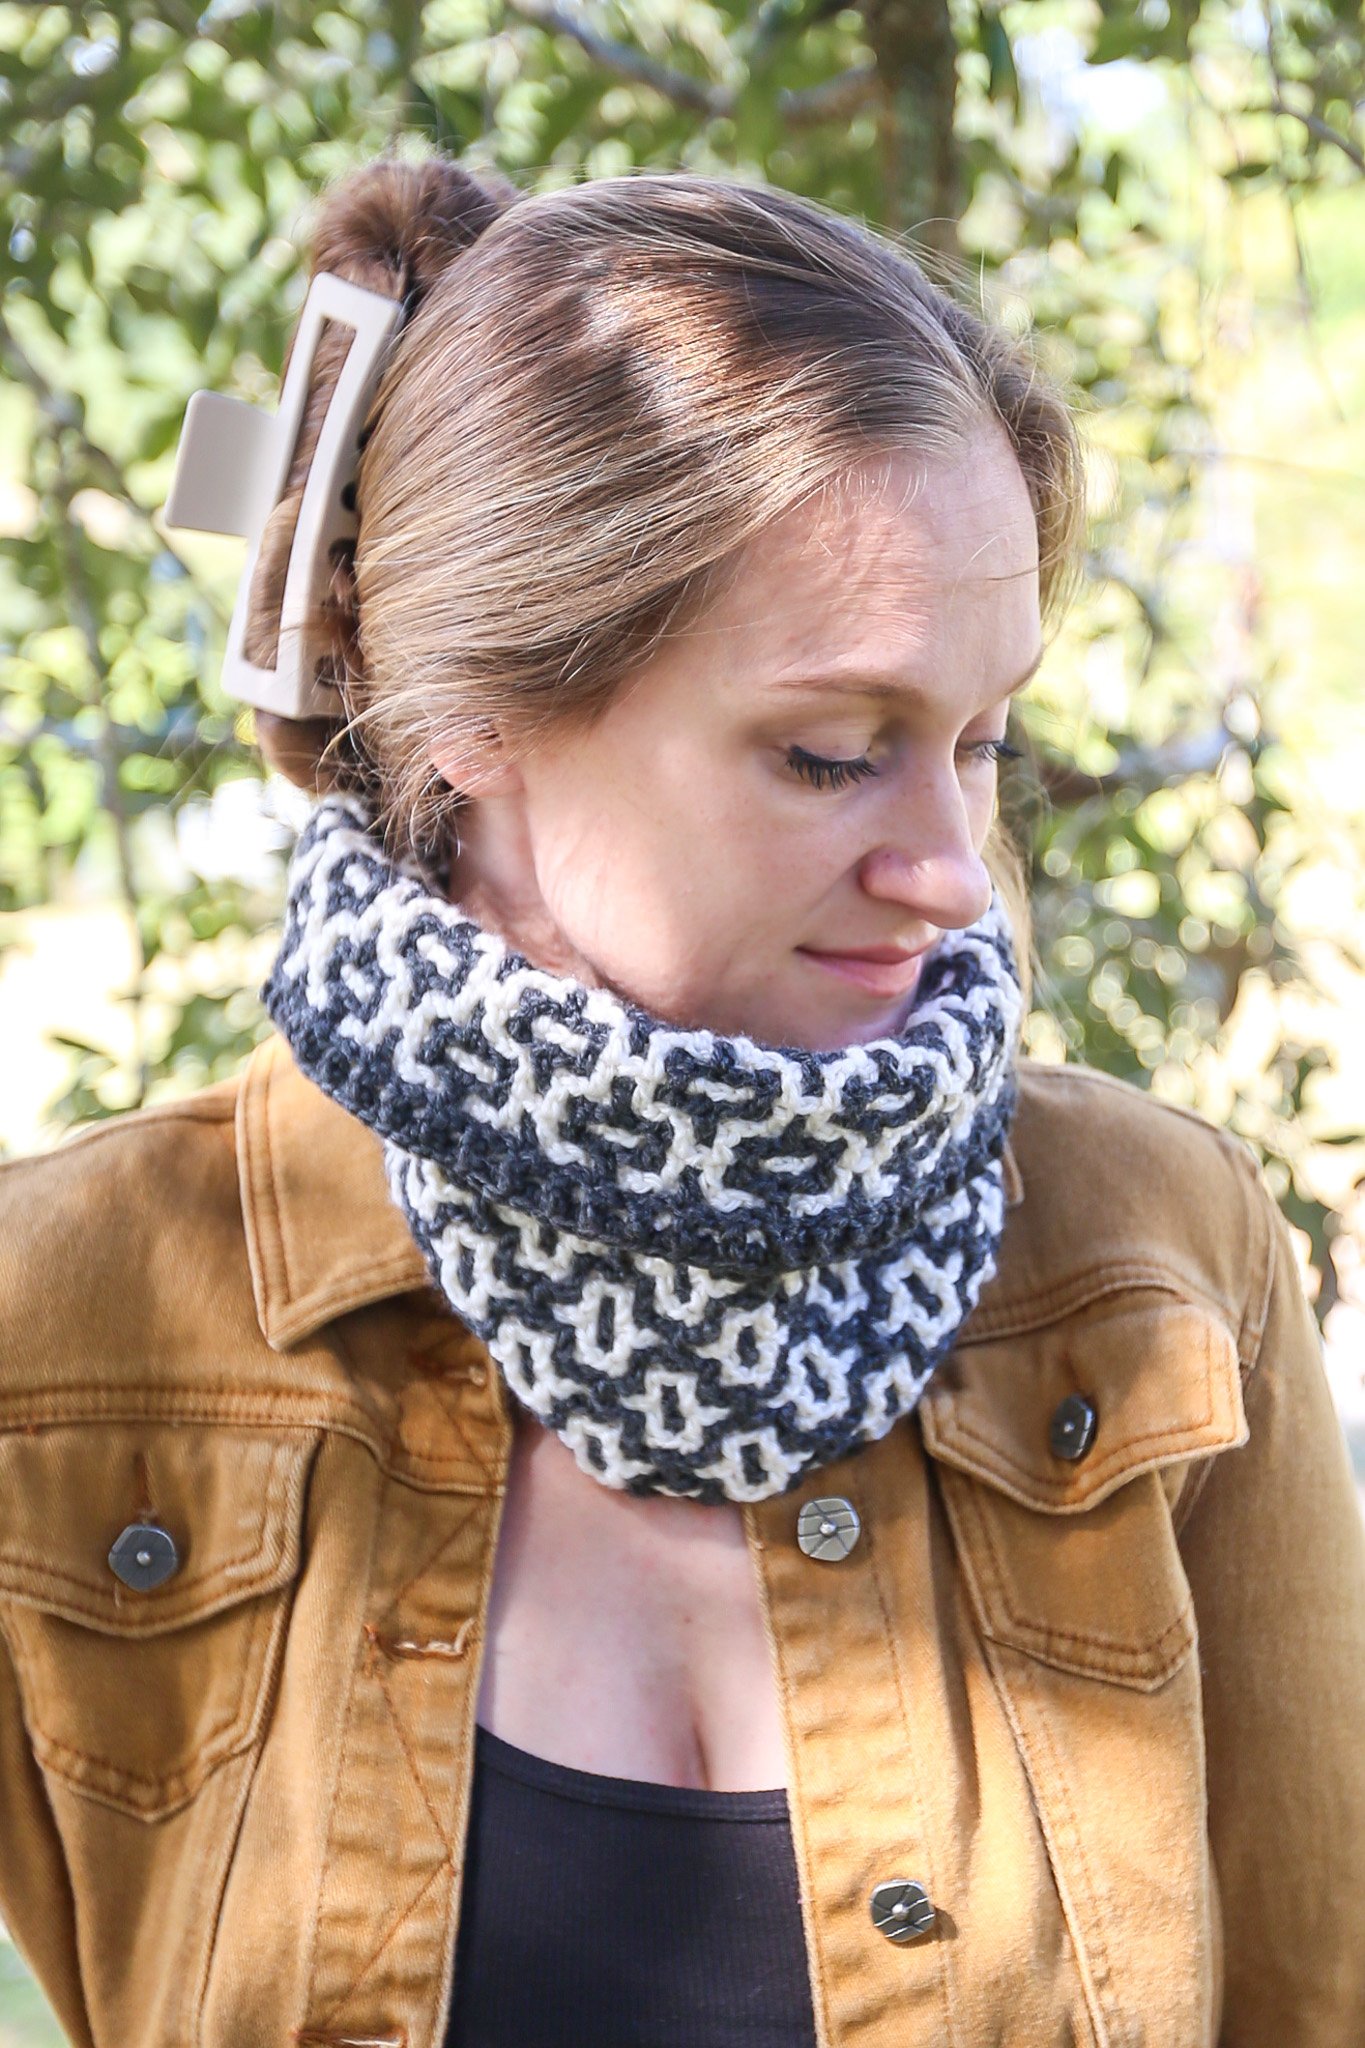
Free Granny Square Tote Bag Pattern with Adjustable Straps
Color A
Round 1 – Ch 4, *1 dc in 4th ch from hook, ch 1, repeat from * 6 more times, sl st to 3rd ch of starting ch-4 (counts as 1st dc) [8 dc, ch-1 sps]
Round 2 – Ch 1, sc in 1st ch-sp, *7 dc in next ch-1 sp, sc in next ch-1 sp, repeat from * 2 more times, 7 dc in last ch-1 sp, sl st to st sc st. [(4) 7-dc shells, 4 sc]
Color B
Round 3 – Ch 4, (dc, ch 3, dc, ch 1, dc) same st as join, *ch 5, skip 7-dc, (dc, ch 1, dc, ch 3, dc, ch 1, dc) in next sc, repeat from * 2 more times, ch 2, dc (counts as 3 chs) into 3rd ch of ch-4. [16 dc, 4 ch-5 sps, 4 ch-3 sps. 8 ch-1 sps]
Round 4 – Ch 2, 2 hdc around joining dc *2 hdc in next ch-1 sp, (2 hdc, ch 3, 2 hdc) in ch-3 corner, 2 hdc in next ch-1 sp, 2 hdc in ch-5 sp, work 1 hdc over ch-5 and into center dc of 7dc cluster, 2 hdc in ch-5 sp, repeat from * 2 more times, 2 hdc in next ch-1 sp, (2 hdc, ch 3, 2 hdc) in ch-3 corner, 2 hdc in last ch-1 sp, 2 hdc in ch-2 sp, work 1 hdc over ch-2 sp and into center dc of 7dc cluster, sl st to ch 2. [13 total hdc sts each side]
Round 5 – Ch 1, starting in the next hdc not the join st *[1 sc, ch 1, sk 1] to 1 st before corner, (2 sc, ch 3, 2 sc) in ch-3 corner, ch 1, sk first hdc; repeat from * around, [1 sc, ch 1, sk 1] to beginning of round, sl st to first sc, finish off. [7 total ch 1 sps each side to place sc]
Color A
Round 6 – Attach yarn in 3rd ch-1 sp from left corner with right side facing, ch 1 (sc, ch 1, skip 1) to ch-3 corner, skip 2 sc in corner of previous round, *(2 sc, ch 2, 2 sc) in ch-3 corner, (ch 1, sk 2, sc), (ch 1, sk 1, sc) to ch-3 corner, ch 1, skip 2 sc in corner of previous round, repeat from * around, (ch 1, sk 1, sc) to beginning of round, ch 1, sl st to ch-1, fish off. [8 total ch 1 sps each side to place sc]
Color C
Round 7 – Attach yarn in 3rd ch-1 sp from left corner with right side facing, ch 1, *(1 sc, ch 1, sk 1) to corner, sk 2 sc, 3 sc in ch-2 corner, ch 1, sk 2 sc on next side, repeat from * around, work (1 sc, ch 1, sk 1) to beginning of round, sl st to ch-1, finish off. [9 total ch 1 sps each side to place sc]
Color A
Round 8 – Attach yarn in 3rd ch-1 sp from left corner with right side facing, ch 1, *(1 sc, ch 1, sk 1) to corner, sk 1 sc, 3 sc in center sc of 3sc corner, ch 1, sk 1 next sc of 3sc corner, sc in ch-1 sp, (ch 1, sk 1), repeat from * around, work (1 sc, ch 1, sk 1) to beginning of round, sl st to ch-1, finish off. [9 total ch 1 sps each side to place sc] Finish off and seam together your squares using the instructions below.
Assembly and Sturdy Straps
- Lay your squares like the photo labeled “Assembly Diagram” and begin seaming them together using a flat zipper seam with Color C.
- A flat zipper seam is created by picking up the back loop of corresponding stitch on the squares next to each other, drawing up your yarn and creating a slip stitch.
- Once all of your squares are seamed together, fold your bag panel in half at the horizontal line in the photo below. This will create the base or bottom of the bag.
- Then fold the 4 squares on the two vertical lines in half to become part of the back.
- Continue with your flat zipper seams to complete the back of your bag.
- Once your squares are all seamed together, using Color C, reattach your yarn in any ch-1 space in the opening of the bag.
- With right sides facing, work 2 sc in each ch-1 space, 1 sc in each join, sc3tog where 3 squares meet and 3 sc in the tallest point of the bag opening (where straps will be places).
- Once you have worked around all sides, sl st to your first sc, ch-1 and work 1 sc in each st, place 3 sc in the center st of previous 3-sc and sc3tog where 3 squares meet again.
- Repeat Step 8.
- Find the center sc of the 3-sc and place a SM. Count back 5 sts and reattach your yarn in that stitch using Color C, continue to row instructions below.

Row 1 – Sc 11, ch 1 and turn. [11 sts]
Row 2 – Sc2tog, sc 7, sc2tog, ch 2, turn. [9 sts]
Row 3 – Hdc in sc2tog, sc 5, hdc in last st. [9 sts]
Row 4 – Sc2tog, sc 5, sc2tog, ch 2, turn. [7 sts]
Row 5 – Sc 7, ch 1 and turn. [7 sts]
Row 6 – Sc2tog, sc 3, sc2tog, ch 2, turn. [5 sts]
Next 116 Rows – Sc 5, ch 1 and turn. [5 sts]
Next Row – Sc2tog, sc 1, sc2tog, finish off. [3 sts]