Flattering Crochet Top Free Pattern
A Beginner Friendly Crochet Project
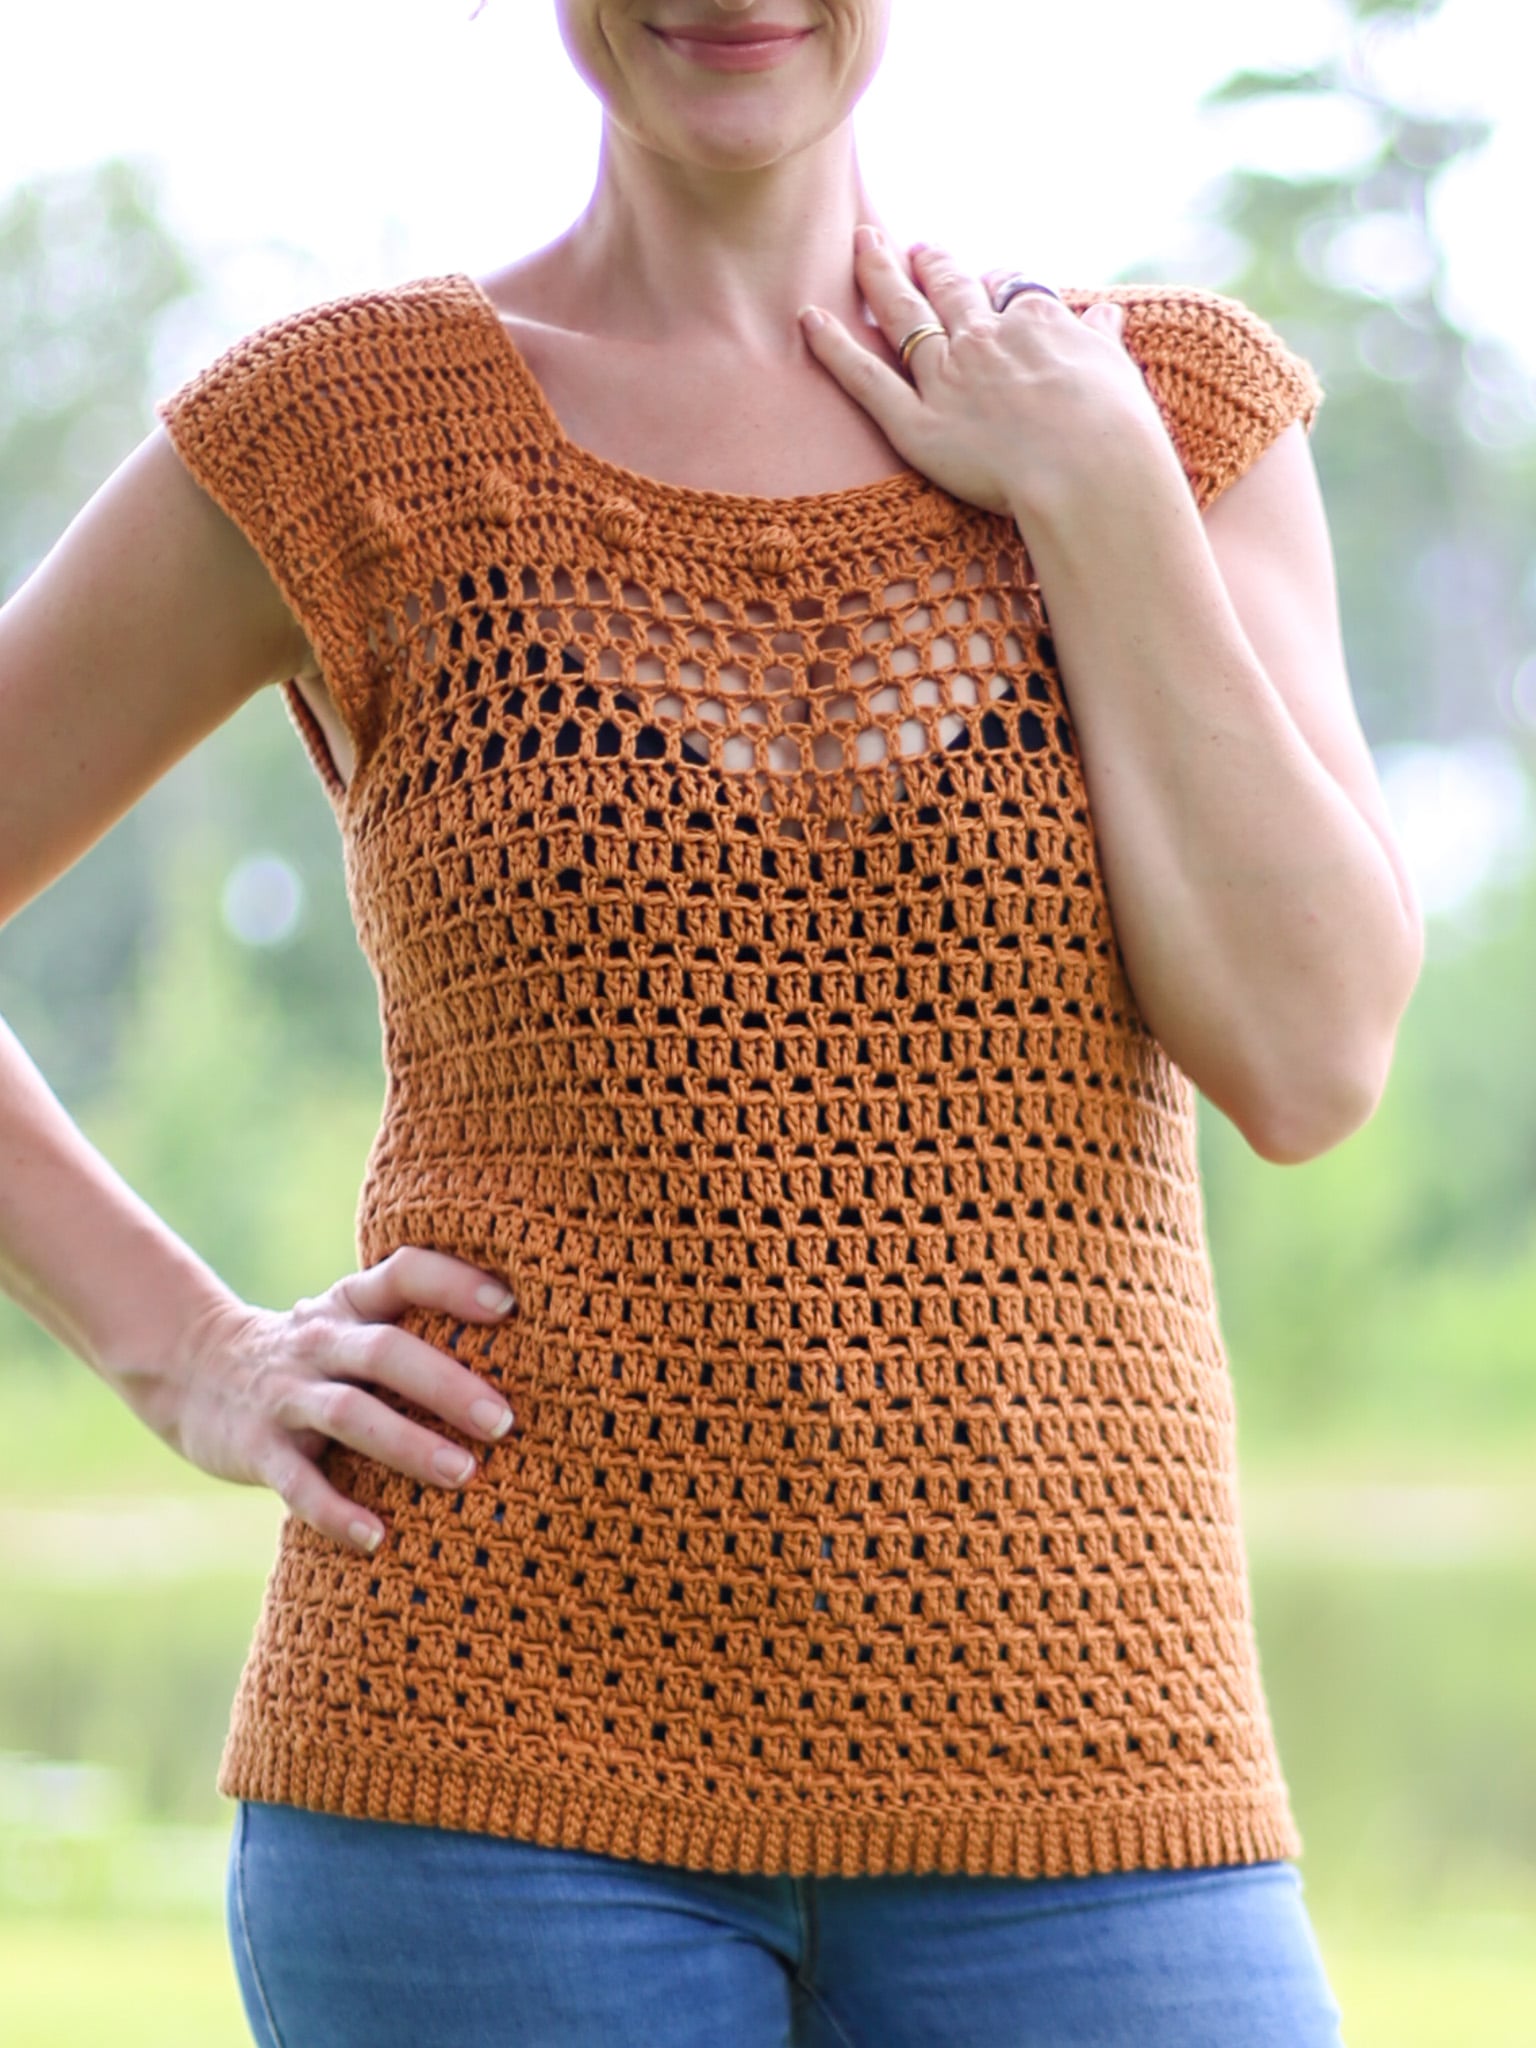
If you have been wanting to add a crochet top to your handmade wardrobe then this beginner friendly crochet project is perfect for you and warm weather! This crochet top free pattern uses simple stitches and lightweight yarn to make a modern tee shirt! Use the free crochet pattern and table of contents in the blog post below to get started.
Best Bang for your Buck, get a Kit From Lion Brand includes printable PDF and Yarn! Or get an ad-free PDF Version on Etsy or Ravelry to print and make this chic crochet purse pattern!
Design Story and Project Inspiration
Originally Published in May 2018, this is one of my original designs that needed a refresh. If you purchased a PDF prior August 2026 you can email me with your order number and I will send you an updated PDF at no charge!
A fun project using crochet bobbles and mesh stitches will make you want to wear this stylish women’s top all the time, especially if you love making crochet clothes! So grab your dk yarn and hook and start making this perfect crochet top now!
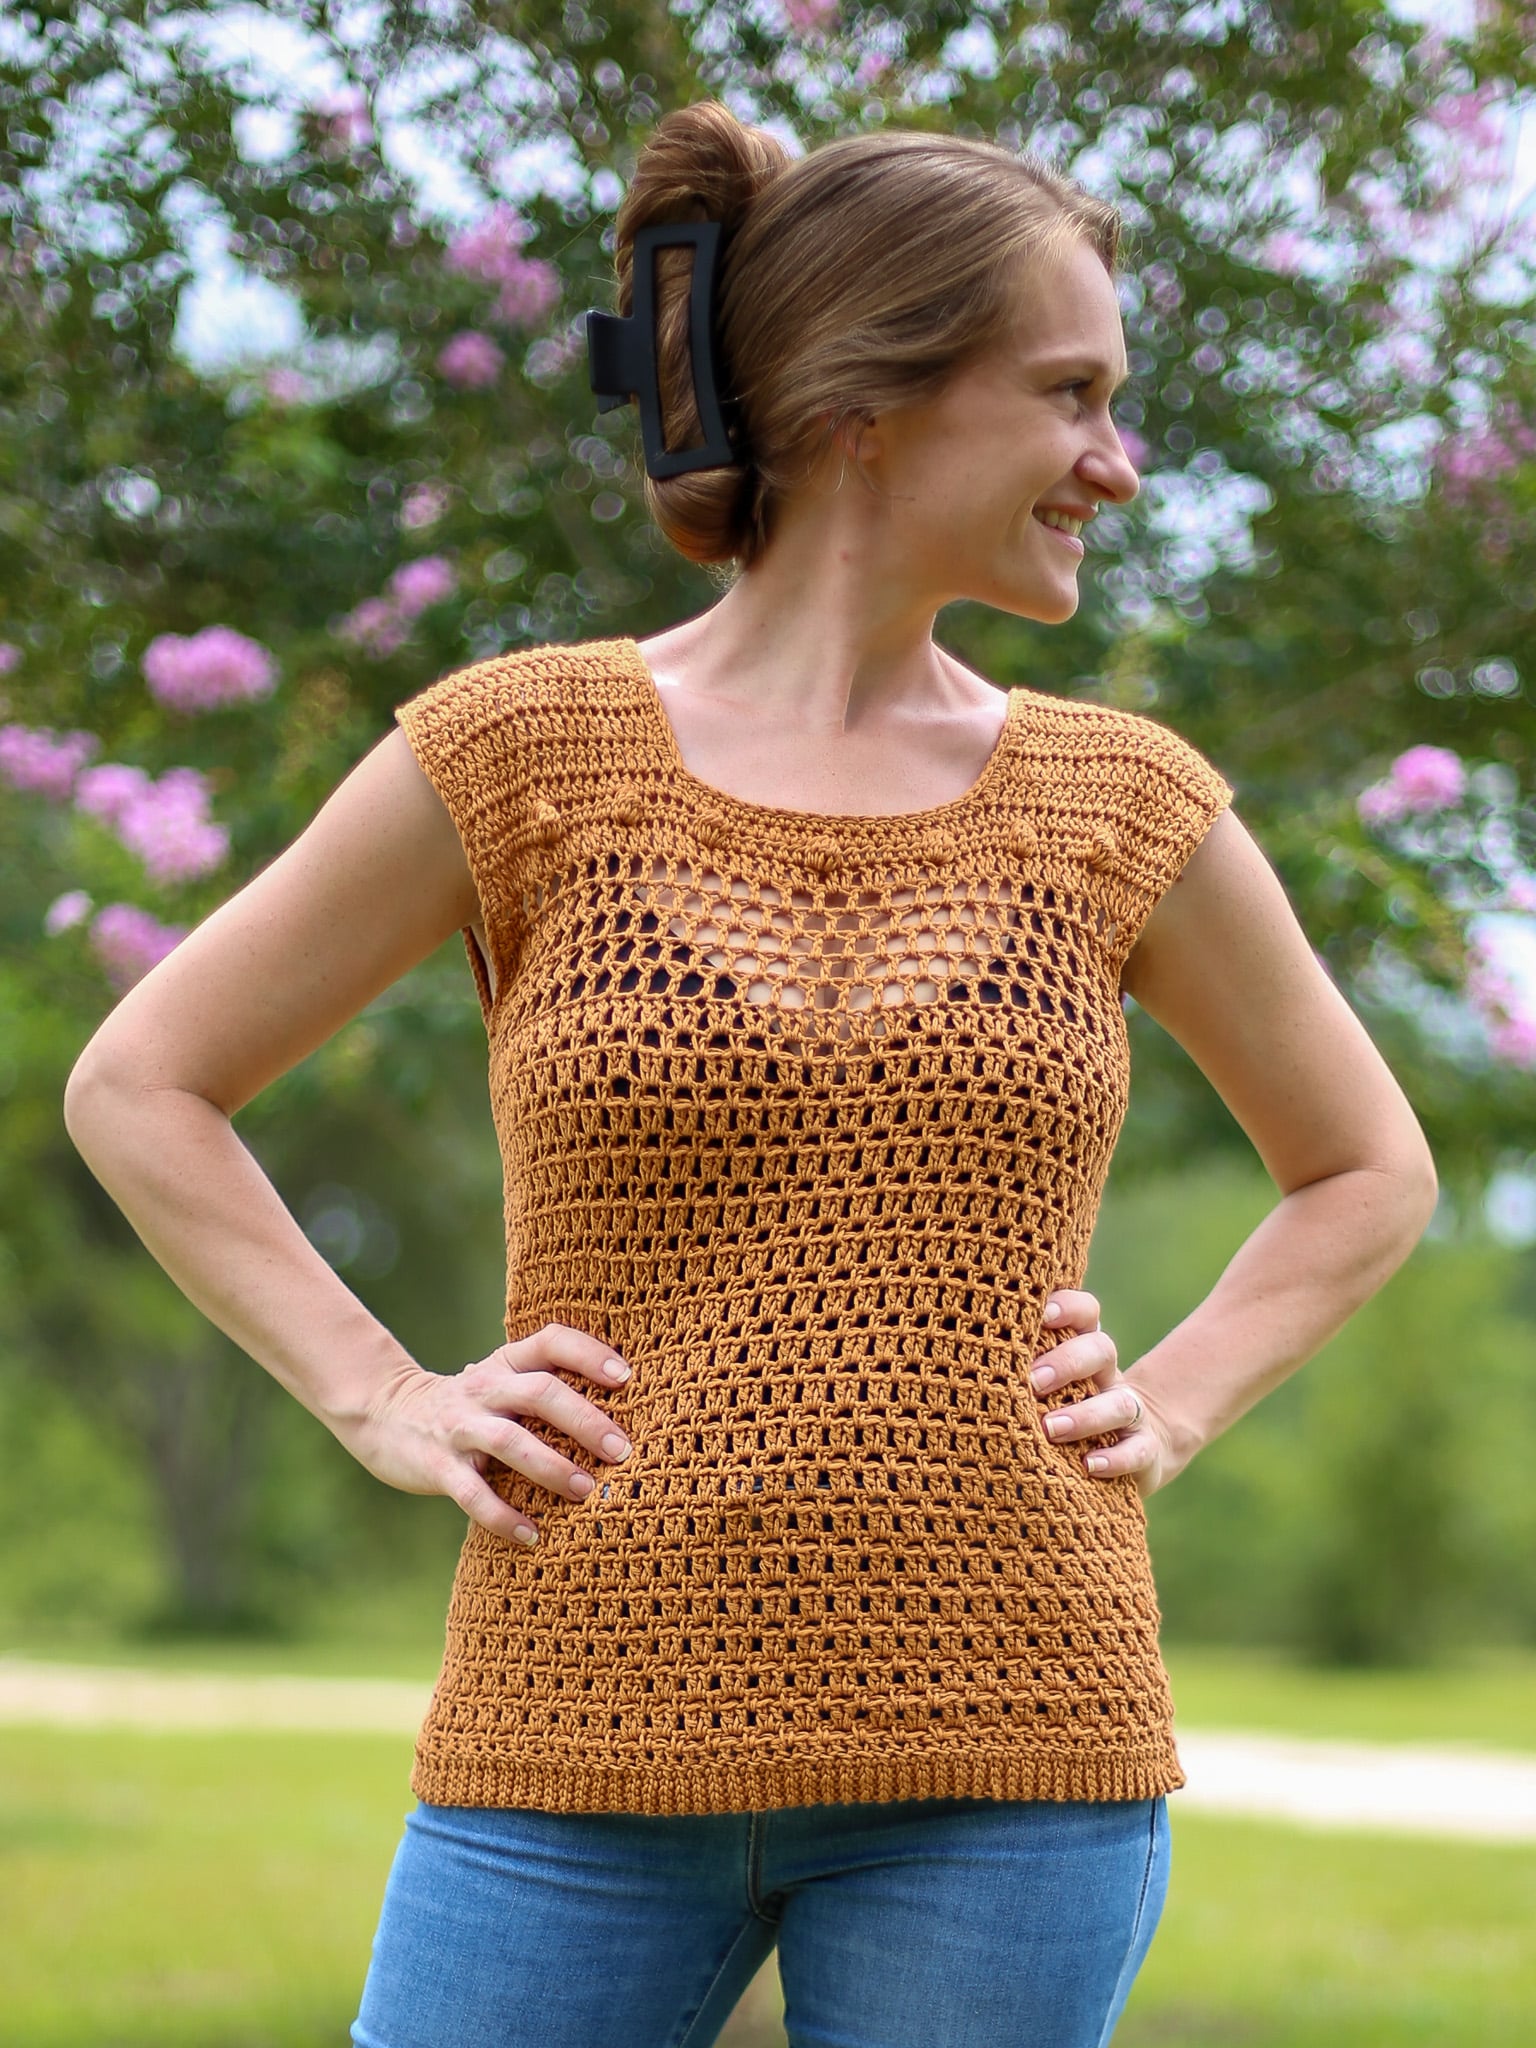
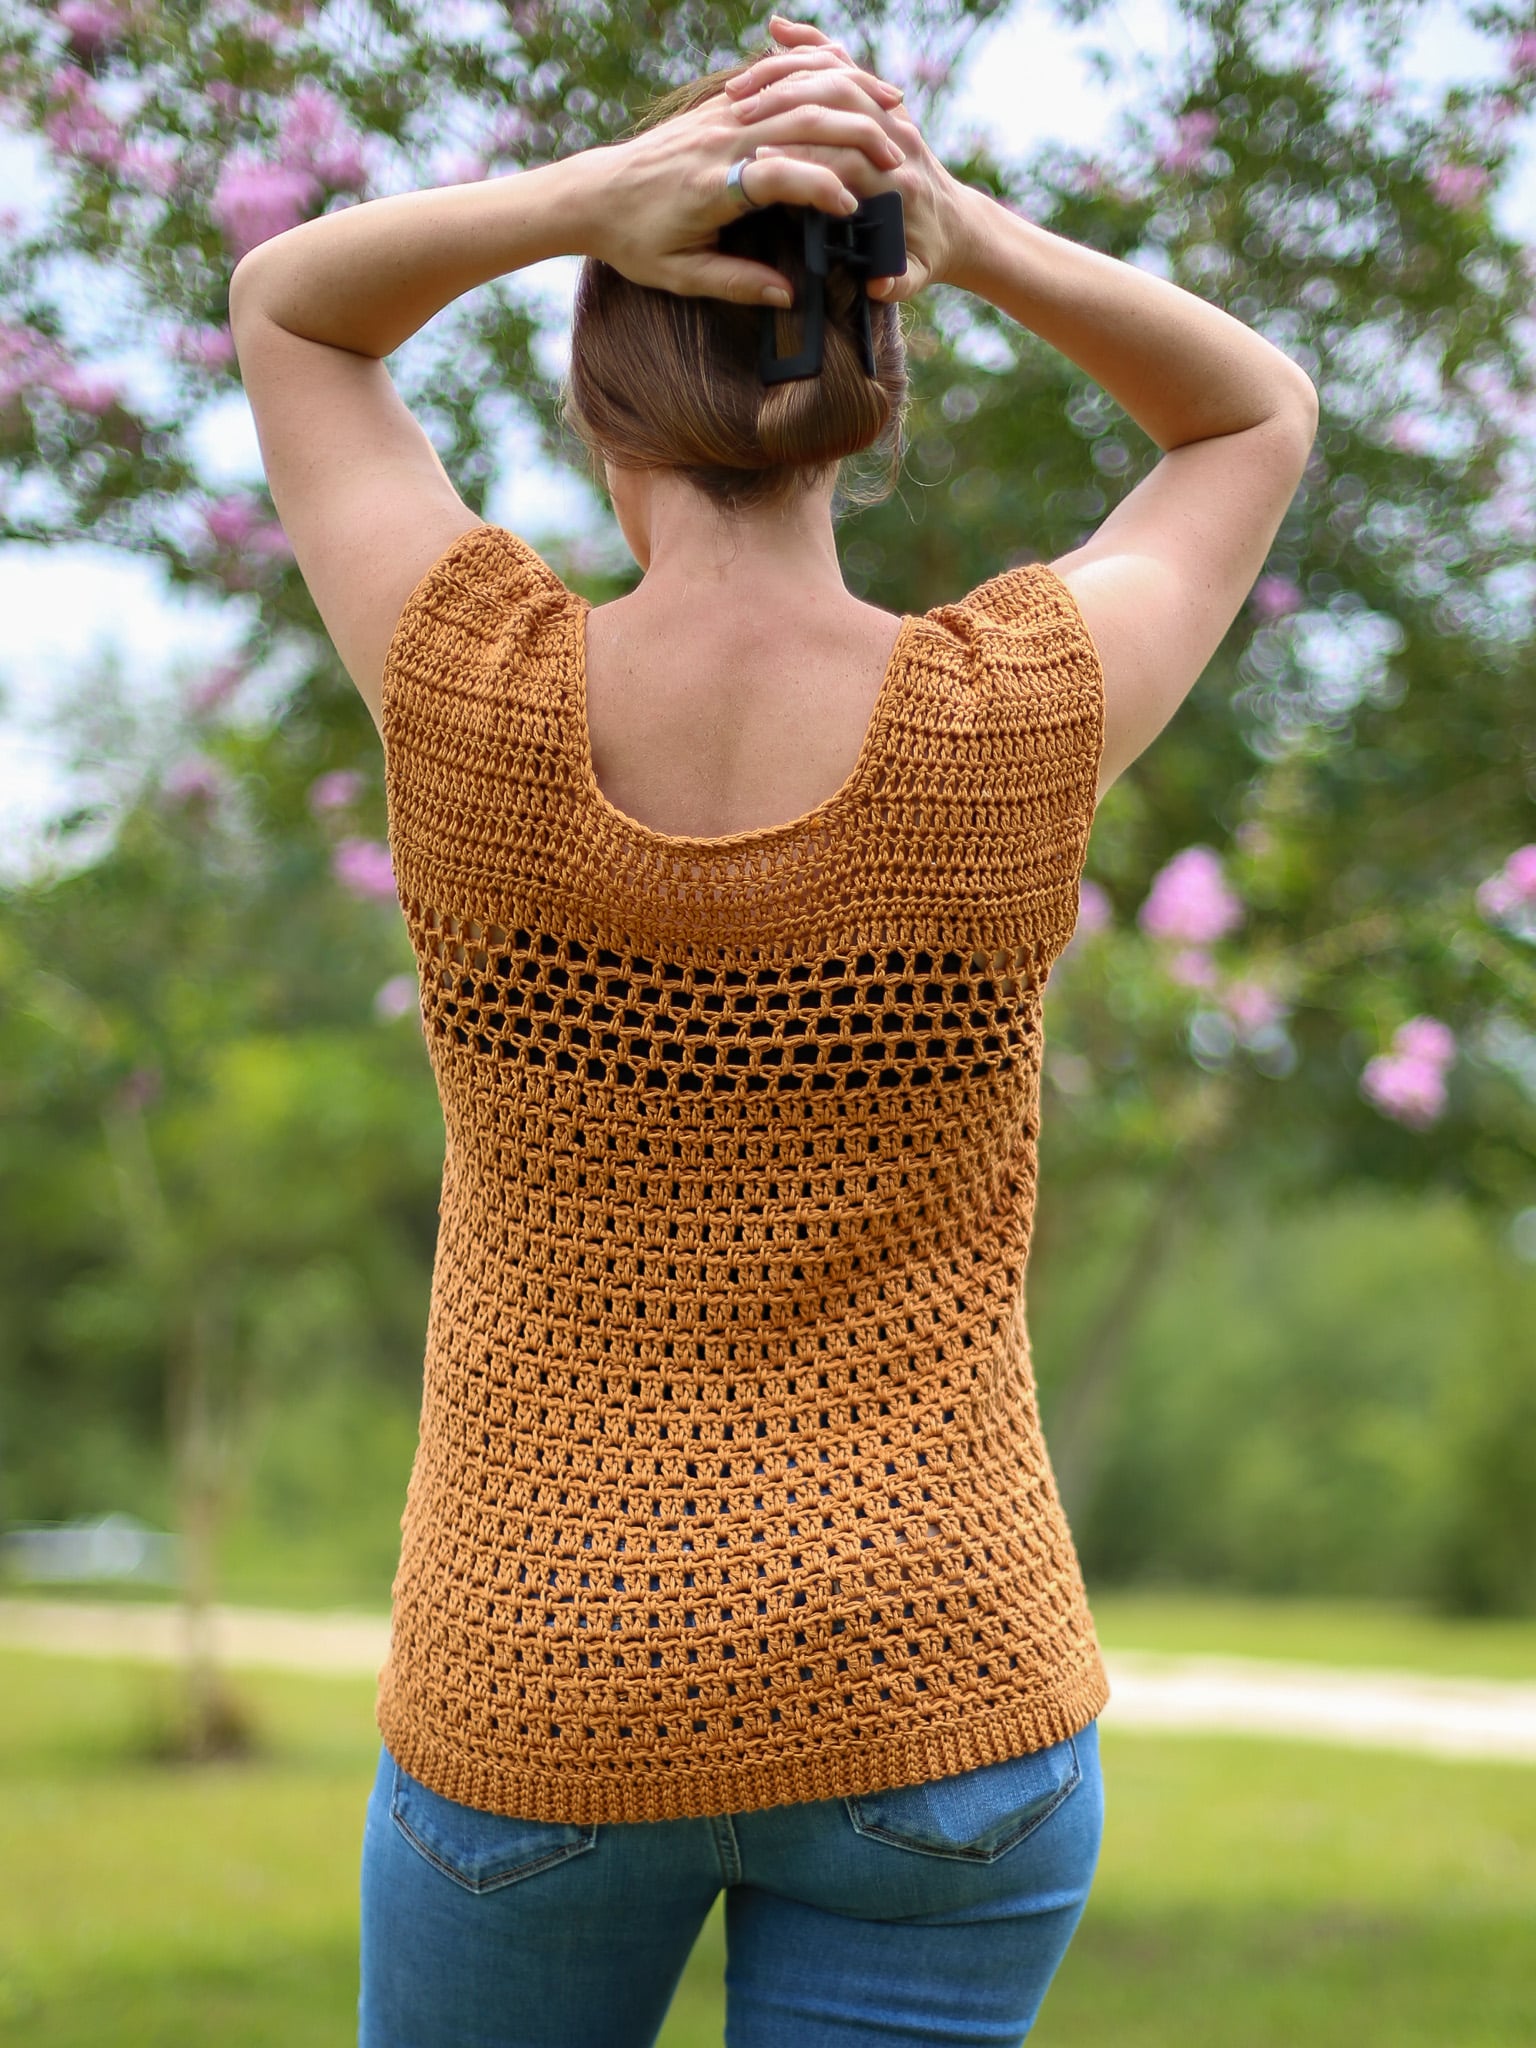
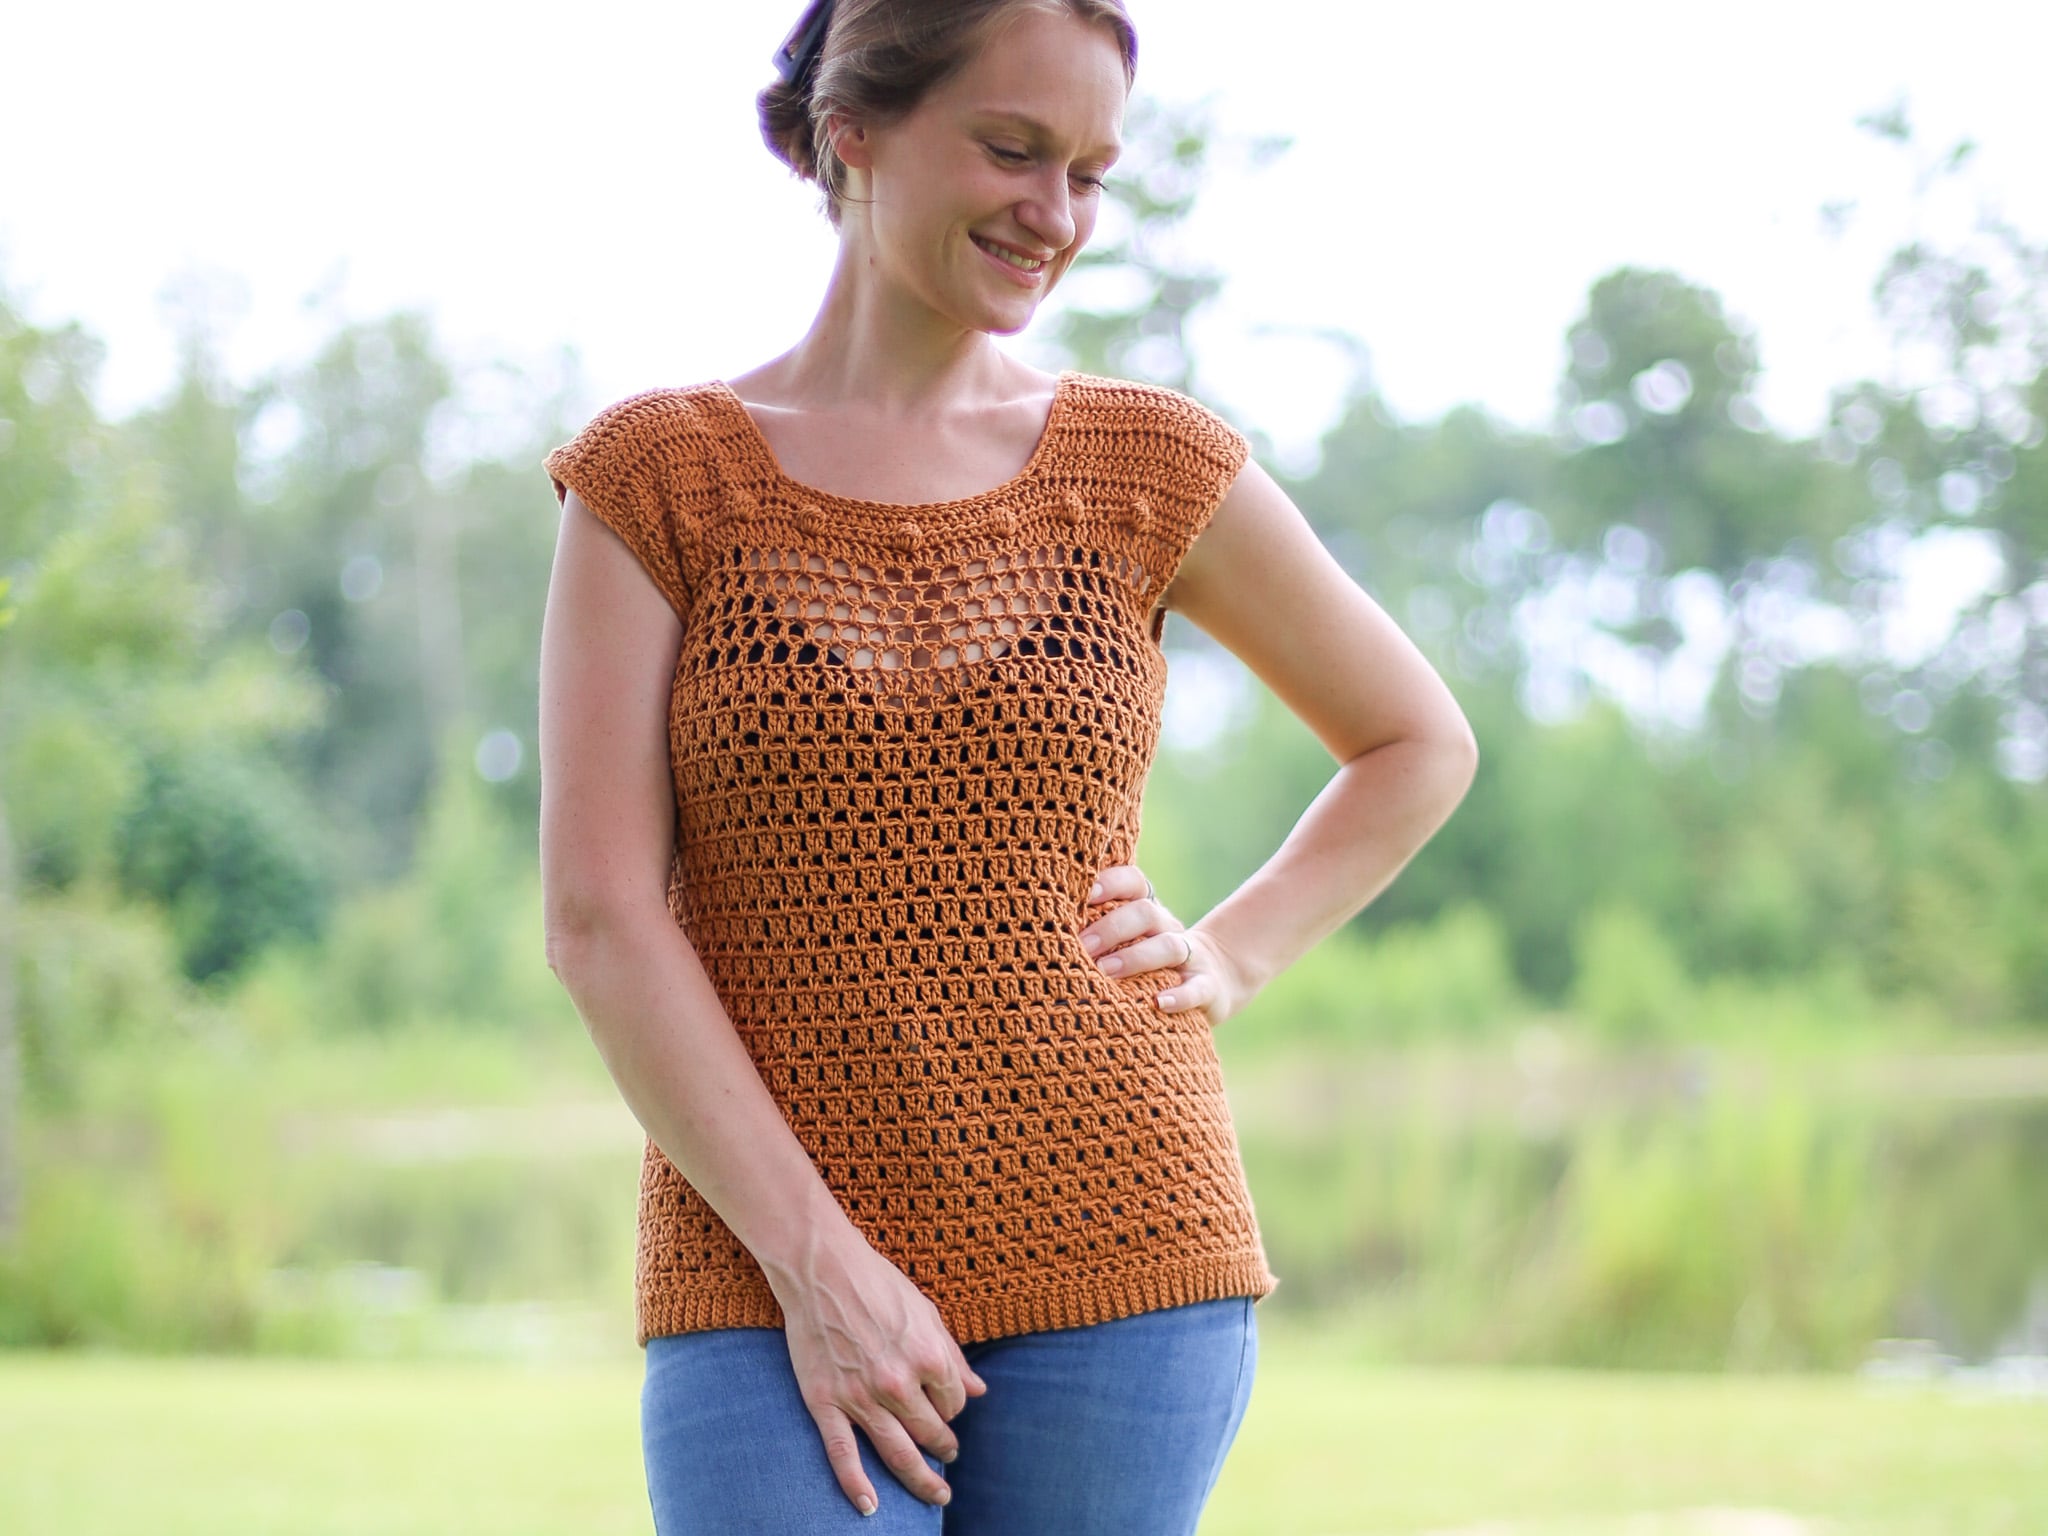
A goal that I set for Life and Yarn almost 10 years ago was to create crochet patterns that you (and I) want to make AND wear! This top was one of my first attempts at a free pattern that used simple construction but had some techniques for a more custom fit. Read more about adjusting your size below to fit your personal style!
Originally this top was designed in a 100% acrylic yarn but truthfully, it just was not the right yarn for this project. So, as I have been slowly updating patterns and creating new samples what I’ve been excited to with them is to switch to cotton and cotton blends!
Side Note: If you love cotton yarns, read this blog post about The Best Cotton and Cotton Blend Yarns!
Anyways, I quickly and easily decided that a cotton yarn like Coboo which is actually a cotton bamboo blend would be perfect for this remake so it can be worn during warmer weather.
If you are a southern girly, specifically a Florida crocheter then you know it’s not just the summer months we need lighter yarn weights and natural fibers…we need them year around!
Can Crochet Tops be Washed?
This one can! Making a top in Coboo means it can be machine washed and dried!
I would recommend washing it and drying it separately as the first time I washed cob it made quite a bit of lint!
Come find me on…
- Like my Facebook Page
- Join my Facebook group!
- Subscribe to my YouTube Channel for Free Crochet Tutorials
- Get PDFs on Etsy
- Get PDFs on Ravelry
- Sign Up for the Life and Yarn Newsletter for more free modern crochet patterns!
- Please Note: Some links may be affiliate links that help to support the Life + Yarn Blog with a small commission at no added cost to you, thank you!
- Original Copyright 2018, Copyright 2026, Life and Yarn, Brianna Iaropoli. Pattern contents are NOT to be re-shared, DIRECT LINKS ONLY to this post for the pattern.

I have another great crochet pattern summer top called the Felicity Tee another modern crochet t-shirt pattern and a few crochet pattern summer tops!
Materials
- Size 5.50 mm crochet hook
- 3 (3, 4, 4, 5, 5, 6, 6, 7) Skeins of Lion Brand Coboo in Amber [#835-129N]
- Dk Weight No. 3
Gauge
- Make a Fdc of 16 and complete 9 rows, a slightly bigger swatch is better for measuring!
- Unblocked/blocked: 14 sts by 7 rows in pattern repeat is 4 by 4 inches.
- Read more about gauge below.
Getting Proper Gauge
- Whether you are working with the recommended yarn, a yarn of similar fiber content or something different, gauge for this pattern along side your preferred blocking method is EXTREMELY important to make sure your top is the right size, fits properly and you have enough yardage.
- Lion Brand’s Coboo can block out significantly depending in stitch and tension.
- You will need to create a swatch larger than the given gauge to measure your gauge:
Make a Fdc of 16 and complete 9 rows to measure gauge. - My UNBLOCKED and BLOCKED gauge is 14 sts by 7 rows in dc is 4 by 4 inches using a 5.50 mm hook. Once dry my top sprang back to its original measurements, so make sure you let your swatch dry fully before measuring. WORN gauge may be different!
- For this pattern I only did a light steam blocking to relax the fabric, open the stitches and straighten my edges.
- If using a different fiber, like wool or a cotton blend for example, you may need to change your hook and/or blocking method to reach the same Blocked/Finished Gauge.
Sizing
- XS (S, M, L, XL, 2XL, 3XL, 4XL, 5XL)

Stitch Descriptions and Abbreviations
- Chain Stitch – ch
- Stitch(es) – st(s)
- Skip – sk
- Double Crochet – dc
- Yarn Over – yarn over – bring your yarn over your hook.
- Between – bet – work your stitch between the skipped stitch and next stitch.
- Stacked Single Crochet as hdc – STsc/hdc – insert your hook into the designated stitch, YO, pull up a loop, YO, pull through both loops, insert your hook into the second vertical bar on the stitch you just created, YO, pull up a loop, YO, pull though all loops.
- Stacked Single Crochet as dc – STsc/dc – insert your hook into the designated stitch, YO, pull up a loop, YO, pull through both loops, *insert your hook into the second vertical bar on the stitch you just created, YO, pull up a loop, YO, pull though all loops, repeat from * one more time.
- Stacked Single Crochet as dc2tog – STsc/dc2og – insert your hook into the designated stitch, YO, pull up a loop, insert your hook into the next st, YO, pull up a loop, YO, pull through all loops, *insert your hook into the second and third vertical bar on the stitch you just created, YO, pull up a loop, YO, pull though all loops, repeat from * one more time using only the second vertical bar.
- Bobble Stitch – BO – YO, insert hook in next st, YO, pull up a loop, YO, pull through two loops (2 loops on hook) YO, insert hook in same st, YO, pull up a loop, YO, pull through two loops (3 loops on hook), YO, insert hook in same st, YO, pull up a loop, YO, pull through two loops (4 loops on hook), YO, insert hook in same st, YO, pull up a loop, YO, pull through two loops (5 loops on hook), YO, and draw through all loops on hook. Continue to next stitch.
- Surface Slip Stitch – Surface Sl St – Pull up a loop in the designated stitch with working yarn on backside of piece, one loop on hook, *insert your hook into the next stitch or space, YO, pull up a loop through stitch or space and through loop on hook, one loop on hook, repeat from * to end creating your sl st on the surface of your previously created stitches.
Pattern Notes
- Skill Level: Intermediate
- EASE: This pattern is designed with 0” ease, if you would like a looser fit size up or read the “Sizing Tips” below for in-depth size adjustment instructions.
- Be sure to read Notes and Reminders throughout the pattern for more clarity.
- Measurements in “Size Chart” above are Finished Garment Measurements, Bust is full circumference and Length is when laid flat not worn.
- * Designates a repeat.
- “sc 1” means to single crochet in the next stitch.
- “sc 2” means to single crochet in each of the next 2 stitches.
- “2 sc” means to single crochet twice in the next stitch to create an increase.
Tips for Sizing your Crochet Shirt
- How to Adjust the Length of the Body: The length of your body is dictated by the number of rows in this pattern. To add length you will add/subtract rows in the first section titled “Front Panel – All Sizes” and “Back Panel – All Sizes”. Remember to add/subtract the same number of rows to both panels.
- How to Adjust the Width of the Body: The width of your body is dictated by the number of stitches in this pattern. To add/subtract width you will add/subtract stitches by 2’s. Remember to add the same number of stitches to both panels and take those stitches into account when creating the neck opening.
- How to Adjust the Neck Opening: To adjust the Neck Opening you will work over more or less stitches in the “Neck Opening” section. Be sure to adjust each side the same.
- How to Adjust the Sleeve Length: This top is made with two simple rectangles with sizes 2XL to 5XL having decreases in the mesh section to help bring the shoulder slightly in. The sleeve length is dictated by the panel width, larger sizes will have a longer sleeve. If you would like them shorter from where I already modified you can add decreases to outside edge of each neck opening.
- IMPORTANT NOTE: Any changes to sizing will affect your yardage, buy an extra skein if you plan to adjust sizing to avoid running out of yarn or lot color variations.
Free Crochet Shirt Pattern
Front Panel – All Sizes
Row 1 – Fdc 52 (58, 64, 70, 76) (84, 92, 98, 106) stitches.
Row 2 – Turn, sc in first dc, *ch 2, sk 2-dc, sc bet, repeat from * until 3 sts remain, ch 2, sk 1, sc in last stitch. [25 (28, 31, 34, 37) (41, 45, 48, 52 total ch-2 sps]
Row 3 – Turn, STsc/dc, 2 dc in each ch-2 loop across, dc in last sc.
[52 (58, 64, 70, 76) (84, 92, 98, 106) total sts]
Row 4 to 35 (35, 37, 37, 37) (39, 39, 41, 41) – Repeat Rows 2-3.
Note: Continue below in the section for your size.
Sizes XS to XL – Mesh Section
Note: If you are making a size XS to XL continue below, if you are making a 2XL to 5XL move to next section.
Row 36 (36, 38, 38, 38) (x, x, x, x)– Turn, STsc/dc, dc 3, *ch 1, sk 1, dc in next, repeat from * until 2 sts remain, dc in each remaining st.
[52 (58, 64, 70, 76) (x, x, x, x) total sts]
Next 4 Rows -Turn, STsc/dc, dc 2, dc in ch-sp, *ch 1, sk dc, dc in next ch-sp, repeat from * to last 4 sts, ch 1, sk 1 dc, dc 3.
[52 (58, 64, 70, 76) (x, x, x, x) total sts]
Next Row -Turn, STsc/dc, dc in every stitch across.
[52 (58, 64, 70, 76) (x, x, x, x) total sts]
Next: Continue to “All Sizes – Bobble Neck Detail” below.
Sizes 2XL to 5XL – Mesh Section
Note: These next rows have decreases to bring the Front Panel in ever so slightly to help to reduce the shoulder width. You may reduce more in the “Neck Opening” section below if desired.
Row x (x, x, x, x) (40, 40, 42, 42) – Turn, STsc/dc2tog, dc 3, *ch 1, sk 1, dc in next, repeat from * until 5 sts remain, dc 3, dc2tog.
[x (x, x, x, x) (82, 90, 96, 104) total sts]
Next 4 Rows -Turn, STsc/dc2tog, dc 2, dc in ch-sp, *ch 1, sk 1, dc in next ch-1 sp, repeat from * until 4 sts remain, dc 2, dc2tog.
Each row will decrease by 2 for a final row count of [x (x, x, x, x) (74, 82, 88, 96) total sts]
NextRow -Turn, STsc/dc, dc in every stitch across.
[52 (58, 64, 70, 76) (74, 82, 88, 96) total sts]
Next: Continue to “All Sizes – Bobble Neck Detail” below.
Bobble Neck Detail – All Sizes
Note: You should have a bobble in the center of the neck opening, some rows are off by one stitch
Bobble Row – Turn, STsc/hdc, 4 (6, 6, 6, 6) (5, 5, 4, 5) hdc, *bo, hdc 6, repeat from* until 5 (9, 8, 7, 6) (5, 6, 6, 6) sts remain, bo, hdc 4 (8, 7, 6, 5) (4, 5, 5, 5) sts. [52 (58, 64, 70, 76) (74, 82, 88, 96) total sts]
Next Row – Turn, STsc/hdc, hdc in every stitch across.
[52 (58, 64, 70, 76) (74, 82, 88, 96) total sts]
Neck Opening – Short Rows
Continuing from last row.
Next 8 Rows – Turn, STsc/dc, dc 16 (19, 22, 25, 28) (27, 31, 34, 38) sts, finish off on final row.
[17 (20, 23, 26, 29) (28, 33, 35, 39) total sts]
Next: Skip 18 sts in last row of “Bobble Neck Detail”, reattach your yarn and repeat “Next 8 Rows” from above to create the other side of the Neck Opening, finish off.
Back Panel
Next:Repeat “Front Panel – All Sizes” instructions.
Next:Repeat “Sizes XS to XL – Mesh Section” or “Sizes 2XL to 5XL – Mesh Section” instructions.
Next: Skip “Next:Continue to All Sizes – Bobble Neck Detail below.“ instruction and continue to Next 2 Rows instruction below.
Next 2 Rows – Turn, STsc/hdc, hdc in every stitch across.
[52 (58, 64, 70, 76) (74, 82, 88, 96) total sts]
Next 2 Rows – Turn, STsc/dc, dc in every stitch across.
[52 (58, 64, 70, 76) (74, 82, 88, 96) total sts]
Next:Continue to “Neck Opening – Short Rows” below.
Neck Opening – Short Rows
Next 5 Rows – Turn, STsc/dc, dc 16 (19, 22, 25, 28) (27, 31, 34, 38) sts, finish off on final row.
[17 (20, 23, 26, 29) (28, 33, 35, 39) total sts]
Next: Skip 18 sts in last row of your Back Panel, reattach your yarn and repeat “Next 5 Rows” from above to create the other side of the Neck Opening, finish off.
Assembly
Note: The Back Panel is slightly shorter than the Front Panel to drop the shoulder seam back.
- Lay your Front Panel on your Back Panel with Wrong Sides facing and using a mattress stitch seam together your shoulders.
- Then working from the waist up seam together the sides of your top using the row ends to form the body leaving enough row ends unworked to form a comfortable arm opening.
Waist Trimming
- Next: Reattach your yarn in Row 1 (Fdc) of the Front or Back Panel but not the side seam.
- Repeat Steps 3 and 4 working around the waist of your top skipping the side seams, seam your final row to your first row, finish off and weave in your ends.
- Chain 5, turn so that the wrong side of your top is facing you, sl st in the second chain from the hook and each next chain back to the Fdc Row. [4 total sl sts]
- Sl st in the next st of Fdc Row, turn, skip first sl st, sl st blo next 4 sts.
- Turn, ch 1, sl st blo in next 4 sl sts.
- Sl st in the next st of Fdc Row, turn, skip first sl st, sl st blo next 4 sts.
Neck + Sleeve Trimming
Next: Reattach your yarn on the back of the neck, single crochet evenly around the neck in stitches and row ends, sl st to join, then surface slip stitch around in single crochet row, finish off, weave in ends.
Next: Reattach your yarn at a row end of the sleeve, single crochet evenly around the sleeve row ends, sl st to join, then surface slip stitch around in single crochet row, finish off, weave in ends, repeat on other sleeve.


Is there a print version. I like to follow along on paper! This top is SO cute!
Hi! Thank you SO much! There is a print version available at a discount while the pattern is posted free here! You can find it using the links to Etsy and Ravelry at the top of the post or in the menu. The PDF also includes a stitch chart, sizing chart and stitch diagrams! Again, thank you!!
Hi I like your patterns and would like to try them. Could you also suggest the kind of yarn you are using. Cotton or acrylic?
Hi! Sorry, I thought I had included that! For this one and Felicity I used Caron simply soft, 100% acrylic, but I did have testers use cotton as well!
What is the bust size on large
On the large the Sadie Top will measure 18” across when laid flat after seaming.
So is that like a size 36 bust