Free Crochet Hat with Ribbing Pattern – Alpine Stitch Beanie
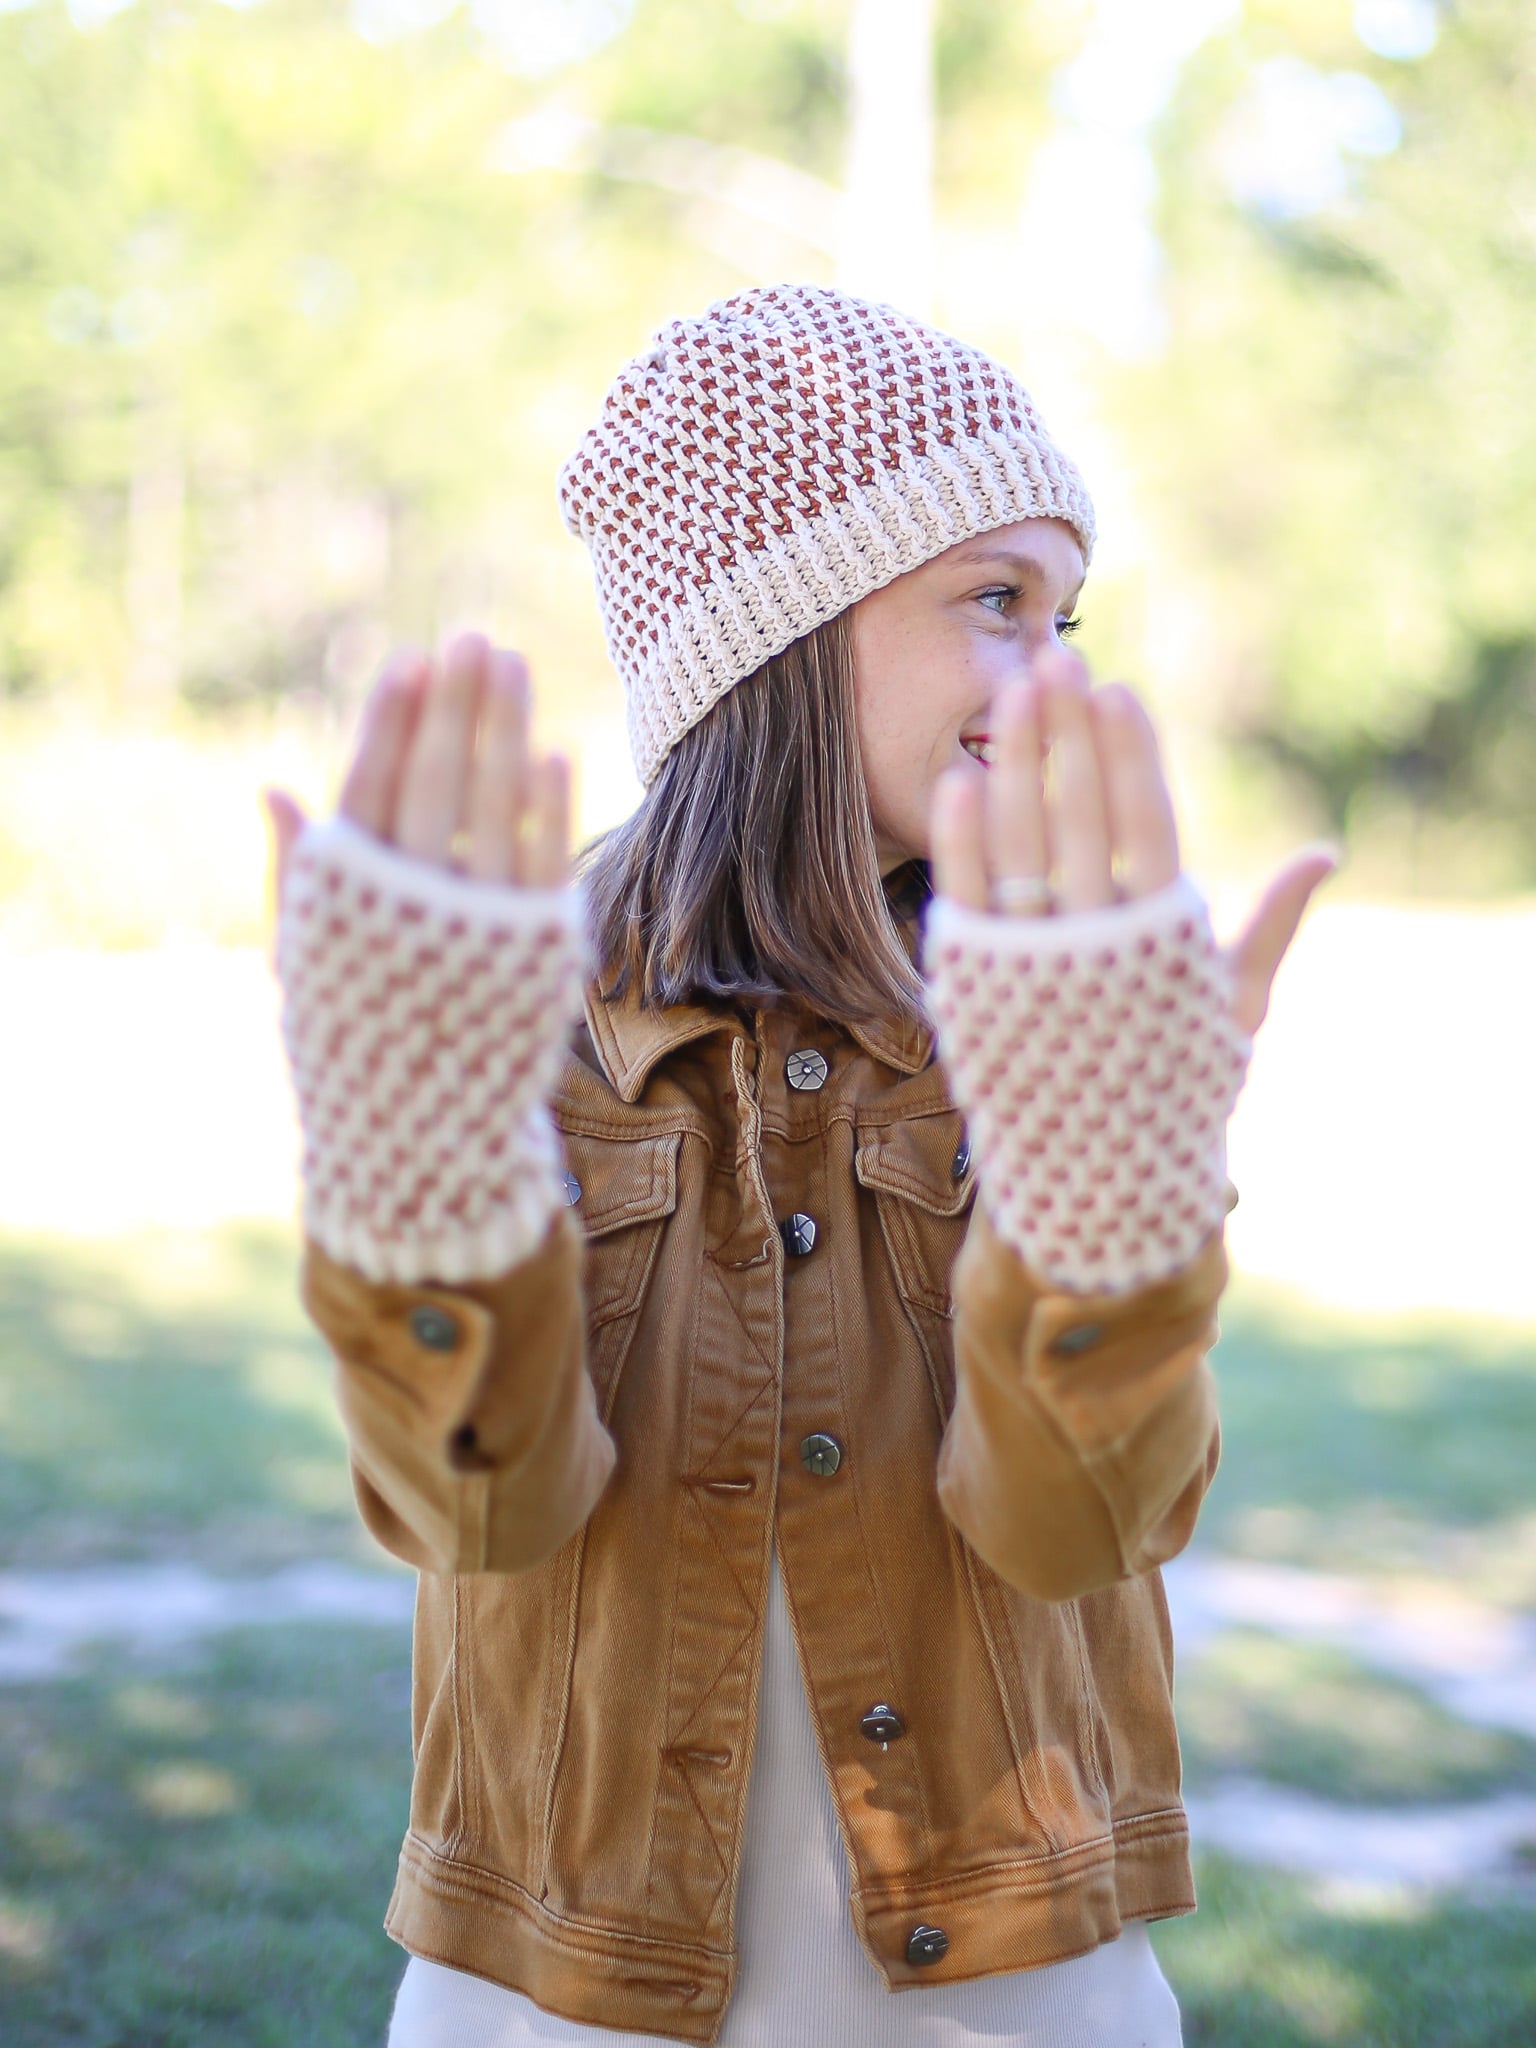
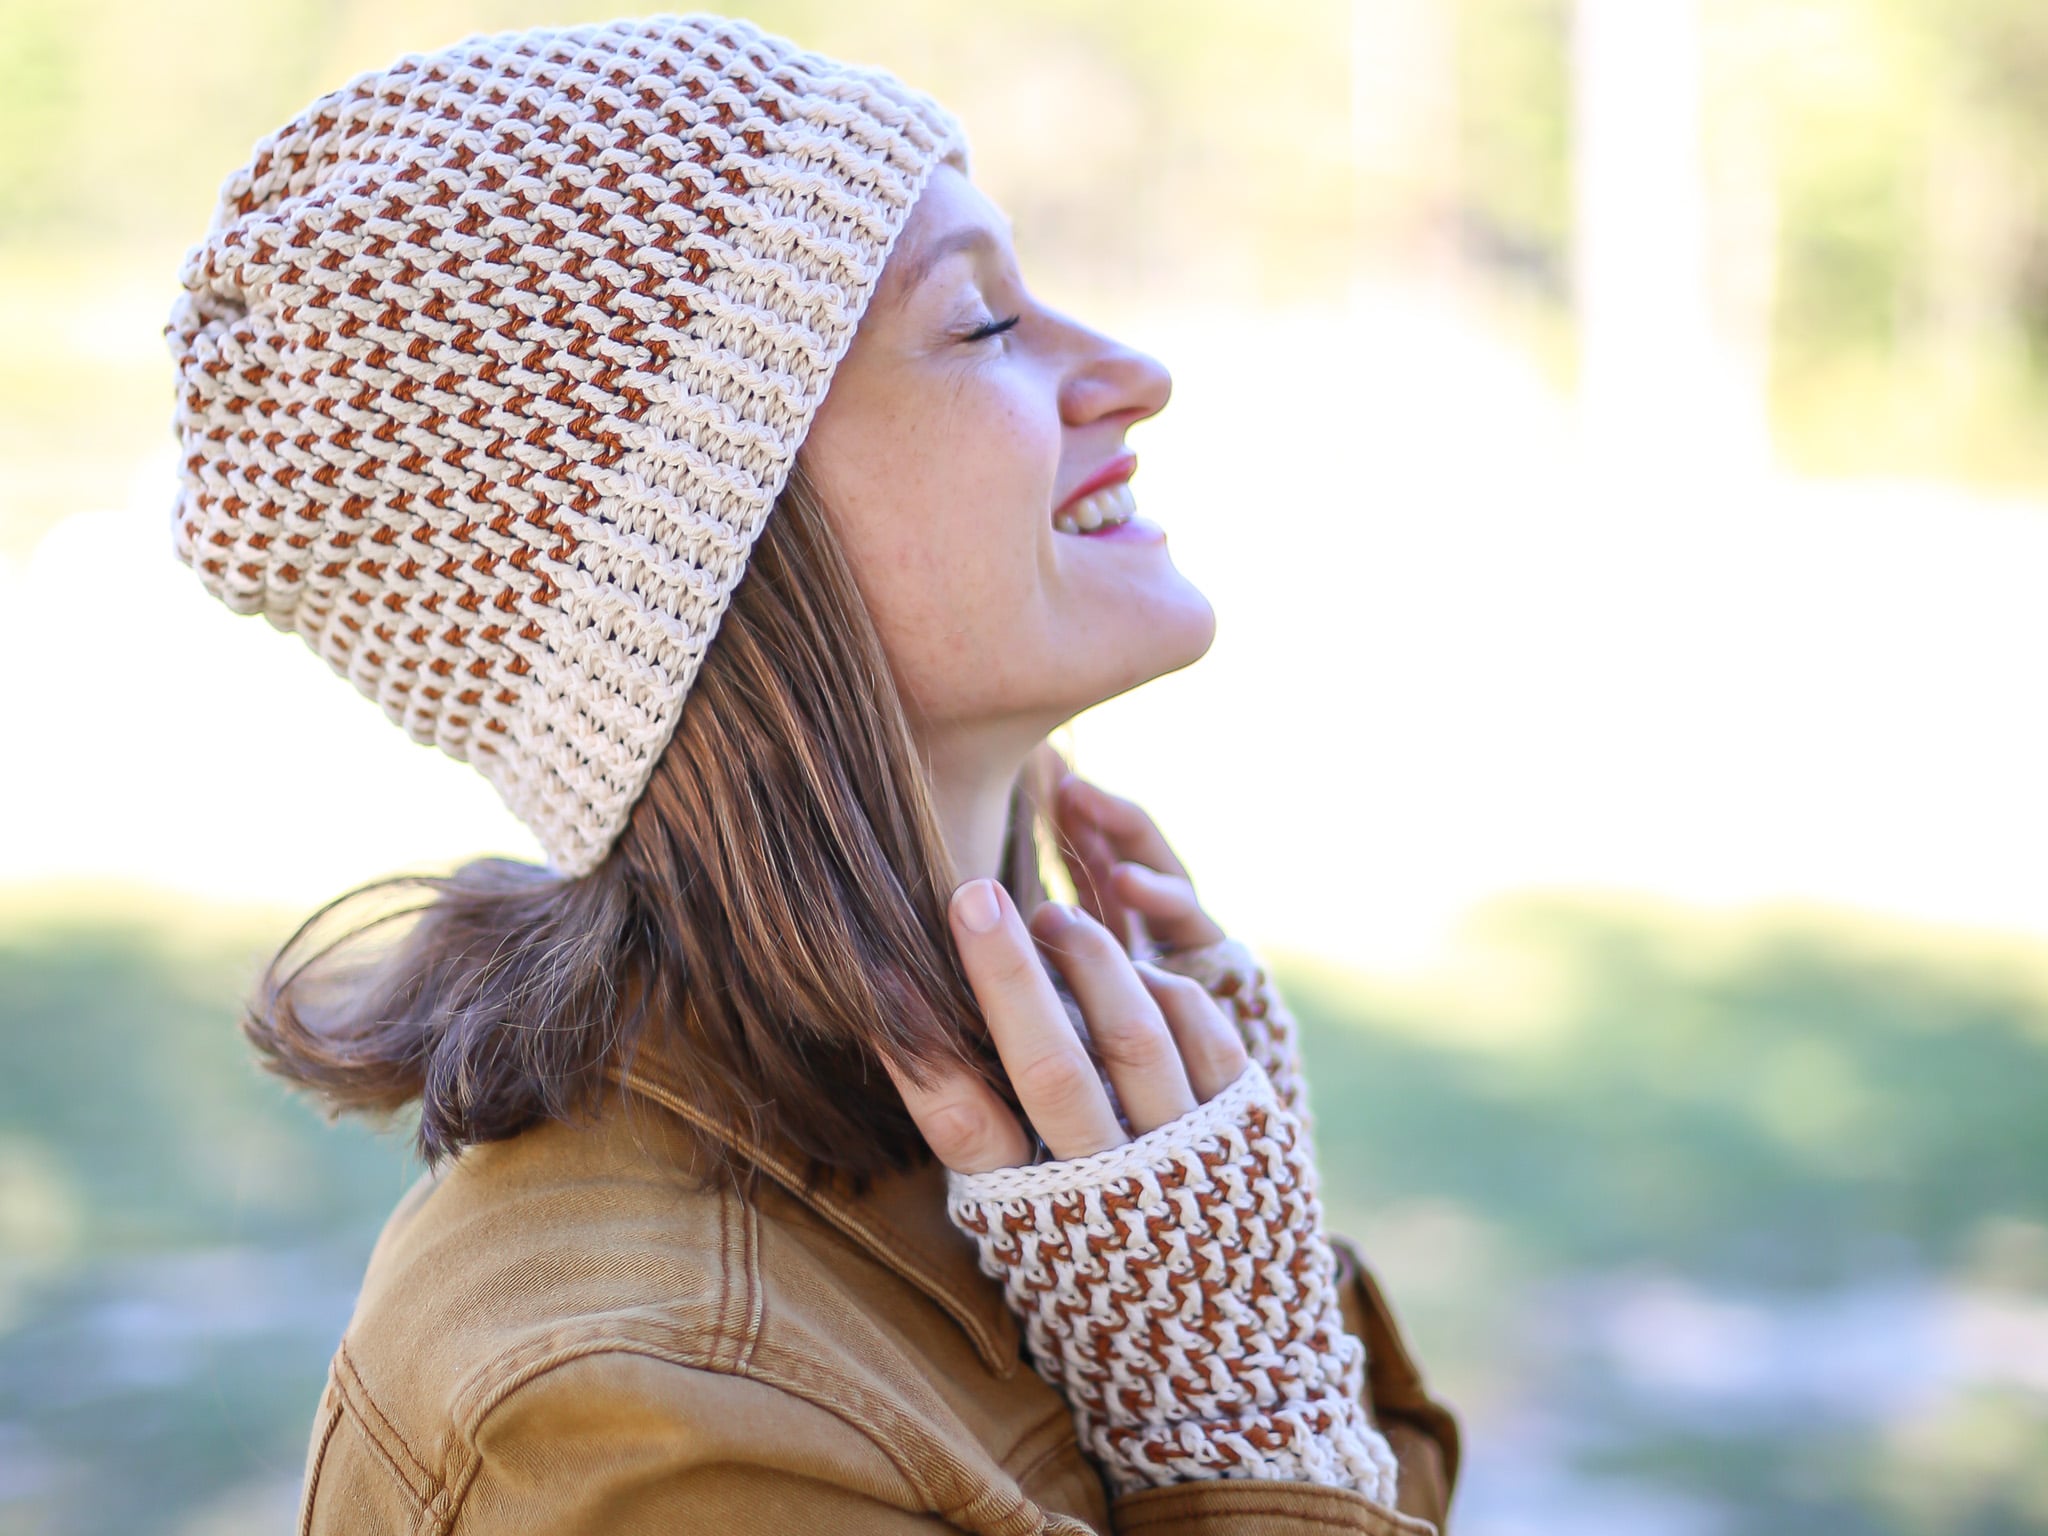
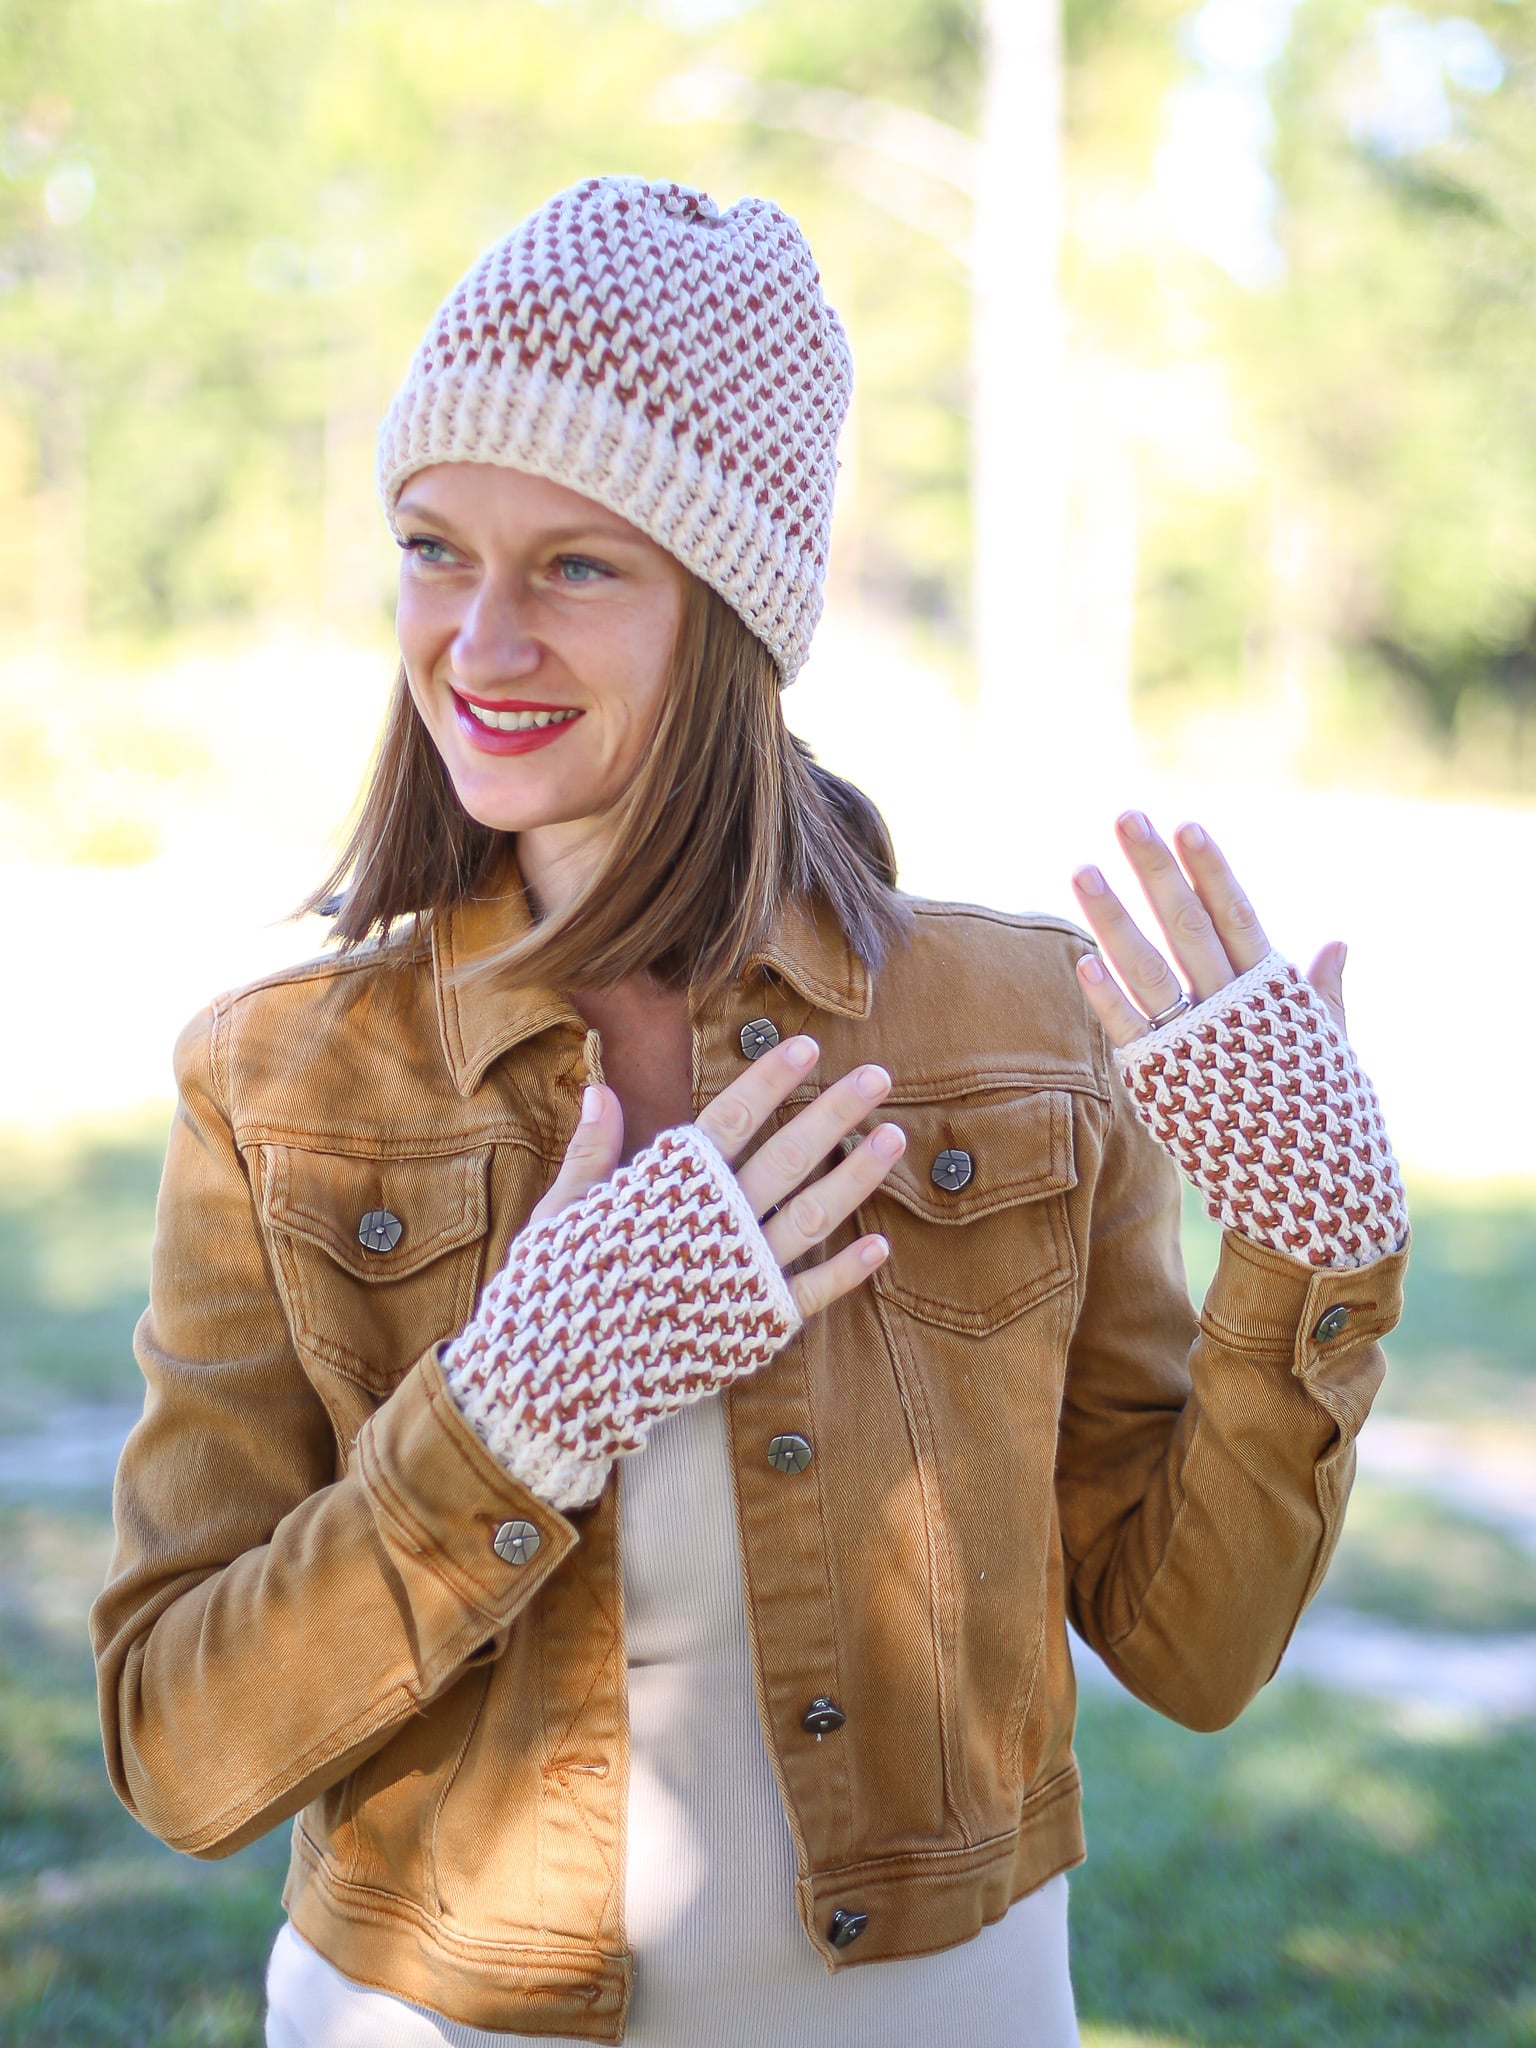
New to crochet and looking for a cozy hat pattern that isn’t the same as all the others? Do you want a matching pair of fingerless gloves too? This crochet hat with ribbing and matching set of open finger gloves is a perfect project if you are ready to move away from a simple ribbed half double crochet beanie! Written in four sizes for the whole family with instructions on How to Make Any Size Hat included below!
Use the Easy to Navigate Table of Contents below the first photo to make this Free Crochet Hat with Ribbing Pattern and the matching set of fingerless gloves.
Best Bang for your Buck, get a Kit From Lion Brand that includes a printable ad-free pdf pattern and Yarn!
Get a printable pdf crochet pattern on my Etsy Shop or Ravelry!
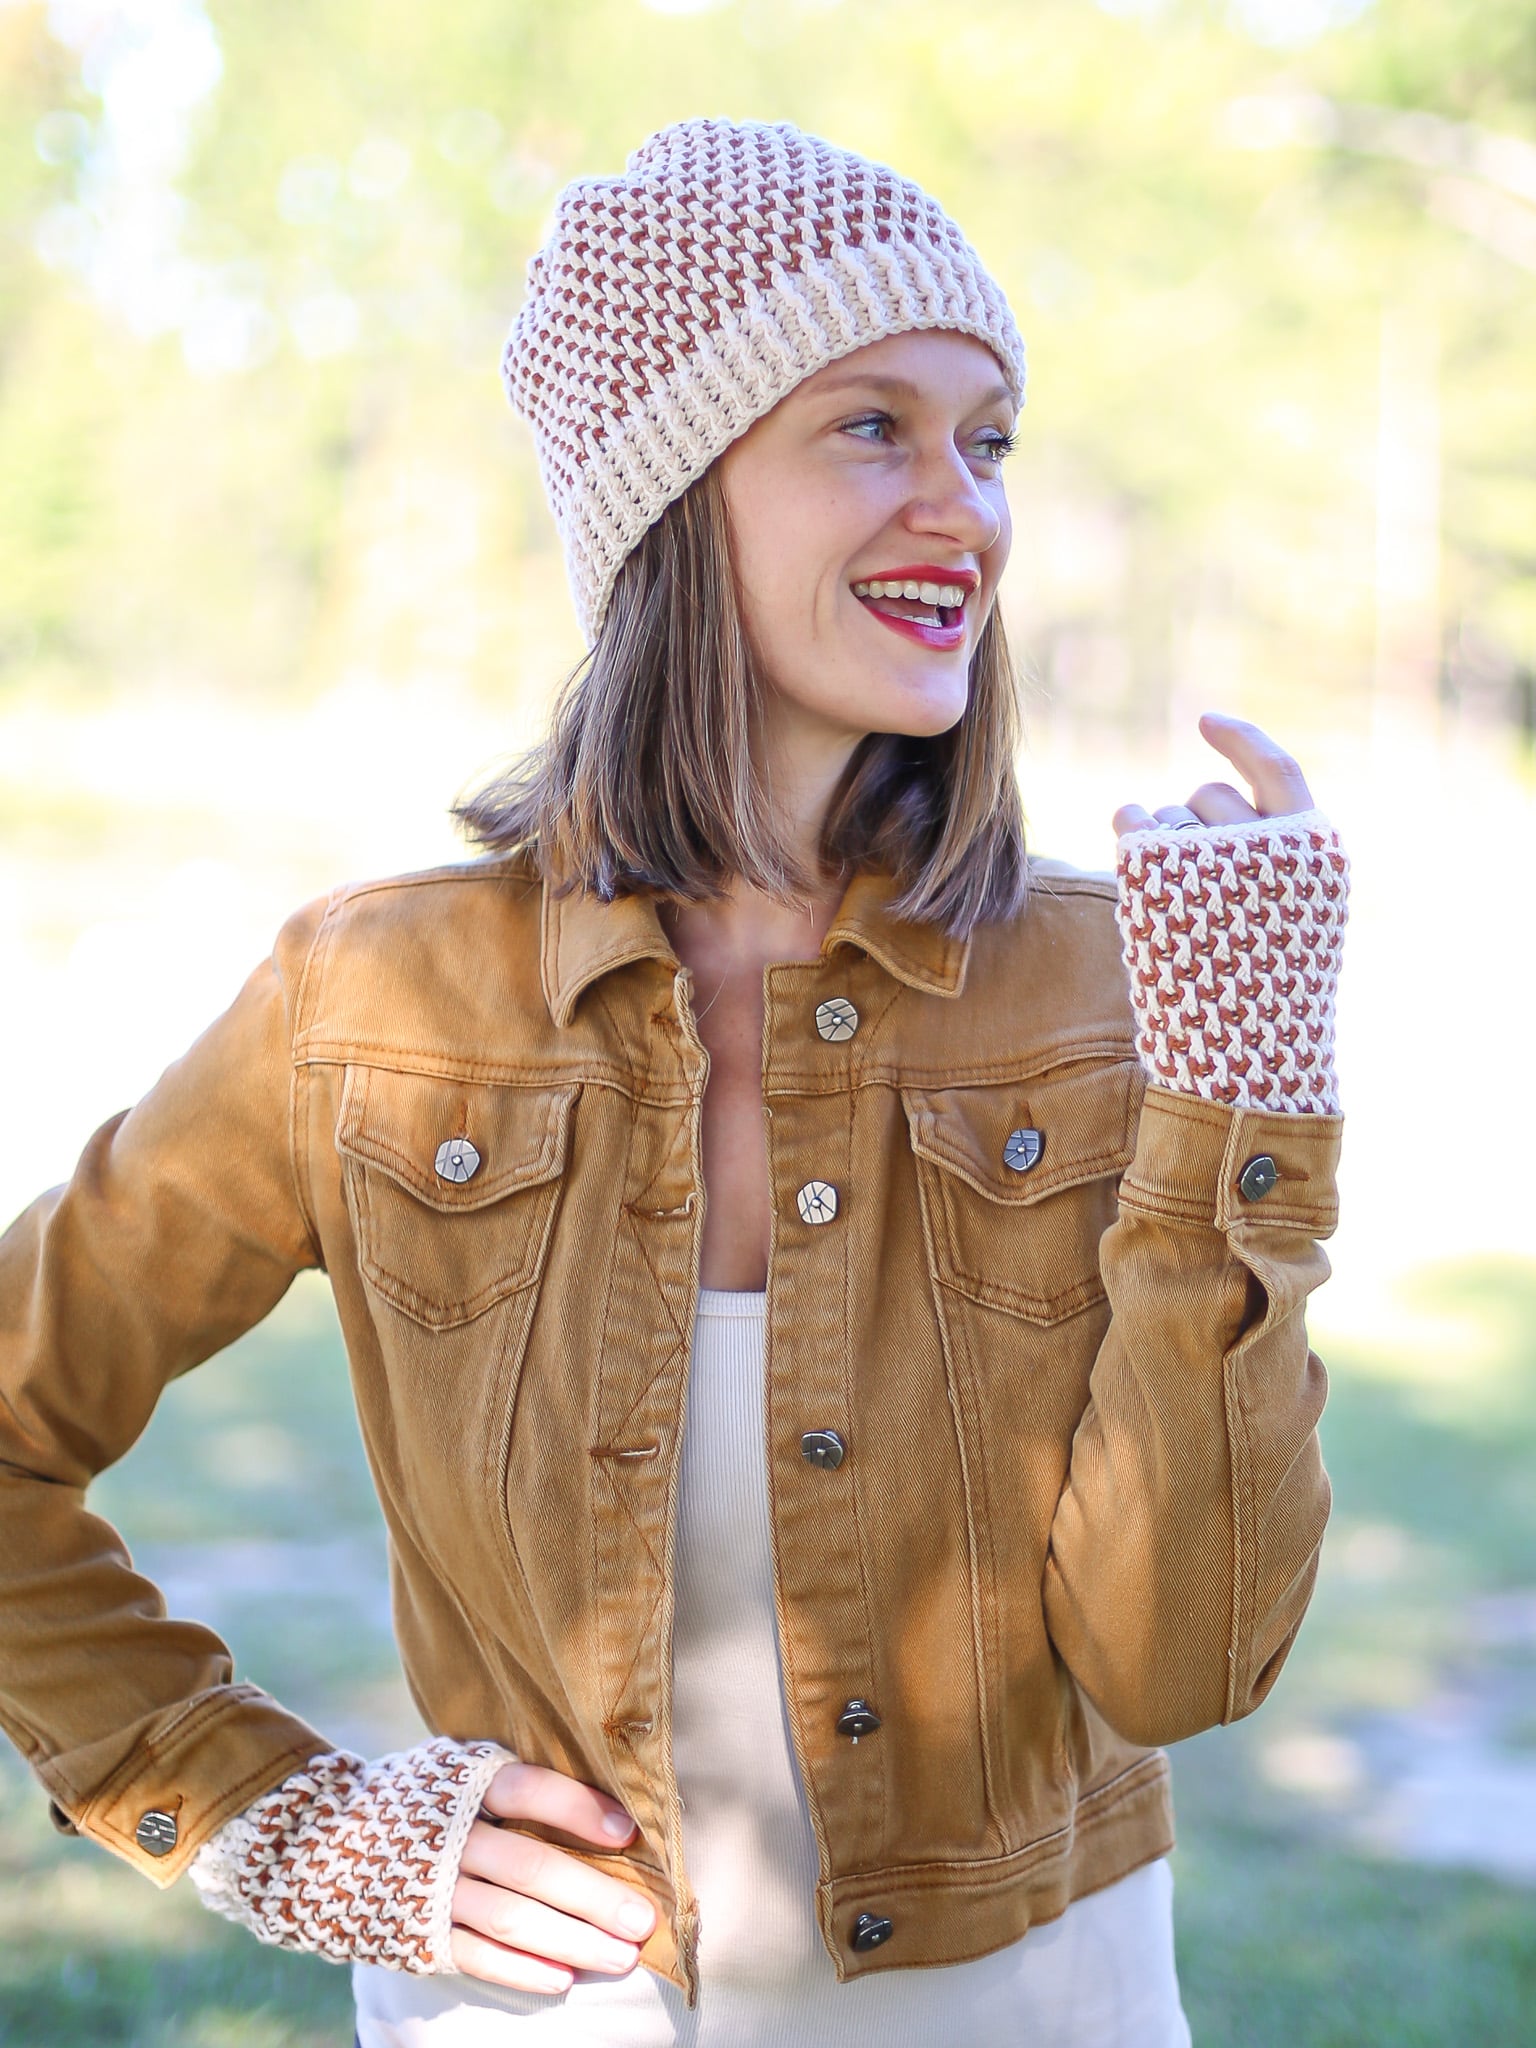
Why You Will Love This Cozy Crochet Set
- The crochet ribbing makes this hat and matching gloves cozy and warm, great for cold winter days.
- Included is 4 hat sizes, baby, child, adult small and adult large as well as 2 glove sizes, adult small and large.
- This hat is very easy to make in more sizes. I have included a “How to Make More Sizes” section.
- A section on “How to Customize your Hat and Gloves” is also included.
- This free pattern begins with a Foundation Double Crochet instead of a starting chain which will help to keep the hat and gloves comfortable since a foundation chain stretches more than a classic starting chain.
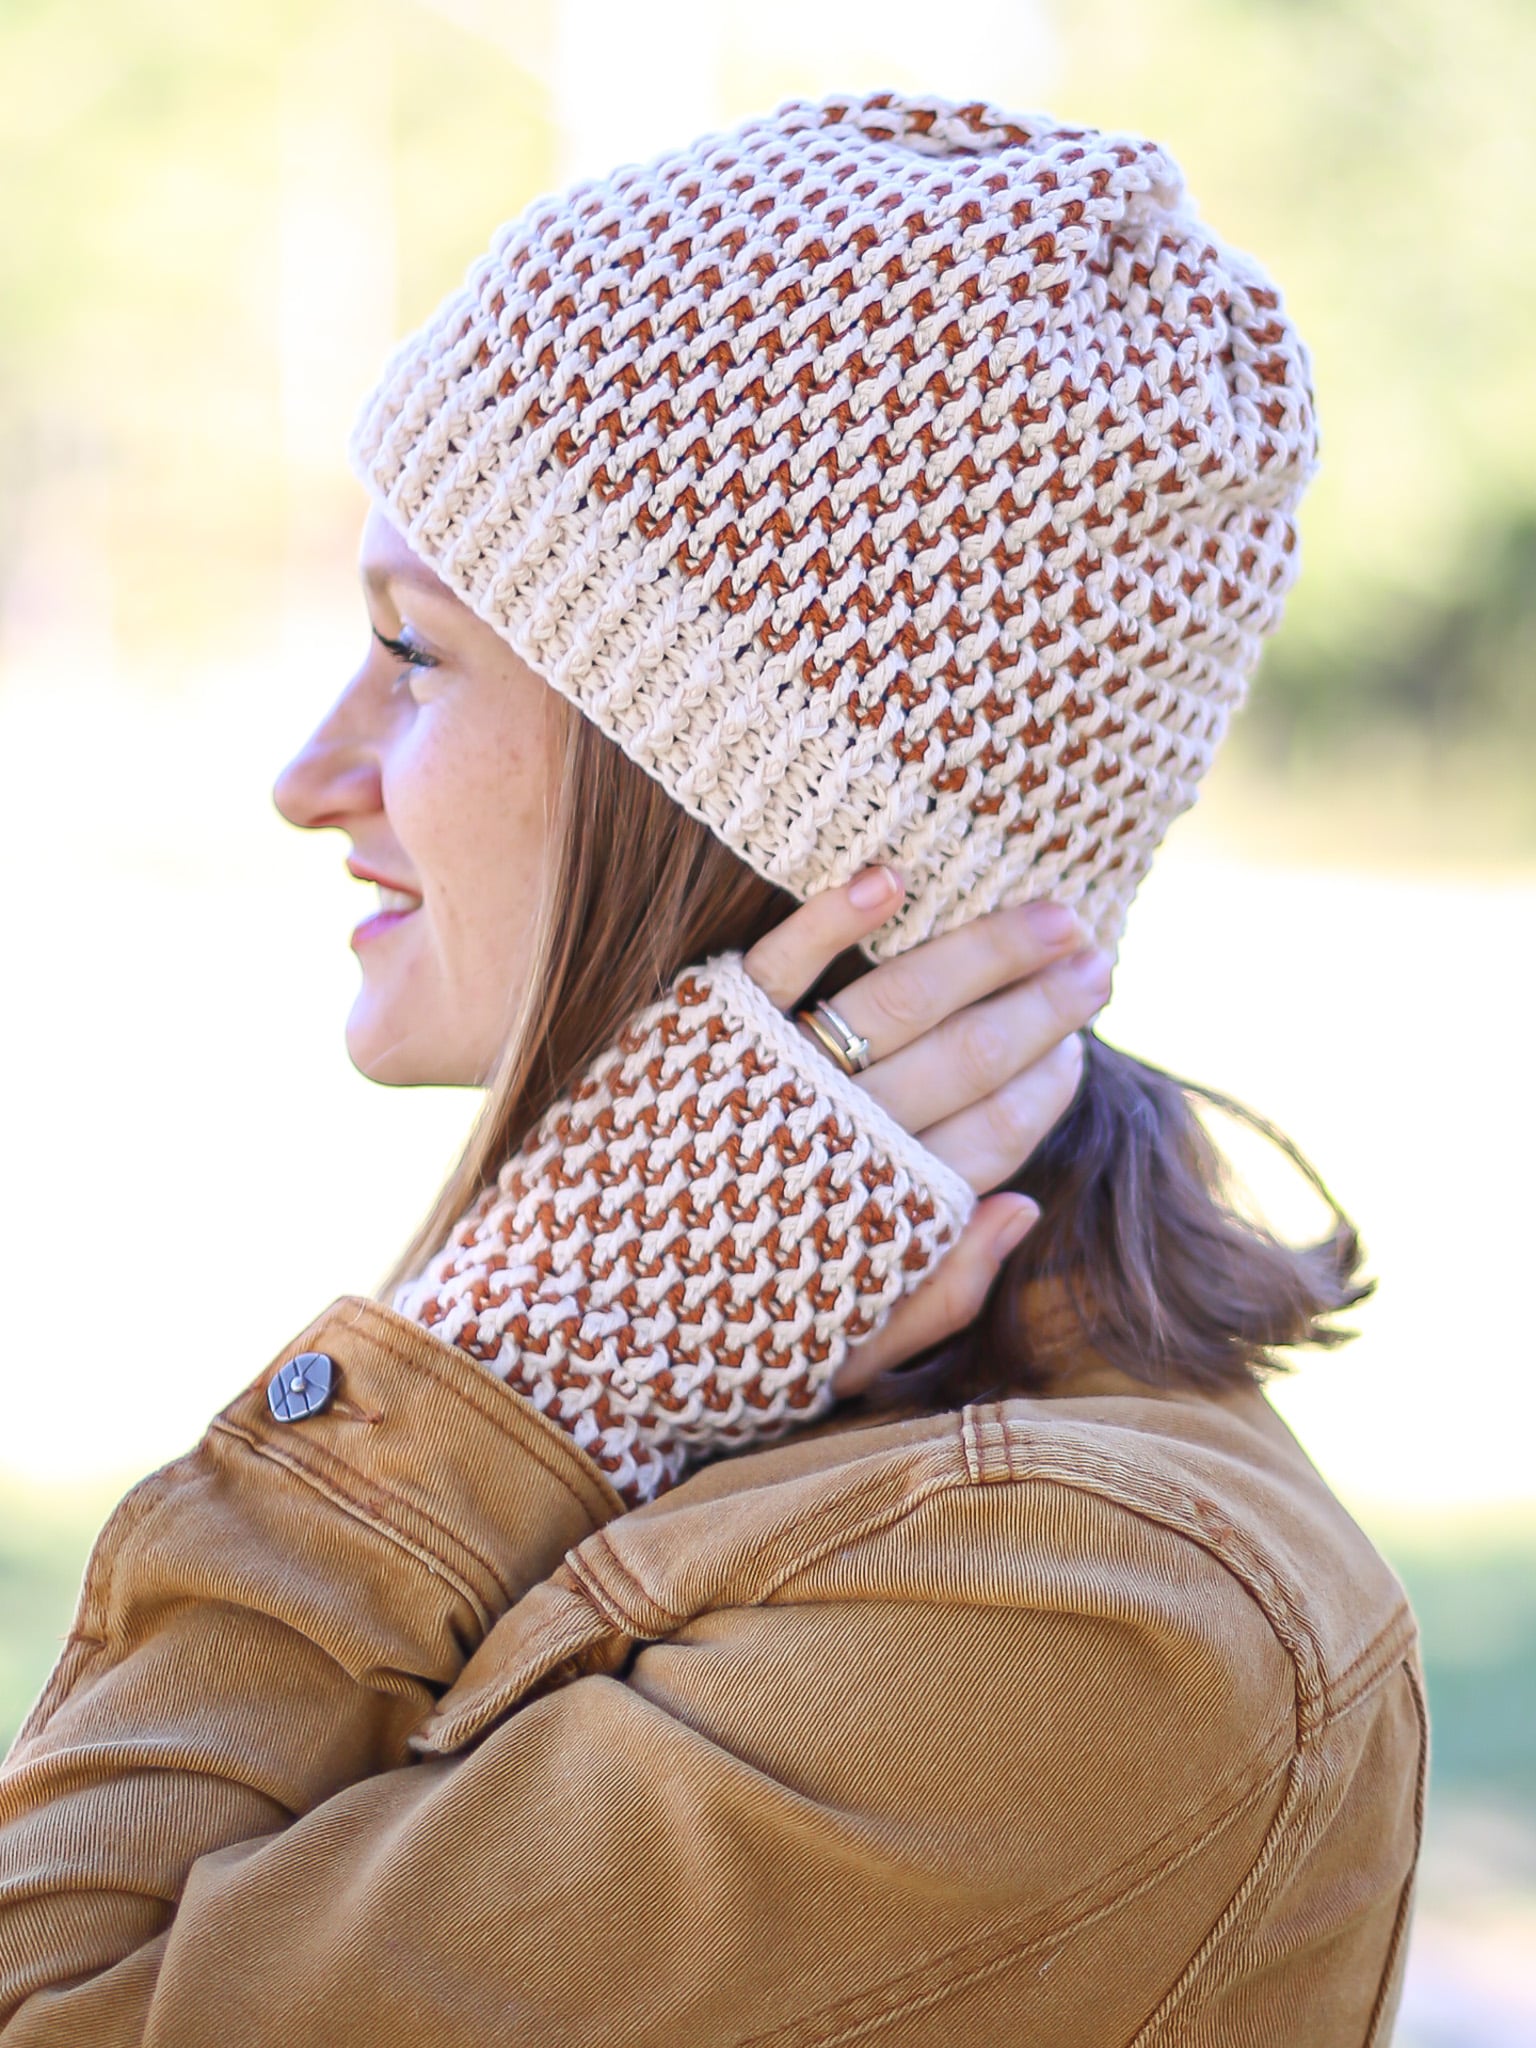
Yarn Substitutes for this Crochet Hat with Ribbing Pattern
- Any DK weight yarn that you have in your stash! You do not need a lot of yardage for this project so that would make it a great stash busting project to use up lefter over skeins or yarn wraps.
- Wool-Ease DK is a great wool yarn blend to use.
Come find me on…
- Like my Facebook Page
- Join my Facebook group!
- Subscribe to my YouTube Channel for Free Crochet Tutorials
- Get PDFs on Etsy
- Get PDFs on Ravelry
- Sign Up for the Life and Yarn Newsletter for more free modern crochet patterns!
- Please Note: Some links may be affiliate links that help to support the Life + Yarn Blog with a small commission at no added cost to you, thank you!
- Copyright 2026, Life and Yarn, Brianna Iaropoli. Pattern contents are NOT to be re-shared, DIRECT LINKS ONLY to this post for the pattern.
How to Make More Sizes
Here are the steps to make sure you get the perfect fit for the whole family if the sizes I provided need to be adjusted!
You could also use these instructions if you change your yarn and hook size to say a larger hook and worsted weight yarn. You would need to measure your gauge and then apply the same steps below.
- First you need to make sure you are matching the gauge of this crochet beanie pattern so that you can make another size. The gauge is 16 sts by 20 rows will measure 4 by 4 inches in the alpine stitch. Read more about gauge below.
- Once you have met gauge you will use this formula:
If 16 stitches is 4 inches then 1 inch will measure 4 stitches.
So to make a different size you will take the circumference of your head measurement with a tape measure and multiply it by 4. Then round up or down to an odd number.
For Example: If you want a desired head circumference of 17″ then use this formula:
17 inches x 4 sts/inch = 68 sts rounded up to 65 sts to be a multiple of 2 + 1. - Then you will crochet your hat panel to the desired hat height but make sure to take into account the thickness of the band you will add to it.
- If you want to calculate the exact number of rows and not make to measure the hat height then use this formula:
If 20 row is 4 inches then 1 inch will measure 5 rows.
So to get the height of your hat you will take the measurement you want for the hat height and multiply it by 5. Then round up or down to an odd number so that you will end on a Row 3 or Row 5 repeat so that you end in a main color row.
How to Customize your Hat and Gloves
After reading “How to Make More Sizes” above you can move from there into more ways to customize your beanie and gloves! Here are some tips and ideas if you would like a different look!
- Make the body of the beanie longer if you would like a slouchier hat.
- Make a longer / wider hat brim if you’d like a fold over beanie.
- Use some of your leftover yarn to make a matching yarn pom pom for the top of the hat.
- A faux fur pom pom would be super cute on this beanie!
Materials
- 4.50 mm size hook
- Sample Made with:
- Cottino in Goose Down [614-098BE]- Color A
- Cottino in Cider [614-125V] – Color B
- #3 DK Weight Yarn
- Hat + Gloves Adult Sizes 280 Yards Color A each
- Hat + Gloves Adult Sizes 140 Yards Color B each
- Baby 210 Yards Color A, 105 Yards Color B
- Child 240 Yards Color A, 120 Yards Color B
- Tapestry Needle
Gauge
- Fdc 21 and follow pattern for 24 rows.
- 16 sts by 20 rows will measure 4 b 4 inches.
- If your swatch is too big used a smaller hook size, if it is too small go up a hook size.
Hat Sizing
- Baby (Child, Adult Small, Adult Large)
- 16 (18, 21, 22) Inches Circumference
- 6.5 (7.5, 8.5, 9) Inches Tall
Fingerless Glove Sizing
- Adult Small (Adult Large)
- 7.75 (8.25) Inches Circumference
Stitch Descriptions and Abbreviations
- Chain Stitch – ch
- Slip Stitch – sl st
- Stitch(es) – st(s)
- Single Crochet – sc
- Double Crochet – dc
- Back Loop Only – blo
- Foundation Double Crochet – Fdc – Chain 4, yarn over, insert hook into 4th chain from the hook, yarn over and pull up loop (3 loops on hook, yarn over and pull through 1 loop (3 loops on hook), yarn over, pull through 2 loops, yarn over, pull through all loops (1 foundation double crochet with chain at bottom created). *Yarn over, insert hook to bottom of the stitch you just made, it will look like the top or “V” of a stitch, yarn over and pull up a loop (3 loops on hook), yarn over and pull through 1 loop (3 loops on hook), yarn over and pull through 2 loops (2 loops on hook), yarn over pull though all loops, repeat from * to desired st count.
- Front Post Double Crochet – FPdc – work a dc as you normally would but insert your hook from front to back to front around post of indicated st.
- Back Post Double Crochet – BPdc – work a dc as you normally would but insert your hook from back to front to back around post of indicated st.
- Alpine Stitch Explanation – This pattern is worked in alternating rows of sc and FPdc/sc. The Alpine stitch is worked with an alternating sc and FPdc within the row, with the FPdc worked in the sc stitch two rows down and skipping its corresponding sc. The sc is worked in its corresponding sc stitch one row down. You will also skip one sc between each FPdc on the previous dc row so that the stitch count does not change row to row.
Pattern Notes
- * Designates a repeat.
- “sc 1” means to single crochet in the next stitch.
- “sc 2” means to single crochet in each of the next 2 stitches.
- “2 sc” means to single crochet twice in the next stitch to create an increase.
- Read Alpine Stitch Explanation above.
- This Alpine Stitch needs to be an odd number or a Multiple of 2 +1 to work properly.
Alpine Stitch Hat & Fingerless Gloves Pattern
Hat Panel
MC – Row 1 – Fdc 65 (73, 85, 99).
CC – Row 2 – Ch 1, turn, sc across. [65 (73, 85, 99) total sts]
MC – Row 3 – Ch 1, turn, sc in first st, FPdc in second stitch of the previous dc row, *sc, FPdc in dc row, repeat from * until 1 st remains, sc in last st. [65 (73, 85, 99) total sts]
CC – Row 4 – Ch 1, turn, sc across. [65 (73, 85, 99) total sts]
MC – Row 5 – Ch 1, turn, sc 2, FPdc in third stitch of the previous dc row, *sc, FPdc in dc row, repeat from * until 2 sts remain, sc 2. [65 (73, 85, 99) total sts]
Rows 6 to 23 (27, 31, 35) – Repeat Rows 2 to 5, alternating your MC and CC as noted and ending with a Row 3 repeat. [65 (73, 85, 99) total sts]
MC – Next 3 Rows – Ch 2, turn, hdc in ever stitch around. [65 (73, 85, 99) total sts]
Next: Finish off leaving a tail long enough to cinch up the hat after assembly instructions below.
Hat Assembly
- Thread your darning needle with a piece of yarn in the Main Color A.
- Using a mattress stitch seam your hat together in the row ends creating a cylinder.
- Using the tail from your Hat Panel cinch the top of your hat together using the final row of half double crochet stitches to create the crown of your head, finish off weave in your ends.
- Move onto “Hat Trim” Instructions.
Crochet Ribbing for Hat
Next: Using your Main Color A reattach your yarn in the Foundation Double Crochet (Row 1) of your assembled hat with Right Sides facing.
Row 1 – Ch 2, *FPdc in next st, BPdc in next stitch, repeat from * to end, FPdc in last st, sl st to join.
[65 (73, 85, 99) total sts]
Row 2 – Ch 2, turn, *BPdc in next st, FPdc in next stitch, repeat from * to end, BPdc in last st, sl st to join.
[65 (73, 85, 99) total sts]
Row 3 – Ch 2, *FPdc in next st, BPdc in next stitch, repeat from * to end, FPdc in last st, sl st to join.
[65 (73, 85, 99) total sts]
Row 4 – Ch 2, turn, *BPdc in next st, FPdc in next stitch, repeat from * to end, BPdc in last st, sl st to join.
[65 (73, 85, 99) total sts]
Row 5 – Ch 2, *FPdc in next st, BPdc in next stitch, repeat from * to end, FPdc in last st, sl st to join in the last stitch and finish off.
[65 (73, 85, 99) total sts]
Fingerless Gloves Panel
MC – Row 1 – Fdc 31 (33).
CC – Row 2 – Ch 1, turn, sc across. [31 (33) total sts]
MC – Row 3 – Ch 1, turn, sc in first st, FPdc in second stitch of the previous dc row, *sc, FPdc in dc row, repeat from * until 1 st remains, sc in last st. [31 (33) total sts]
CC – Row 4 – Ch 1, turn, sc across. [31 (33) total sts]
MC – Row 5 – Ch 1, turn, sc 2, FPdc in third stitch of the previous dc row, *sc, FPdc in dc row, repeat from * until 2 sts remain, sc 2. [31 (33) total sts]
Rows 6 to 15 – Repeat Rows 2 to 5, alternating your MC and CC. [31 (33) total sts]
Next: Follow Rows 16 and 17 depending on whether you are working the Right or Left Glove.
Left Glove
CC – Row 16 – Ch 1, turn, sc 5, (ch 7, sk 7), sc 19 (21) across. [31 (33) total sts]
MC – Row 17 – Ch 1, turn, sc in first st, FPdc in second stitch of the previous dc row, sc, FPdc in dc row, sc, sc 7 over 7-ch sts, *sc, FPdc in dc row, repeat from * until 1 st remains, sc in last st. [31 (33) total sts]
Right Glove
CC – Row 16 – Ch 1, turn, sc 19 (21), (ch 7, sk 7), sc 5 across. [31 (33) total sts]
MC – Row 17 – Ch 1, turn, sc in first st, FPdc in second stitch of the previous dc row, sc, (FPdc in dc row, sc) over next 15 (17)sts, sc 7 over 7-ch sts, *sc, FPdc in dc row, repeat from * until 1 st remains, sc in last st. [31 (33) total sts]
Next: Continue to next row instruction regardless of Left or Right glove.
CC – Row 18 – Ch 1, turn, sc across. [31 (33) total sts]
MC – Row 19 – Ch 1, turn, sc 2, FPdc in third stitch of the previous dc row, *sc, FPdc in dc row, repeat from * until 2 sts remain, sc 2. [31 (33) total sts]
CC – Row 20 – Ch 1, turn, sc across. [31 (33) total sts]
MC – Row 21 – Ch 1, turn, sc in first st, FPdc in second stitch of the previous dc row, *sc, FPdc in dc row, repeat from * until 1 st remains, sc in last st. [31 (33) total sts]
Rows 22 to 25 – Repeat Rows 18 to 21, alternating your MC and CC. [31 (33) total sts]
Rows 26 to 28 – Ch 1, turn, sl st blo in every stitch across, finish off leaving a long tail 3 times the length of the Glove Panel.
Assembly
- Thread your yarn needle with the tail left from the final row.
- Using a mattress stitch seam your gloves together in the row ends creating a cylinder, finish off weave in your ends.
- Move onto “Cuff Trim” Instructions.
Cuff Trim
Next: Using your Main Color A reattach your yarn in the Foundation Double Crochet (Row 1) of your assembled gloves with Right Sides facing.
Row 1 – Ch 2, *FPdc in next st, BPdc in next stitch, repeat from * to end, FPdc in last st, sl st to join.
[31 (33) total sts]
Row 2 – Ch 2, turn, *BPdc in next st, FPdc in next stitch, repeat from * to end, BPdc in last st, sl st to join.
[31 (33) total sts]
Row 3 – Ch 2, *FPdc in next st, BPdc in next stitch, repeat from * to end, FPdc in last st, sl st to join and finish off.
[31 (33) total sts]
Love crochet beanies? Check out my Hats + Accessories Category that is full of more free crochet patterns!