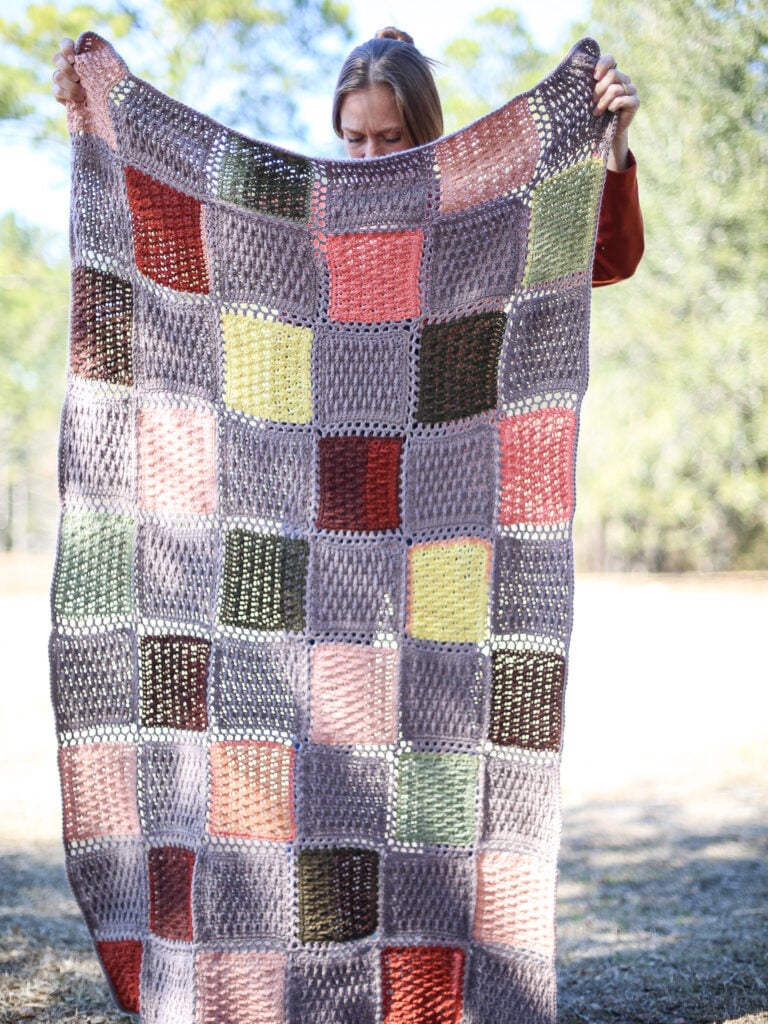
Easy Cozy Modern Patchwork Crochet Blanket Free Pattern
Make a Modern Patchwork Crochet Blanket Free Pattern today using this easy pattern for a quilt like project! The design of each square is simple to give this beautiful blanket a comfy feel and texture! This free crochet pattern uses the Alpine Stitch to create a squishy, beautiful throw.
Best Bang for your Buck, get a Kit From Lion Brand includes an ad-free printable PDF and Yarn!
Get a PDF Pattern on in my Etsy Shop or Ravelry!
Watch the Step-by-Step Video Tutorial on YouTube!
Crochet Patchwork Blanket for Beginners
A simple crochet pattern like this one is perfect for beginners because the squares are small making this a great project that is manageable. Small squares make checking your stitch count easy too!
Square patterns can be intimidating to beginner crocheters because a lot of them work in the round like classic granny squares. This one uses basic stitches with back and forth rows!
Crochet blankets are great projects for a lot of reasons. However, buying yarn for a large cozy throw blanket can be expensive and finishing an entire blanket can feel overwhelming.
That’s why patchwork blankets are wonderful! They are a great way to use up yarn scraps and left over skeins. Bonus: you can work on them over time and finish it little by little, piece by piece!
For this crochet quilt I chose to use a simple border of single crochet to give this minimal finishing. You are welcome to add a different blanket border but you will definitely need more yarn is you use the suggested yarn for this pattern.
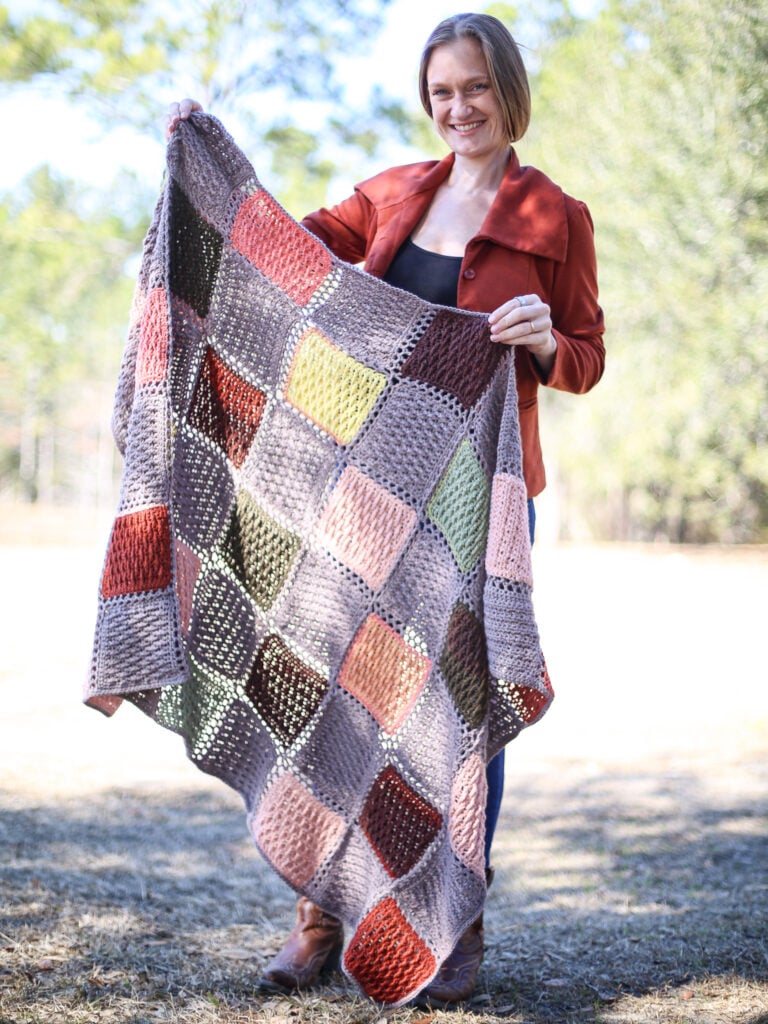
While I did not include a color chart I do have a flat lay photo that works just as well as a handy chart!
If you need some extra help, don’t worry watch this full tutorial video showing you how to make and join these simple crochet squares!
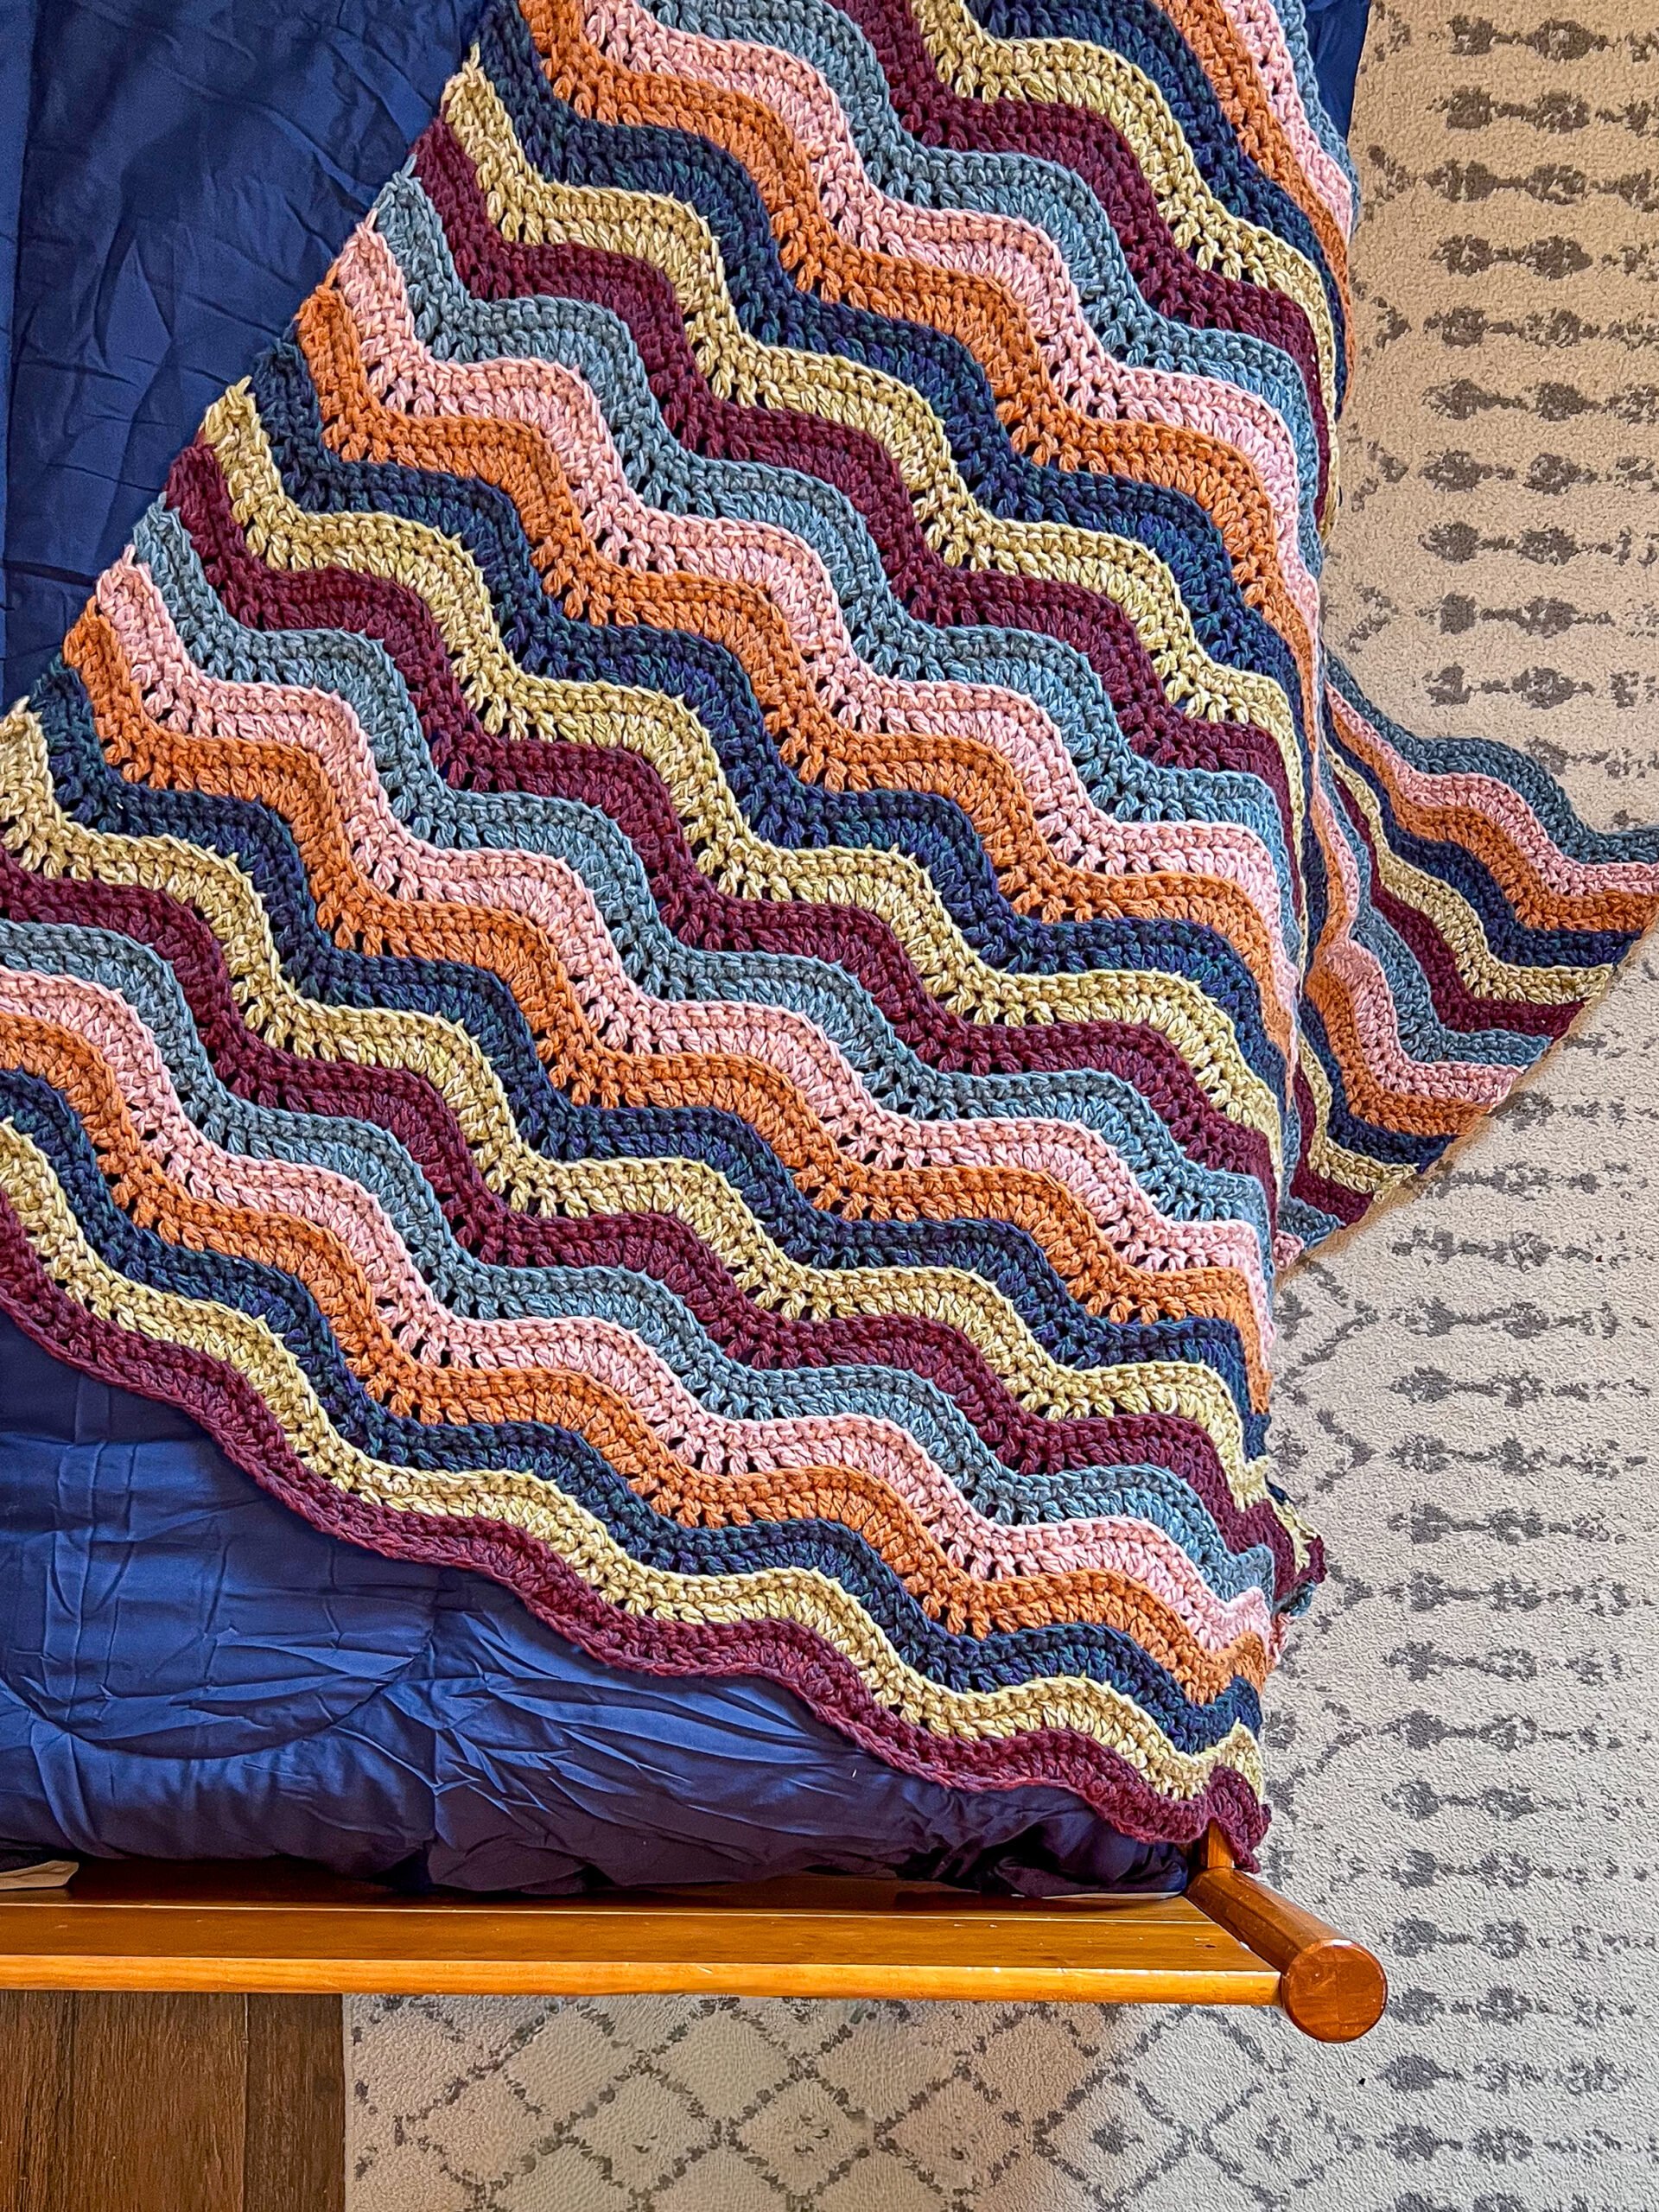
If you love the Alpine Stitch try this easy ombre blanket pattern!
About the Crochet Alpine Stitch
The Crocheted Alpine Stitch is a 4 row repeat that consists of double crochet stitches, front post treble crochets and single crochet stitches. This stitch has a great texture that looks woven!
How Many Squares for a Patchwork Blanket?
The number of squares needed to make a patch work blanket depends on how big the finished blanket will be and the size of the squares.
Here is an example for easy math:
Say your squares are 6 inches by 6 inches and you want to make a baby blanket that is 24 inches by 36 inches. Divide 24 by 6 to get 4 and divide 36 by 4 to get 6. You now know you will need a grid of 4 squares by 6 squares. Multiply 4 by 6 to 24 squares total to make a 24 by 36 inch baby blanket.
You can use this same method and swap out your square size and blanket size to calculate how many squares are needed for any size patchwork blanket.
For this patchwork blanket you will need 54 squares.
- Main Color: 27 Squares, Color A: 7 Squares, Color B: 20 Squares.
How to Choose Patchwork Blanket Colors and Yarn Substitutes
Choosing colors is hard work for a patchwork afghan! You can choose each solid color yourself or do Iike I did and pick out a Mandala Yarn that has a color palette you love. Then choose a complimentary color to have as the main color in your patchwork afghan to tie it all together! Mandala has a ton of great color ways, from simple neutrals to bright colors!
- Any self striping yarn with blocks of color and a coordinating solid in the same weight that can meet gauge.
Come find me on…
- Like my Facebook Page
- Join my Facebook group!
- Subscribe to my YouTube Channel for Free Crochet Tutorials
- Get PDFs on Etsy
- Get PDFs on Ravelry
- Sign Up for the Life and Yarn Newsletter for more free modern crochet patterns!
- Please Note: Some links may be affiliate links that help to support the Life + Yarn Blog with a small commission at no added cost to you, thank you!
- Copyright 2026, Life and Yarn, Brianna Iaropoli. Pattern contents are NOT to be re-shared, DIRECT LINKS ONLY to this post for the pattern.
Materials
- Size 5.50 mm crochet hook
- 4 skeins of Wool-Ease DK in Taupe [636-125Y]
Main Color (MC) - 1 skein Wool-Ease DK in Peach [636-135S] – Color A
- 1 skein Mandala in Sandman [525-279F] – Color B
- #3 DK Weight Yarn
Main Color – 928 yards
Color A – 232 yds
Color B – 590 yds
- Yarn Needle
- Scissors
Gauge
- Pre Blocked:
5.5 by 5.5” Alpine Sq. + Trim - Blocked:
6 by 6” Alpine Sq. + Trim - Gauge is given as Pre-Blocked and Blocked since fiber content can and will affect the size of your finished piece.
- Your method of blocking will also affect the size of your finished piece, wet vs steamed, ect.
- I used steam blocking for my sample but wet blocking could make this blanket larger!
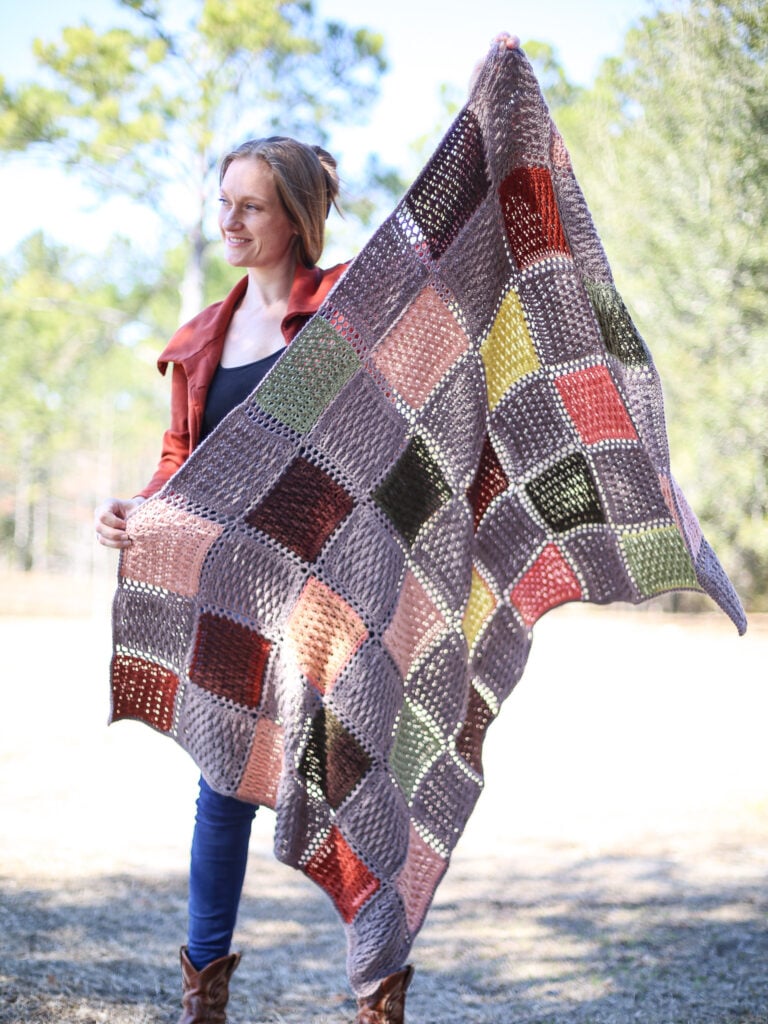
Sizing
- One Size: 40 x 60” (with Trim + Joins)
- Assembled blanket is in a 6 x 9 rectangular grid.
Stitch Descriptions and Abbreviations
- Chain Stitch – ch
- Stitch(es) – st(s)
- Space – sp
- Skip – sk
- Single Crochet – sc.
- HalfDouble Crochet – hdc
- Double Crochet – dc
- Foundation Double Crochet – Fdc – Chain 4, yarn over, insert hook into 4th chain from the hook, yarn over and pull up loop (3 loops on hook, yarn over and pull through 1 loop (3 loops on hook), yarn over, pull through 2 loops, yarn over, pull through all loops (1 foundation double crochet with chain at bottom created). *Yarn over, insert hook to bottom of the stitch you just made, it will look like the top or “V” of a stitch, yarn over and pull up a loop (3 loops on hook), yarn over and pull through 1 loop (3 loops on hook), yarn over and pull through 2 loops (2 loops on hook), yarn over pull though all loops, repeat from * to desired st count.
- Stacked Single Crochet – STsc – insert your hook into the designated stitch, yarn over, pull up a loop, yarn over, pull through both loops, insert your hook into the second vertical bar on the stitch you just created, yarn over, pull up a loop, yarn over, pull though all loops.
- Front Post Treble Crochet – FPtr – Work a tr as you normally would however, insert hook from front to back to front around the dc of the previous row to complete your stitch.
- Alpine Stitch Explanation – This pattern is worked in alternating rows of sc and
FPtr/dc. The Alpine stitch is worked with an alternating dc and FPtr row, with the
FPtr worked in the dc stitch two rows down and skipping its corresponding sc. The
dc is worked in its corresponding sc stitch. You will also skip one dc between each
FPtr on the previous dc row.
Pattern Notes
- * Designates a repeat.
- “sc 1” means to single crochet in the next stitch.
- “sc 2” means to single crochet in each of the next 2 stitches.
- “2 sc” means to single crochet twice in the next stitch to create an increase.
- Blocking will allow this blanket to grow significantly.
- Specifics about the creating the checkered pattern is included below in the “Laying out Your Squares” section.
Modern Patchwork Crochet Blanket Free Pattern
MAKE: Main Color: 27 Squares, Color A: 7 Squares, Color B: 20 Squares.
Row 1 – Fdc 17
Row 2 – Ch 1, turn, sc across.
Row 3 – Ch 2, turn, dc in first st, FPtr in second stitch of the previous dc row, *dc, FPtr in dc row, repeat from * until 1 st remains, dc in last st.
Row 4 – Ch 1, turn, sc across.
Row 5 – Ch 2, turn, dc 2, FPtr in third stitch of the previous dc row, *dc, FPtr in dc row, repeat from * until 2 sts remain, dc 2.
Rows 6 to 13 – Repeat Rows 2 – 5, then continue to “Square Trim” below before finishing off.
Squares Trim
- Chain 1, turn your square clockwise and with the right side facing single crochet 17 sts evenly down the side using the row ends.
- Place 2 extra sts in the last stitch to form a corner.
- Turn your square clockwise and work 1 sc in the base of each Fsc stitch to the end.
- Place 2 extra sts in the last stitch to form a corner.
- Turn your square clockwise and single crochet 17 sts evenly down the side using the row ends.
- Place 2 extra sts in the last stitch to form a corner.
- Turn your square clockwise and work 1 sc in each next stitch to the end.
- Place 2 extra sts in the last stitch to form a corner.
- Slip stitch to your first single crochet to join, finish off and weave in your end.
Laying Out Your Squares
You may reference my photo to create the same pattern as mine or follow my process to create your own unique pattern!
- Lay your your Main Color (sample is in Taupe) in a checkerboard pattern.
- Then fill in open spaces with your Color A.
- Then fill in the remaining open spaces with your Color B.
- At this point if you cannot leave your squares here to do a full assembly now you should take a photo to remember your placement.
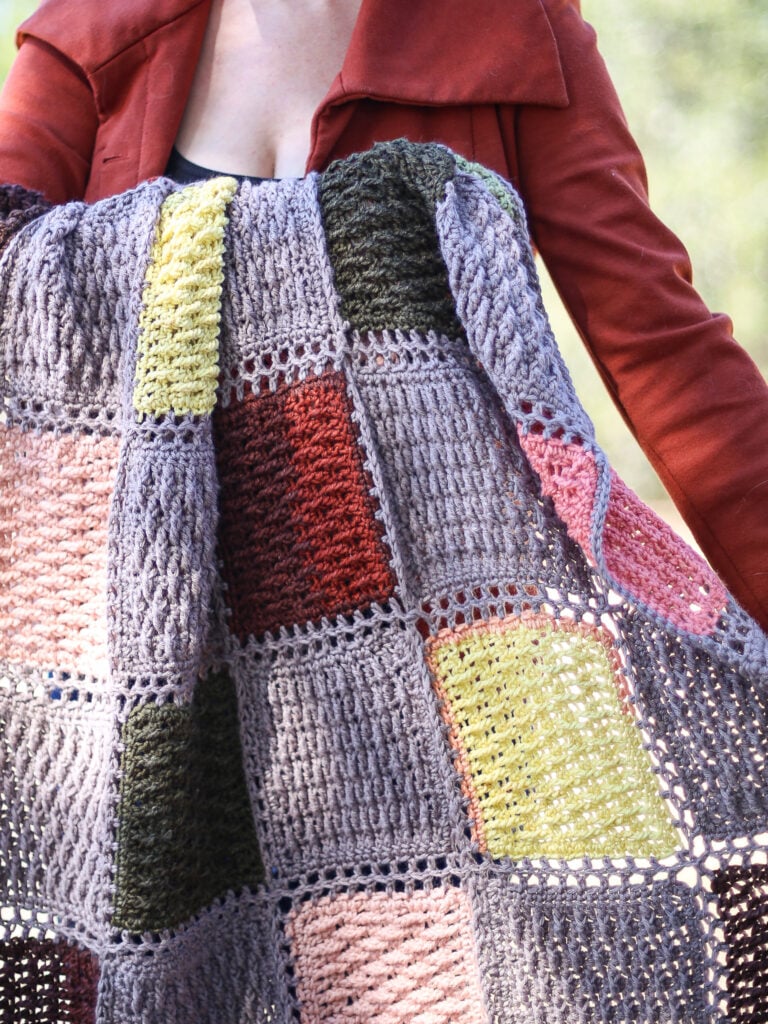
NOTE: All of my Main Color Squares have the Alpine Stitch Texture going in one direction and the Contrasting Color A and Color B squares going in the other. So if you look at my photos you will see some run horizontal and some run vertical. This is done for visual interest but to also help keep the squares square.
Assembly
Now that you have all of your squares laid out you will join them together by working in sections. I joined mine starting at one end and working up one column, then moving to the next until all of my squares were joined. I then work across perpendicular to my seams to complete my blanket.
- Pick up two squares with wrong sides facing, insert your hook into the right corner of the first square closest to you. We will call this Square A.
- Create a stacked single crochet in Square A, then in the corresponding corner of the other square thats wrong side is facing you (we will call it Square B) insert your hook and create a half double crochet.
- Move back to Square A, skip the next stitch and hdc in the next stitch.
- Move back to Square B, skip the next stitch and hdc in the next stitch.
- Repeat steps 3 and 4 until you reach then end of that side of your squares.
- Then pick up the next 2 squares in the column your are assembling and repeat the same process to join from where you left off with the last two squares.
- When you reach the end of your column, finish off and move onto the next column.
- Once all squares are joined turn your blanket and repeat this seaming process perpendicular to the seams already created.
- Then finish your blanket by adding a single crochet border and placing 3 sc in the corner stitches to avoid pinching.
- Give a light blocking to the joins and you are done!