Invisible Crochet Seam Joining Tutorial (Mattress Stitch)
Creating an Invisible Seam on your crochet pieces is easy to do using the Mattress Stitch. Use this Step-by-Step Photo Tutorial and Video Tutorial to learn this invisible crochet seam to join all of your crochet (and knit) projects! Happy Crocheting!
P.S. Looking for more Helpful Crochet Tips? Check out my How to Crochet Category!
About an Invisible Crochet Seam
Watch the Video Tutorial on YouTube.
This invisible seam is one of my favorite ways to join together any of my crochet projects that need seaming like garments and granny squares. Although there are many different ways to join crochet pieces together, this is not the only way, but I do think it is the best way!
This invisible seam, when done the correct way, hides the seaming yarn so that you can essentially use any color you want. It is not bulky and nearly invisible on the back as well!
Notes and Tips:
- You will always work this invisible join with the right side facing.
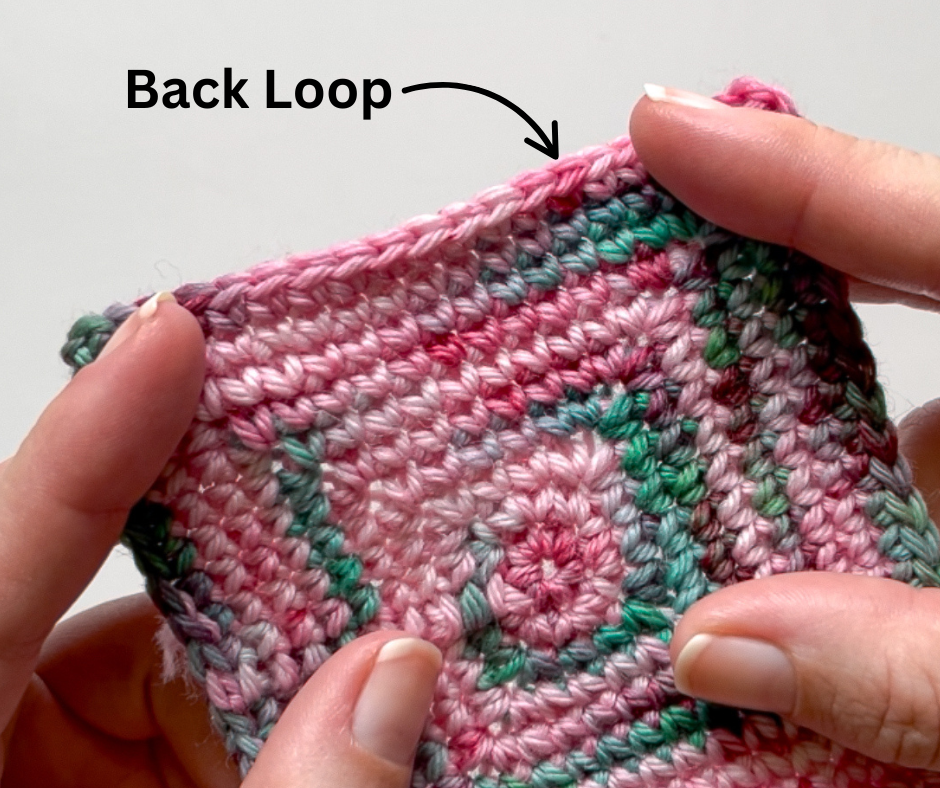
- You will always work in the back loops (when available) and not the front loop when creating this joining method.
- You should have the same number of stitches on each piece you are joining so that your seam is even.
- This seaming method can work on any stitch that allows you access to the back loop (single crochet, double crochet, etc.) However, if you need to join in the side of a stitch I would highly recommend you add a row of single crochet in the row ends to keep your seam even.
- If you have to work in row ends and not the traditional way this seaming method is designed you will follow the same technique but be very careful of stitch placement to keep your seam even.
- If done correctly you should not be able to see the yarn used to join and the seam will also be neat on the wrong side of your project.
- If you have an extra stitch you can pull back a few stitches in your seam and pick up an extra stitch by essentially wrapping your needle around a back loop so that you can come ack up into the next one.
- You are essentially creating a modified figure eight when you do this invisible joining method, make sure to always work in the last worked stitch as you move your way up on your crochet pieces.
- My rule of thumb is to double the length of what I will be seaming and add 50% of the original length to that. So if I am seaming a 6 inch square I will need 15 inches to seam: 6(2) + 3 = 15
You Will Need:
- Two crochet pieces to seam together.
- Yarn
- Darning or Tapestry Needle
- Scissors
How to do an Invisible Crochet Seam
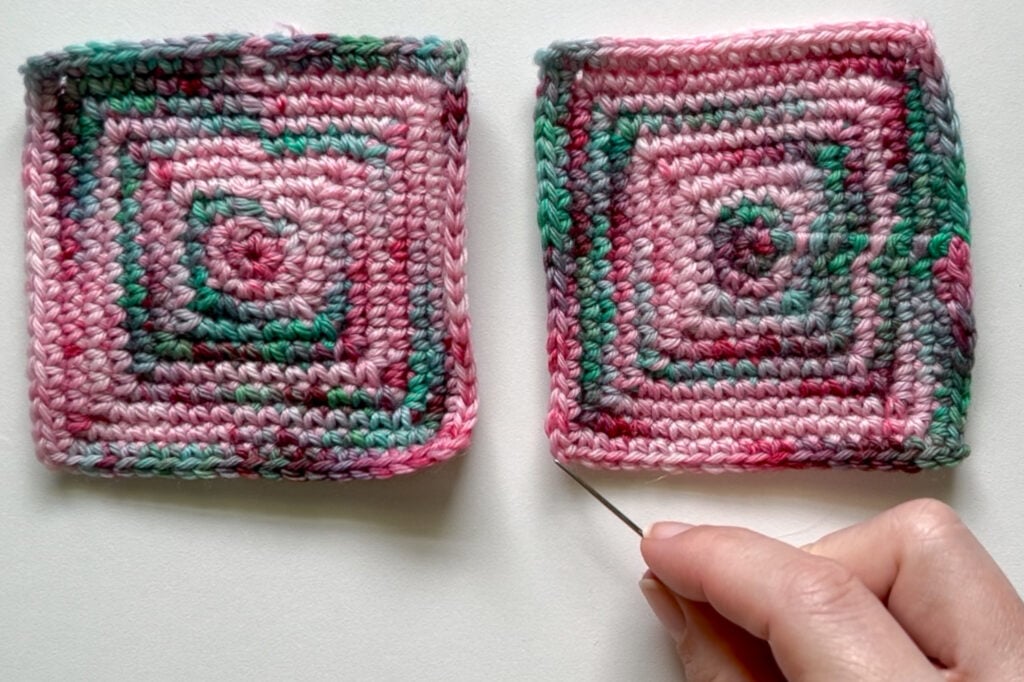
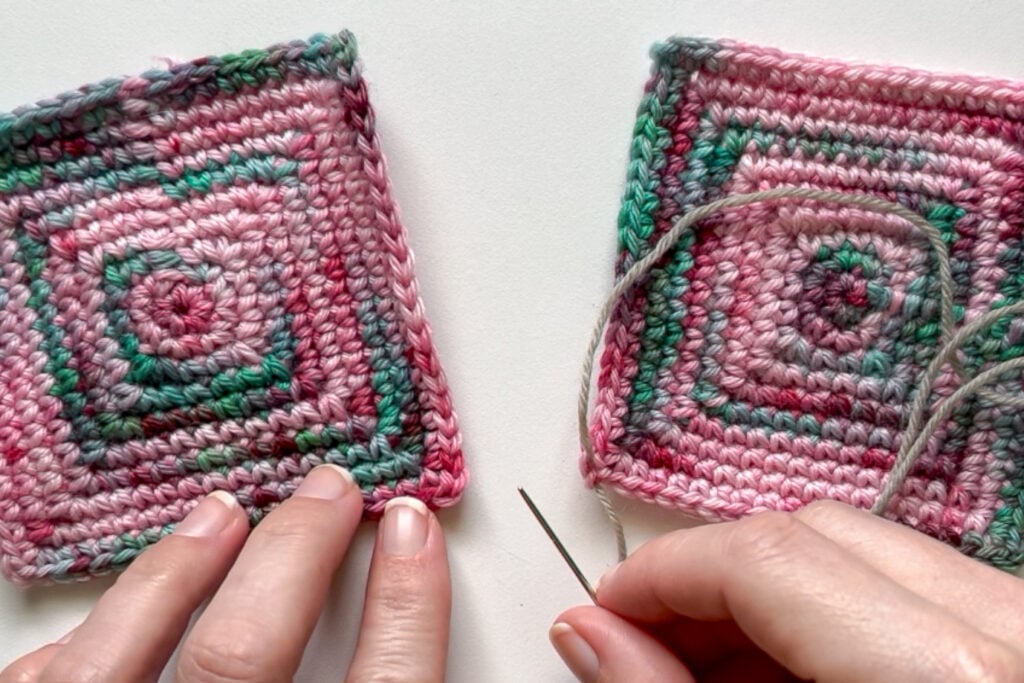
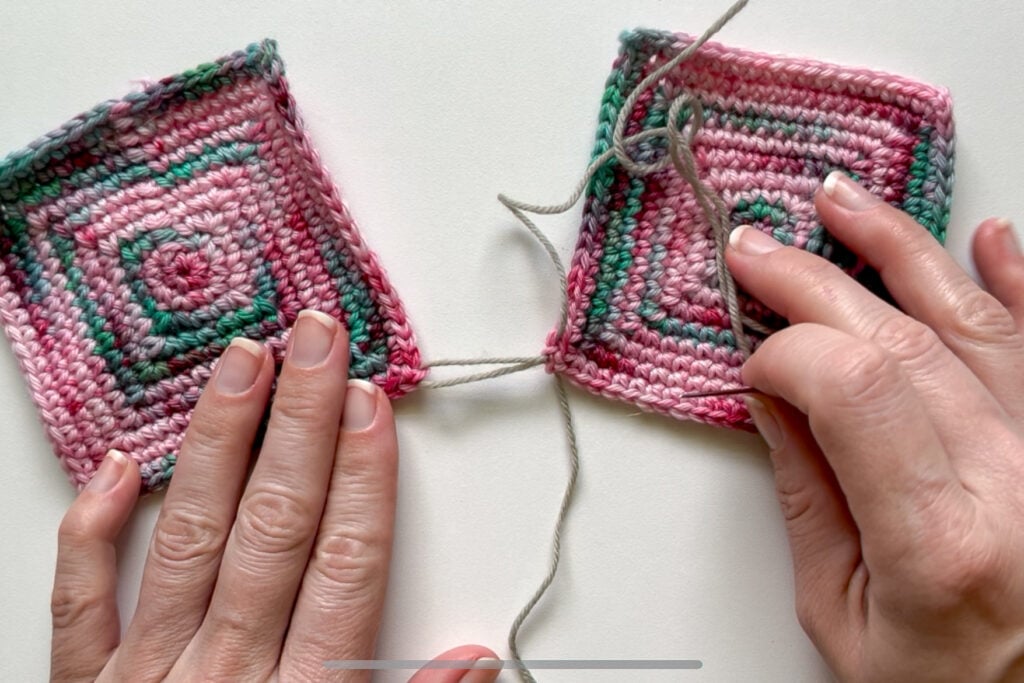
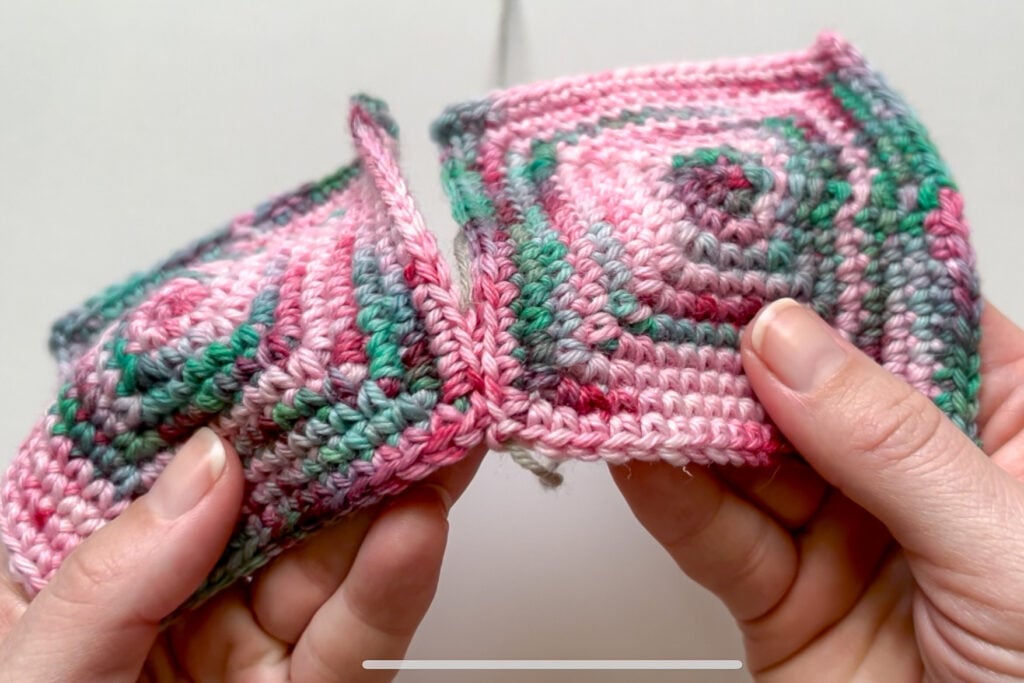
Step 1: Lay your crochet pieces flat with the right sides facing you.
Step 2: Thread your yarn needle with a length of yarn of the appropriate length.
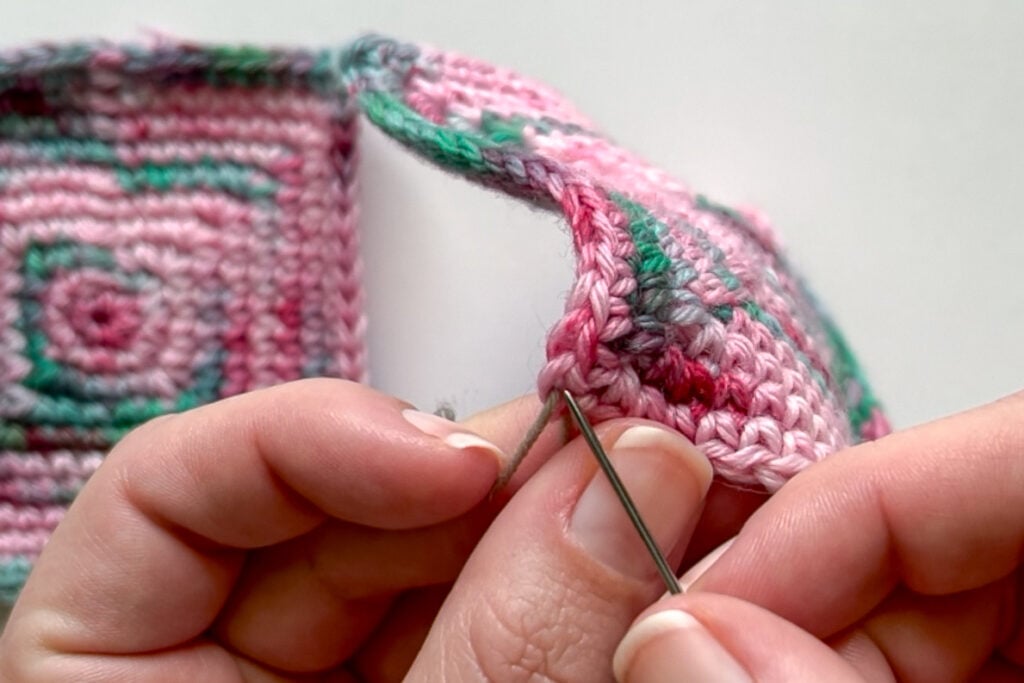
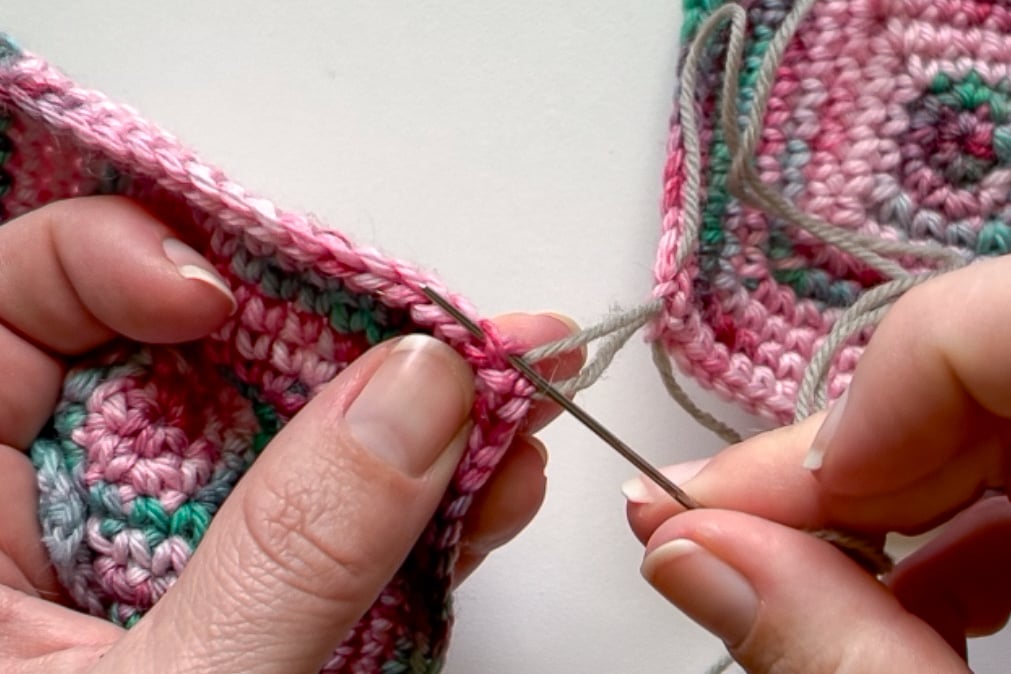
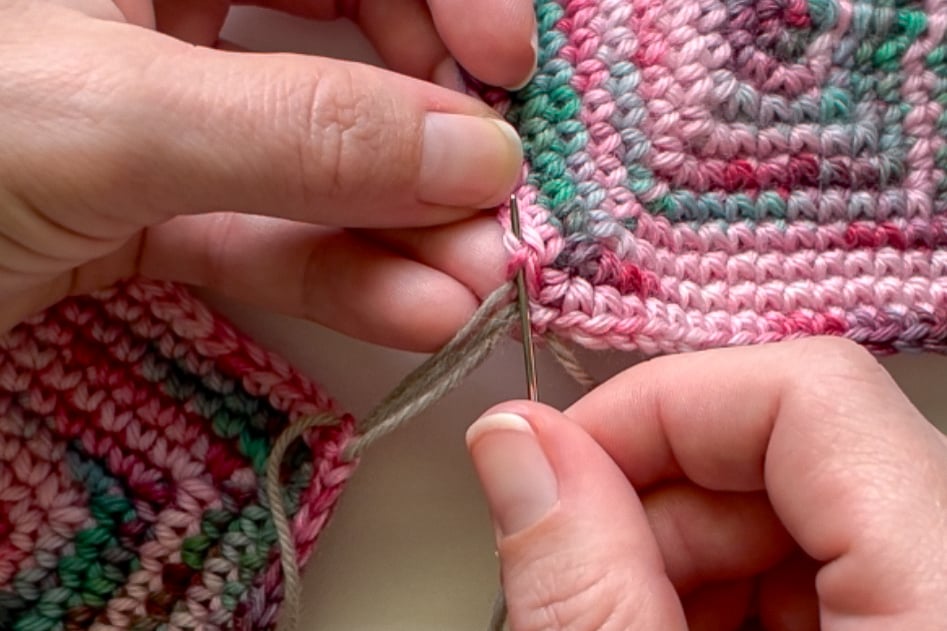
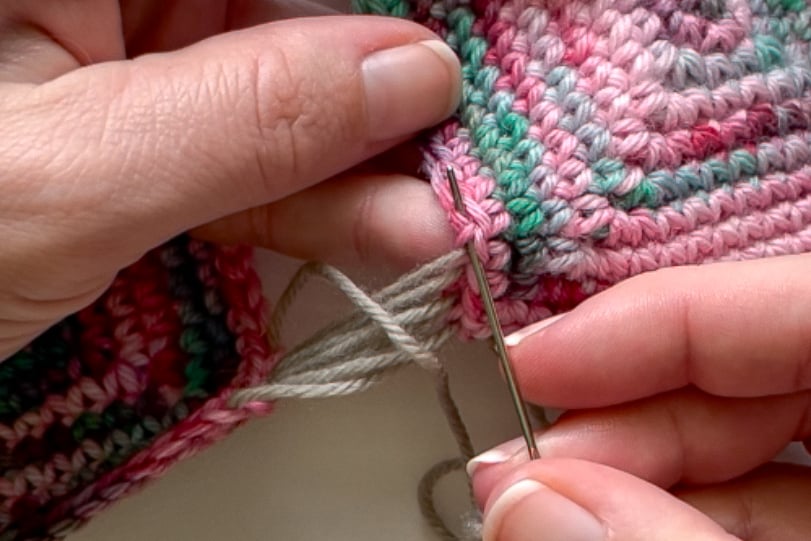
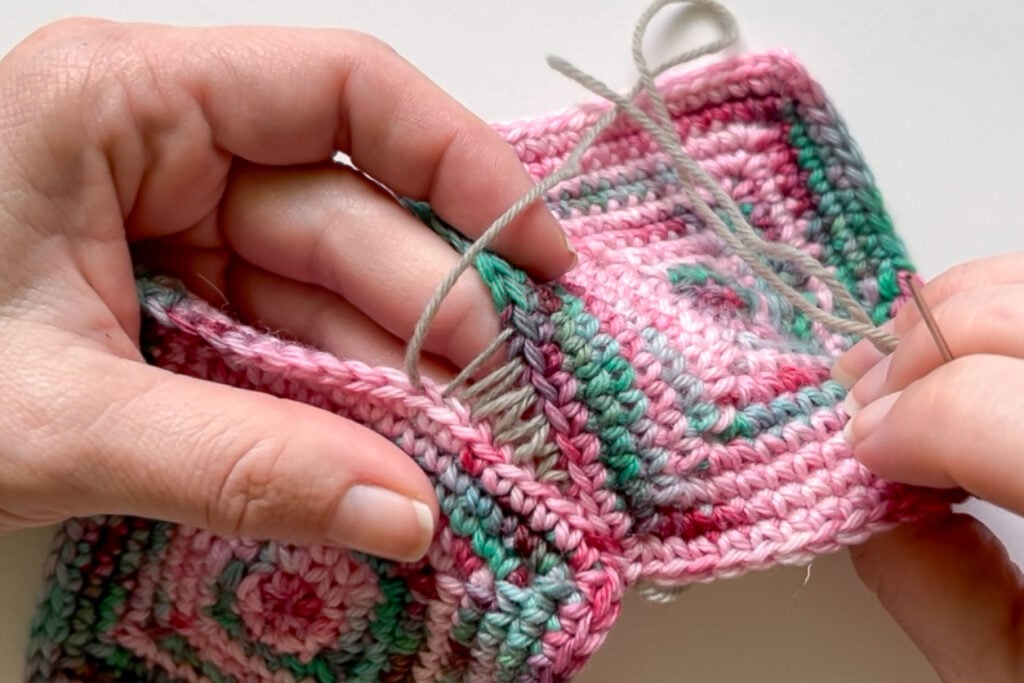
Step 3: Starting with the square to your right using the back loops only, put your darning needle from front to back in the first stitch and then from back to front in the back loop of the next stitch so that you form a little “x” over your needle. Pull your yarn through leaving a yarn tail long enough to weave in.
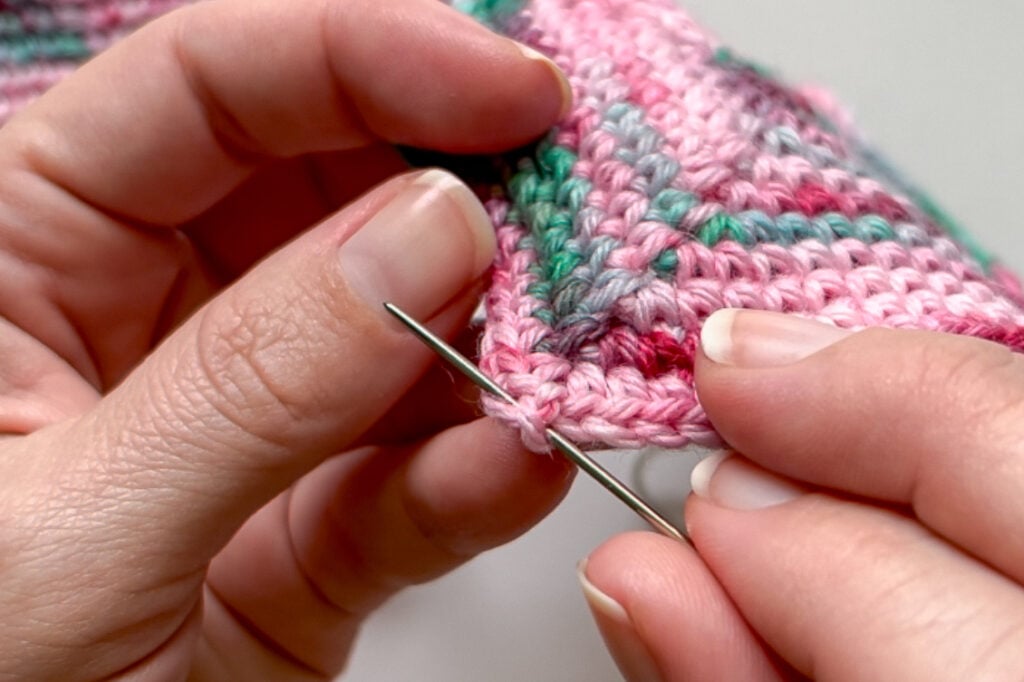
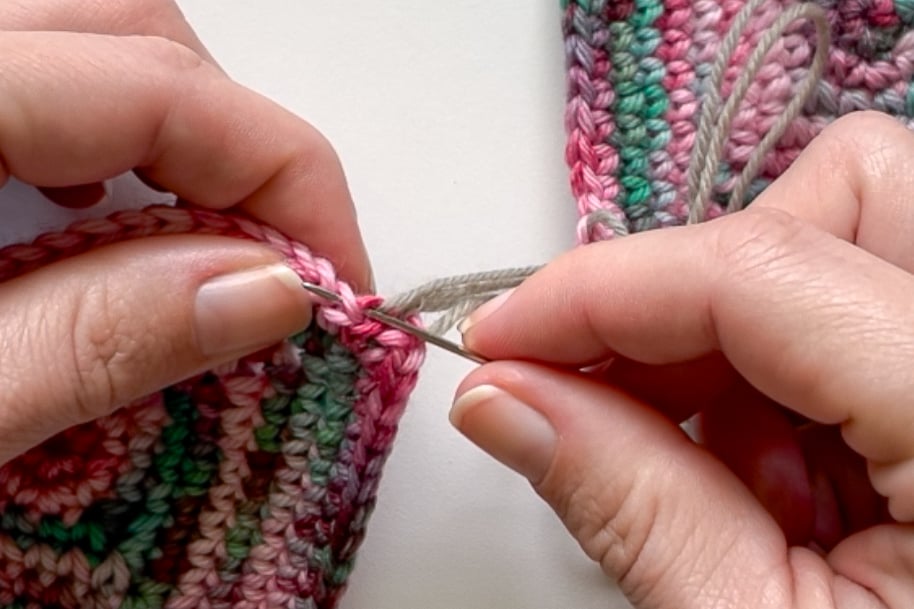
Step 4: Move now to the square to your left and using the back loops only, put your darning needle from front to back in the first stitch and then from back to front in the next stitch so that you form a little “x” over your needle. Pull your yarn through but not too tight so that it doesn’t make working in the next square difficult.
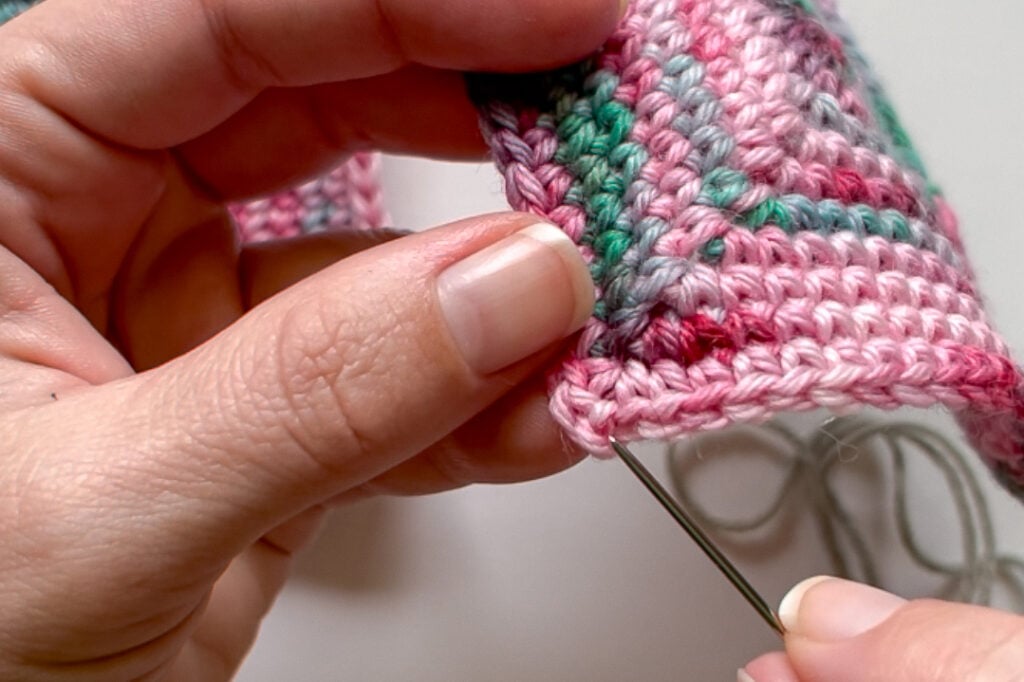
Step 5: Move back to the square to your right and using the back loops only, put your darning needle from front to back in the last worked stitch and then from back to front in the next stitch so that you form a little “x” over your needle. Pull your yarn through but not too tight so that it doesn’t make working in the next square difficult.
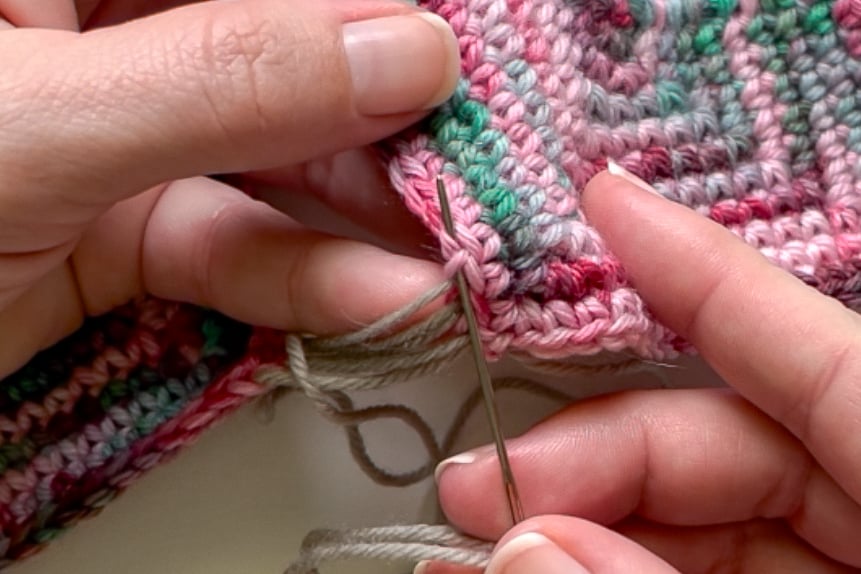
Step 6: Move back to the square to your left and using the back loops only, put your darning needle from front to back in the last worked stitch and then from back to front in the next stitch so that you form a little “x” over your needle. Pull your yarn through but not too tight so that it doesn’t make working in the next square difficult.
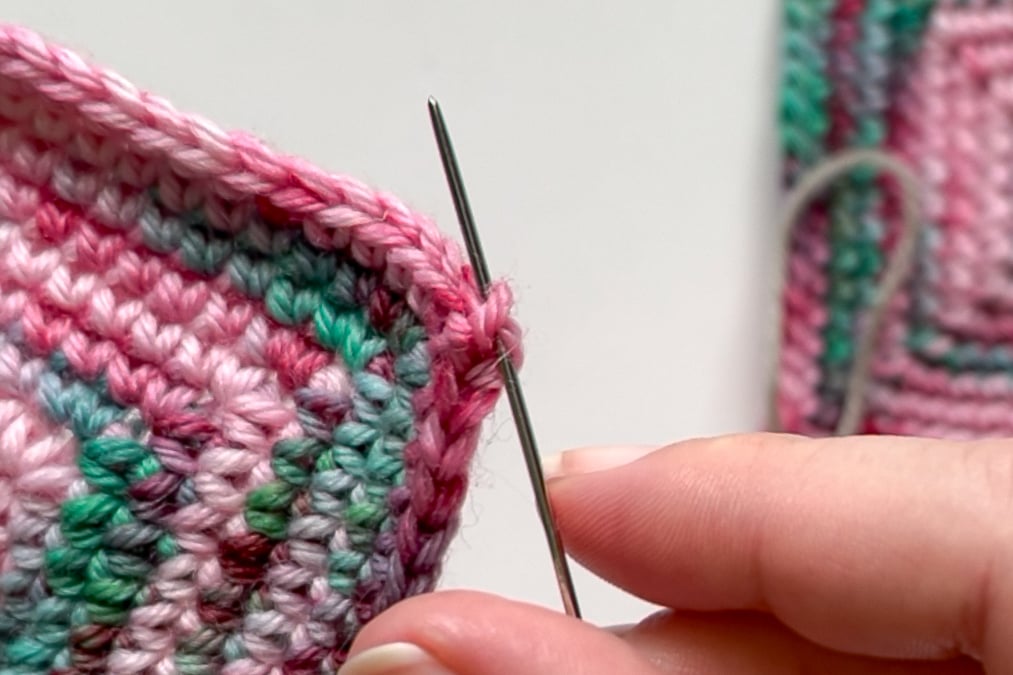
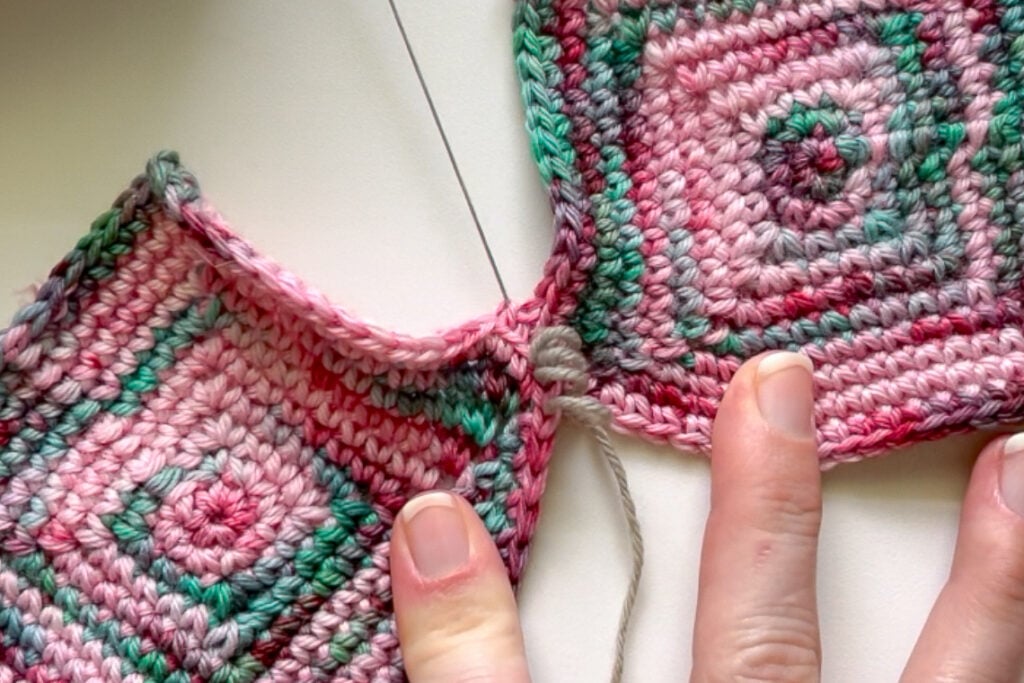
Repeat Step 5 and 6 a few more times and then pull the yarn on your darning needle tight to bring your squares together. Continue this process until you reach the end of the pieces you are seaming together, finish off and weave in your ends. When you pull your yarn through the last stitch at the end of your seam you may want to work through your last worked stitch on the other side again to bring your pieces together better if necessary.
Note: Numbers on photos below do not correspond to Steps like the photos above. They are there for any formatting changes across devices so you can see the proper order.
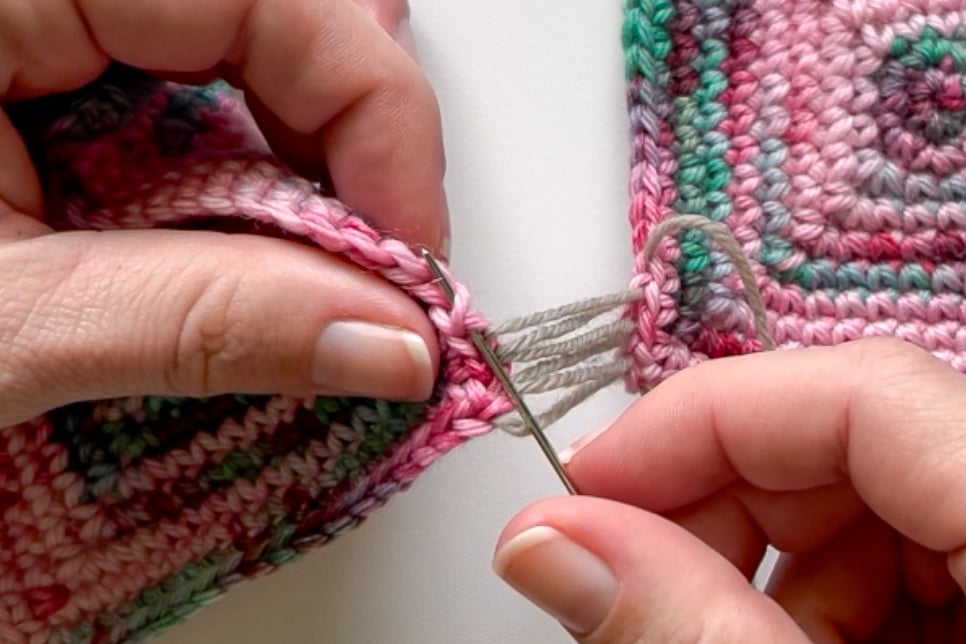
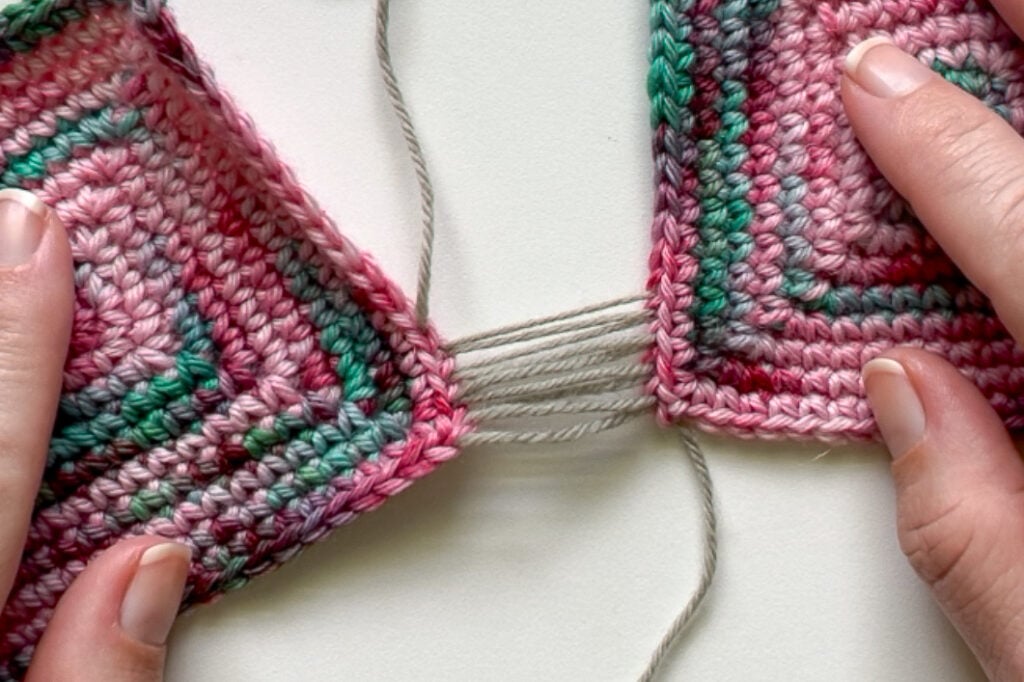
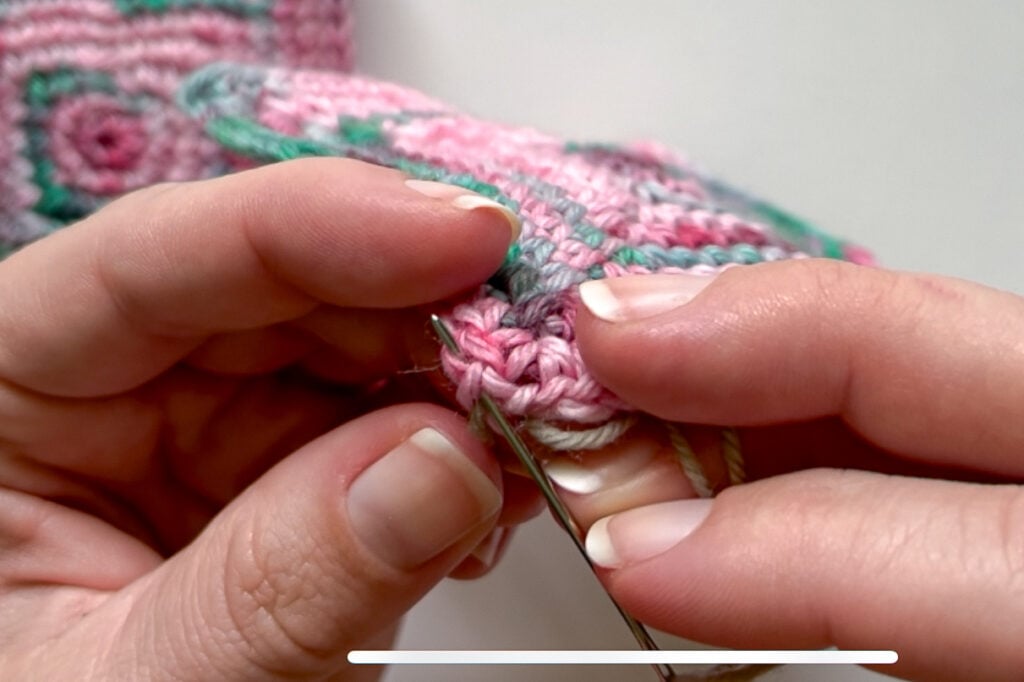
Tightening your Invisible Seam
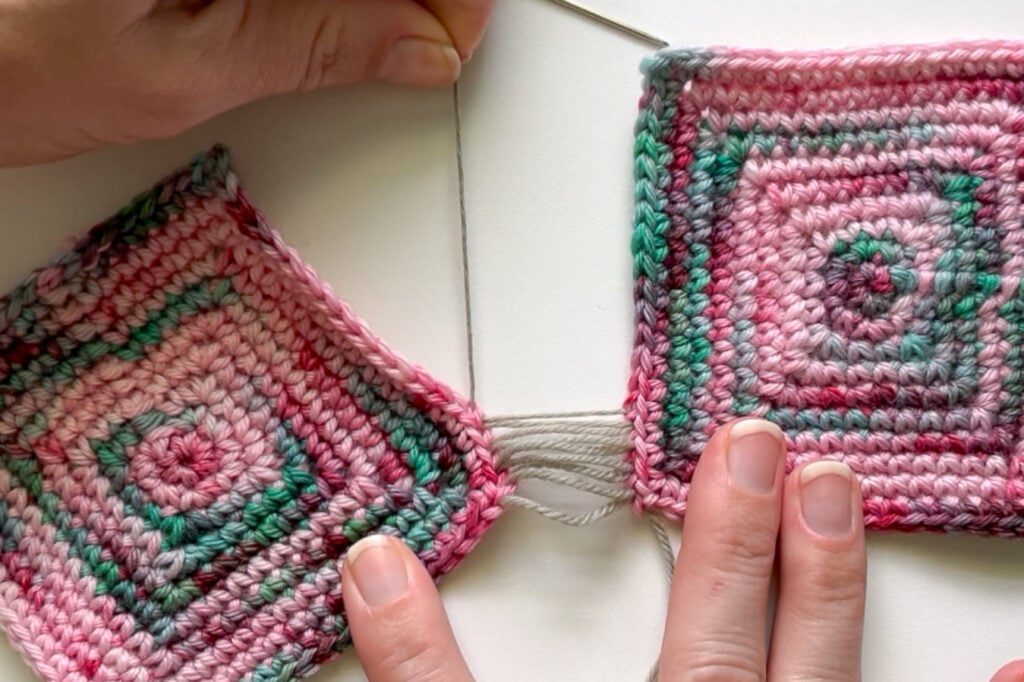
Continuing and Tightening your Invisible Seam


If you enjoyed this Step-by-Step Photo Tutorial for an Invisible Mattress Stitch Crochet Seam please be sure to sign up for the Life and Yarn Newsletter so you never miss any new tutorials or free patterns!